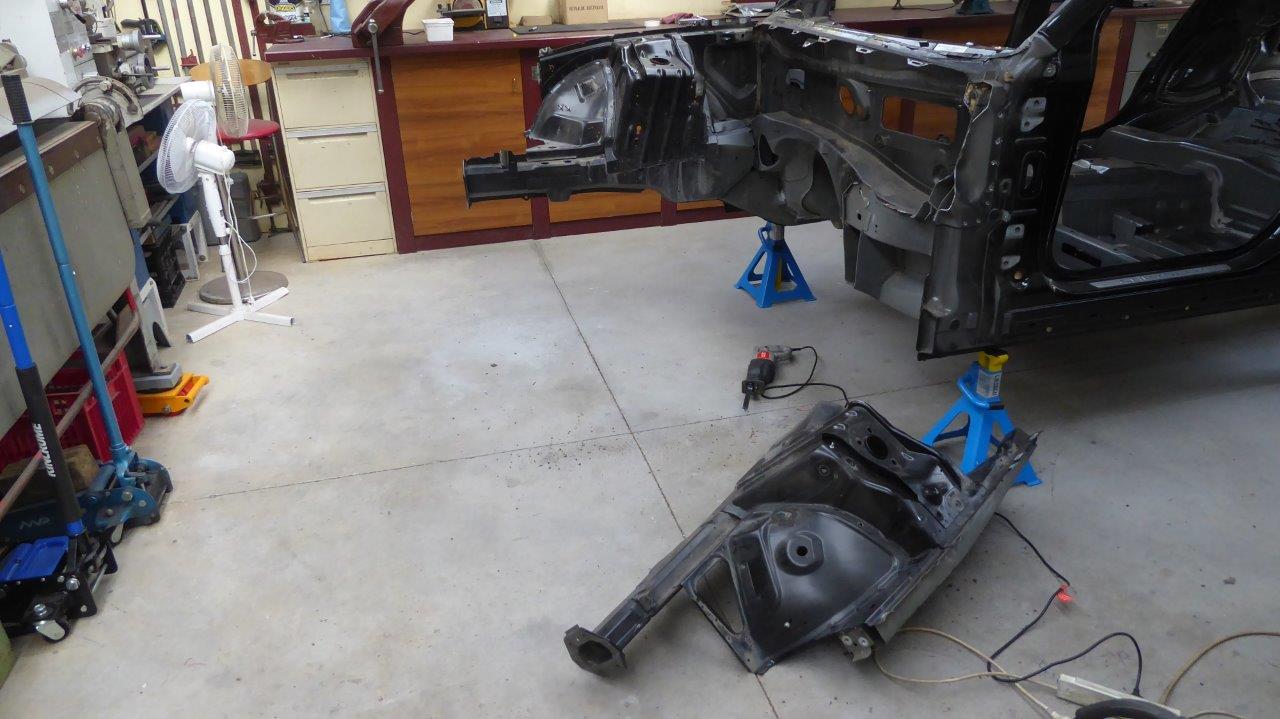

First piece of non bolt off parts coming off. The Willys frame will replace these to keep the build registered as a '32 Willys, as that is where the identity of vehicle is determined in this country.
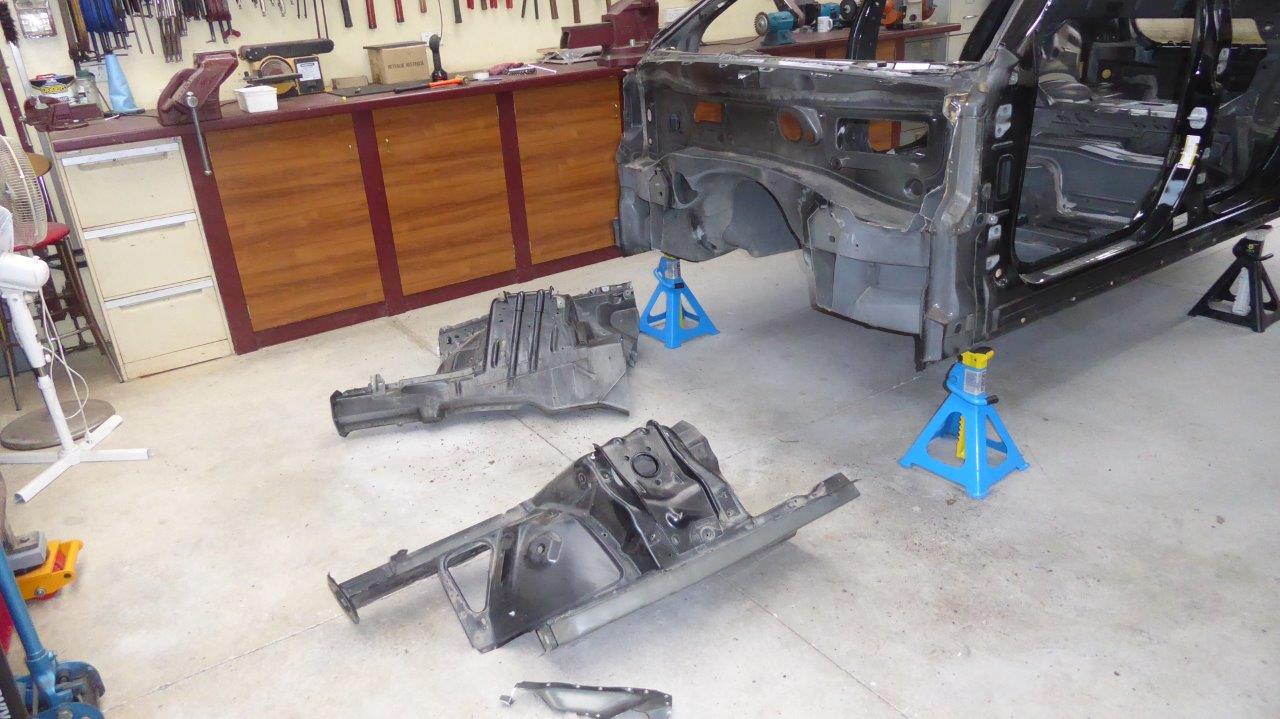
The suspension mounts are all gone now too and none were going to be used anyway. Next will be the front rail supports still left on the outside of the firewall. The ones that back up to this on the inside will be left in place.
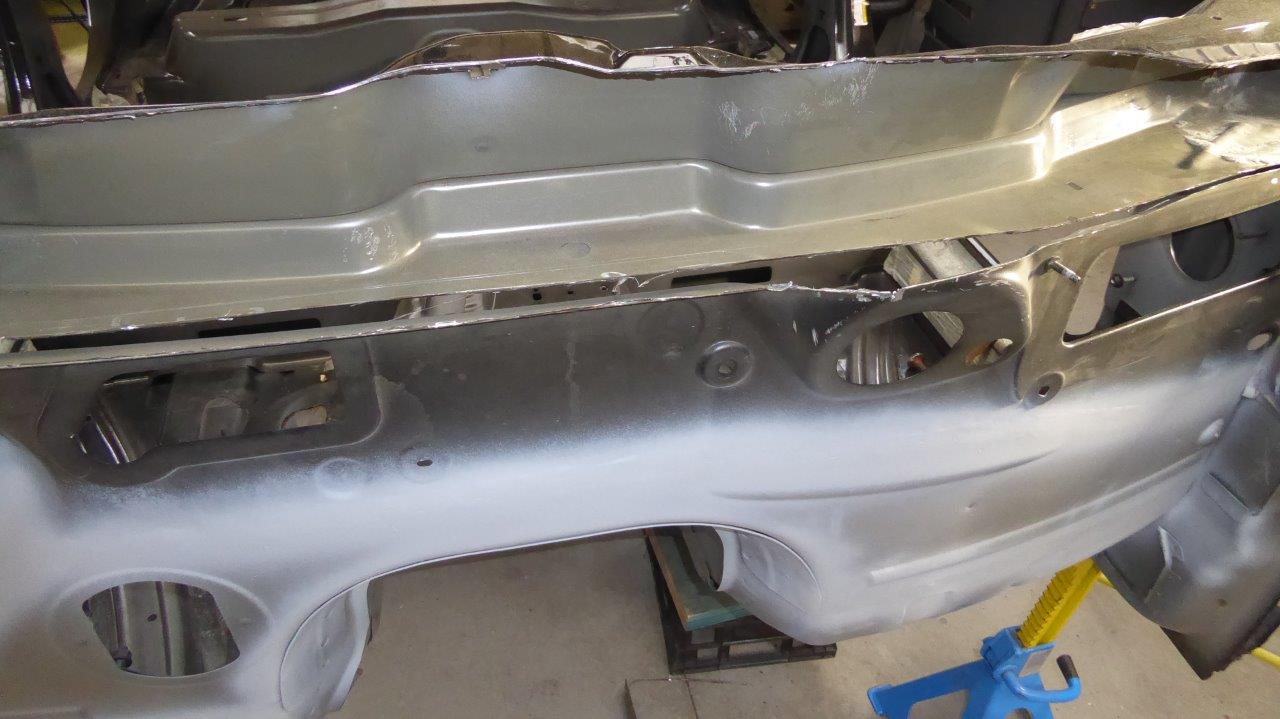
The lower curved windscreen support, that was forward of the firewall, was removed. The Willys windscreen sits a foot back from the firewall and is completely flat.
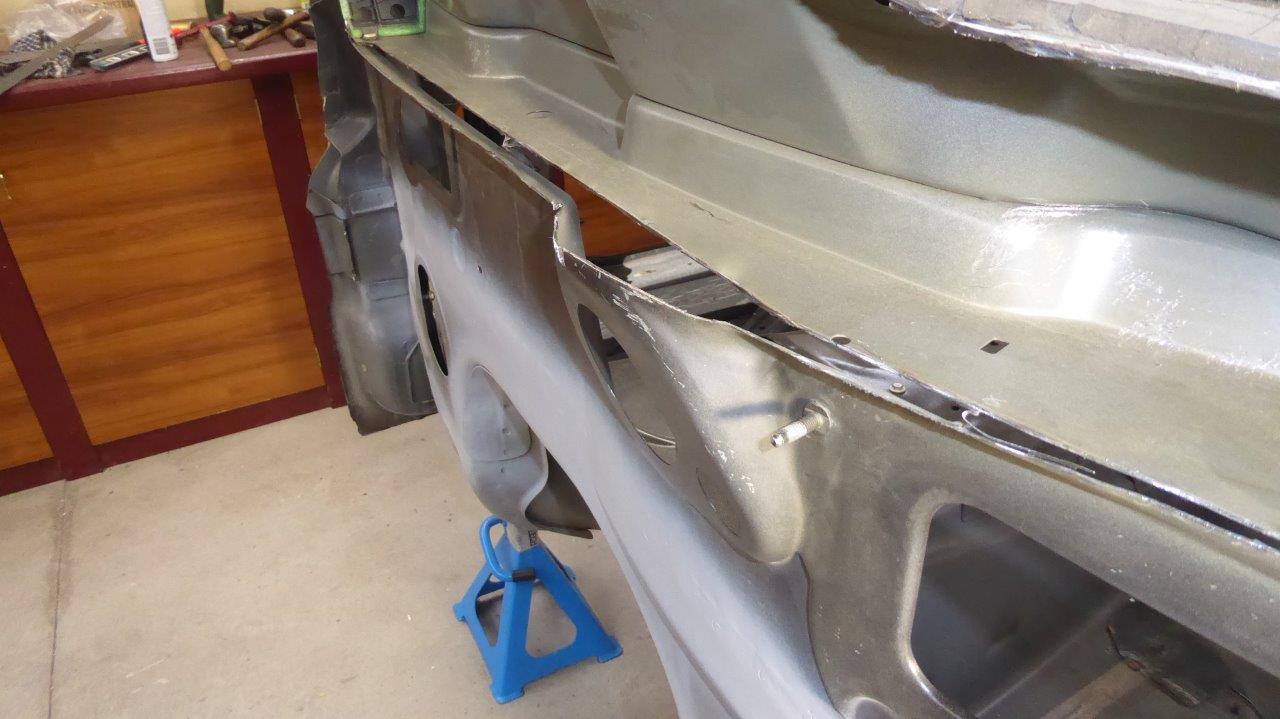
The problem was the windscreen support join was also cut away leaving this gap. I left some extra material that I have just started to bend straight on the far right of picture to meet up and close the gap.
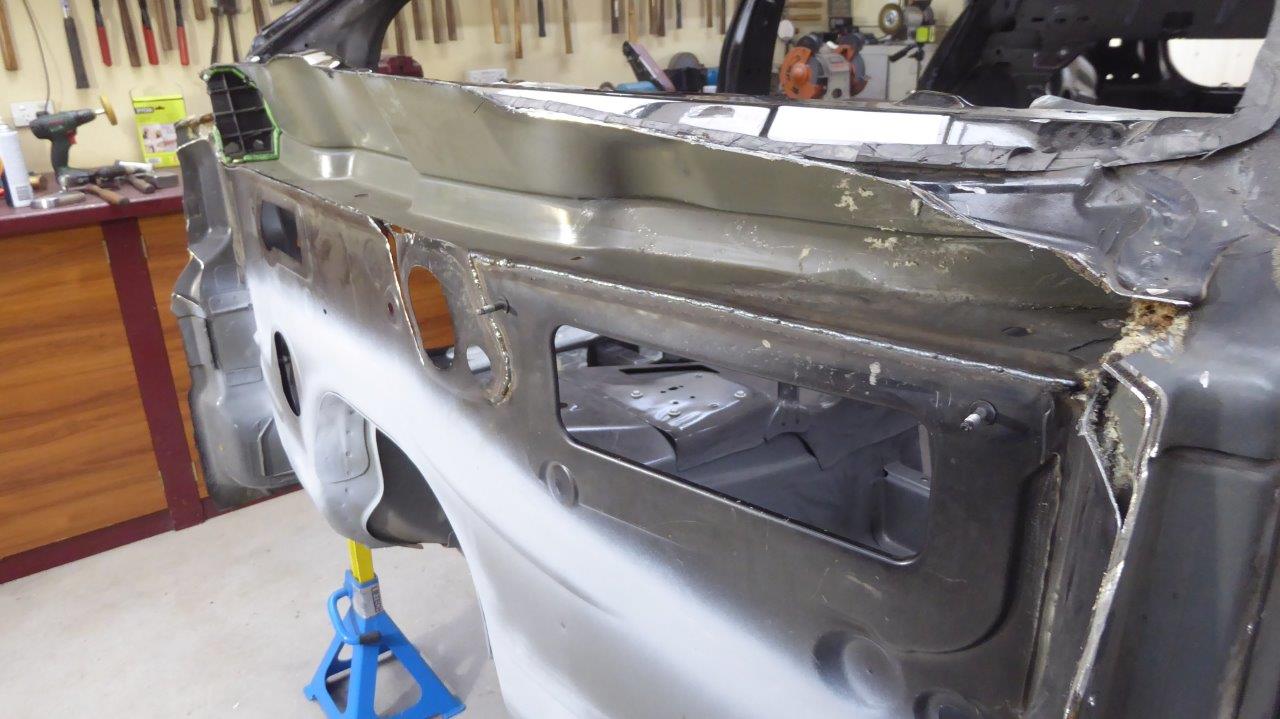
I want it as flat as possible so have started straightening up the angled part with the round hole in it which is just for a harness loom grommet. The large rectangle hole is the fresh air intake for the A/C system which will be completely reused.
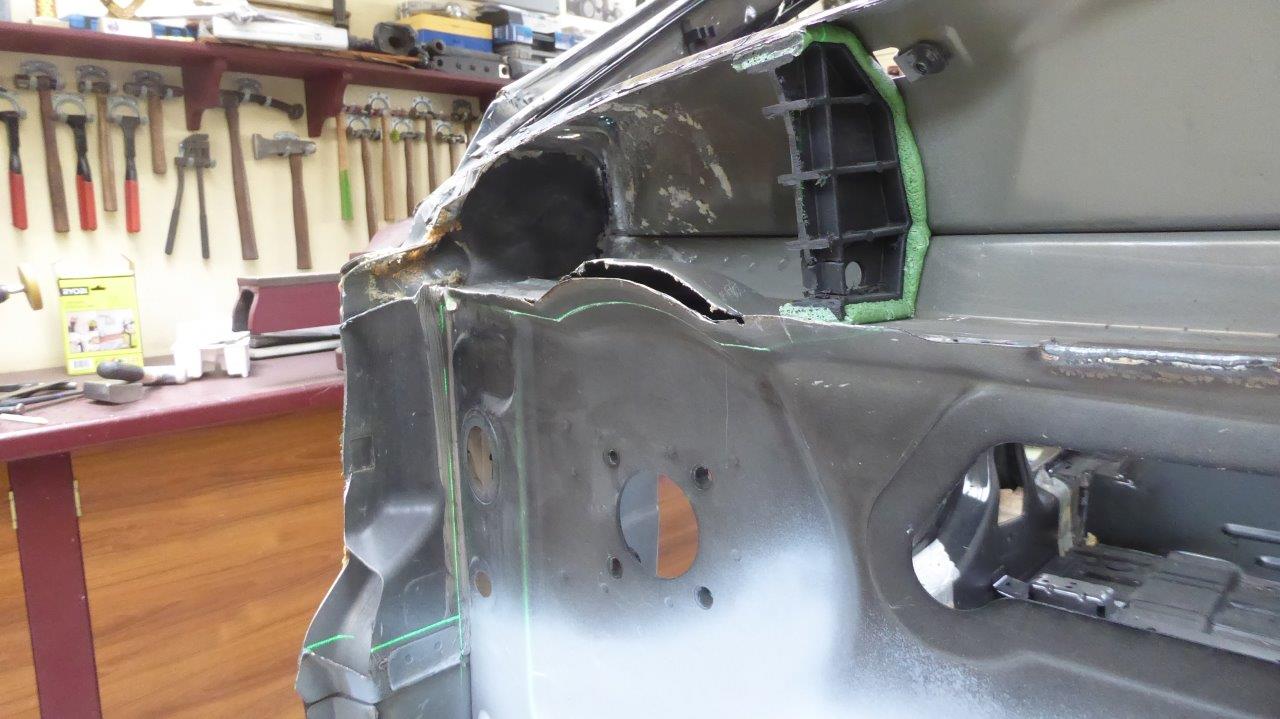
Using a laser level to show where the angled part above the brake booster needs to be flattened to meet up with the inner cowl.
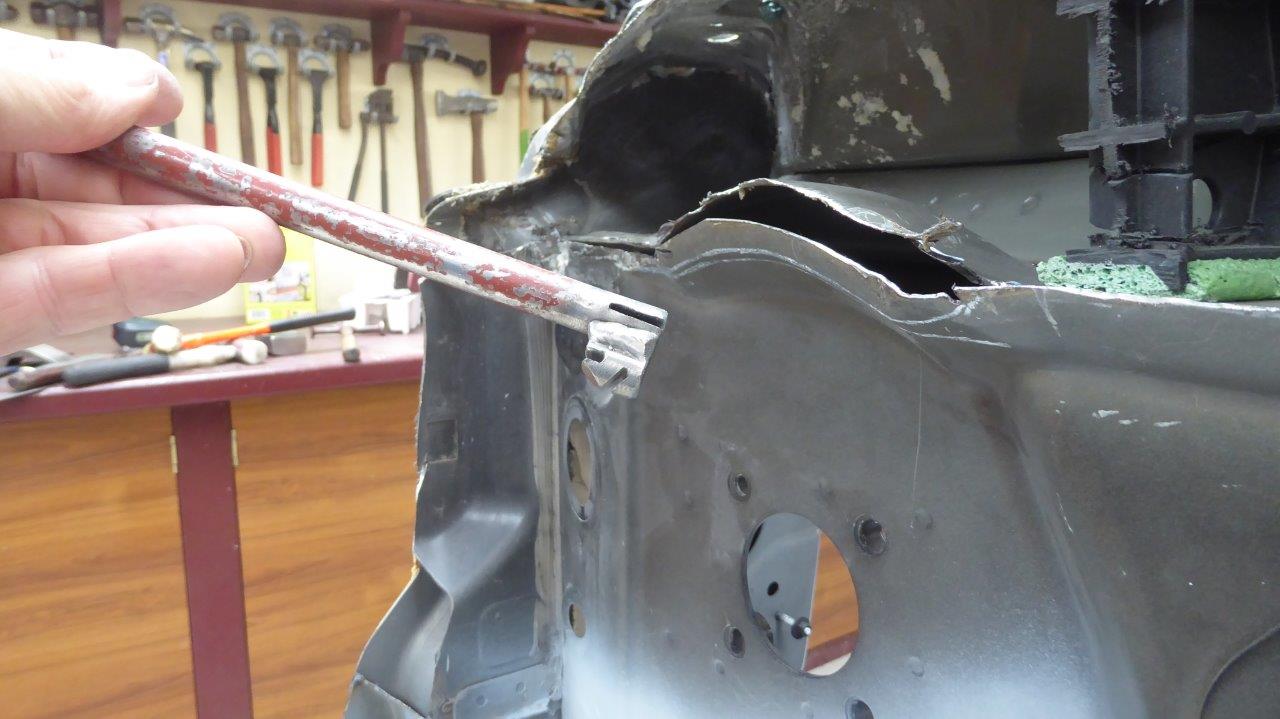
Using an old tool I made for hand doing flanges. Just a rod with a slot cut into the end of it. Can see I have other depths and angles on the end too.
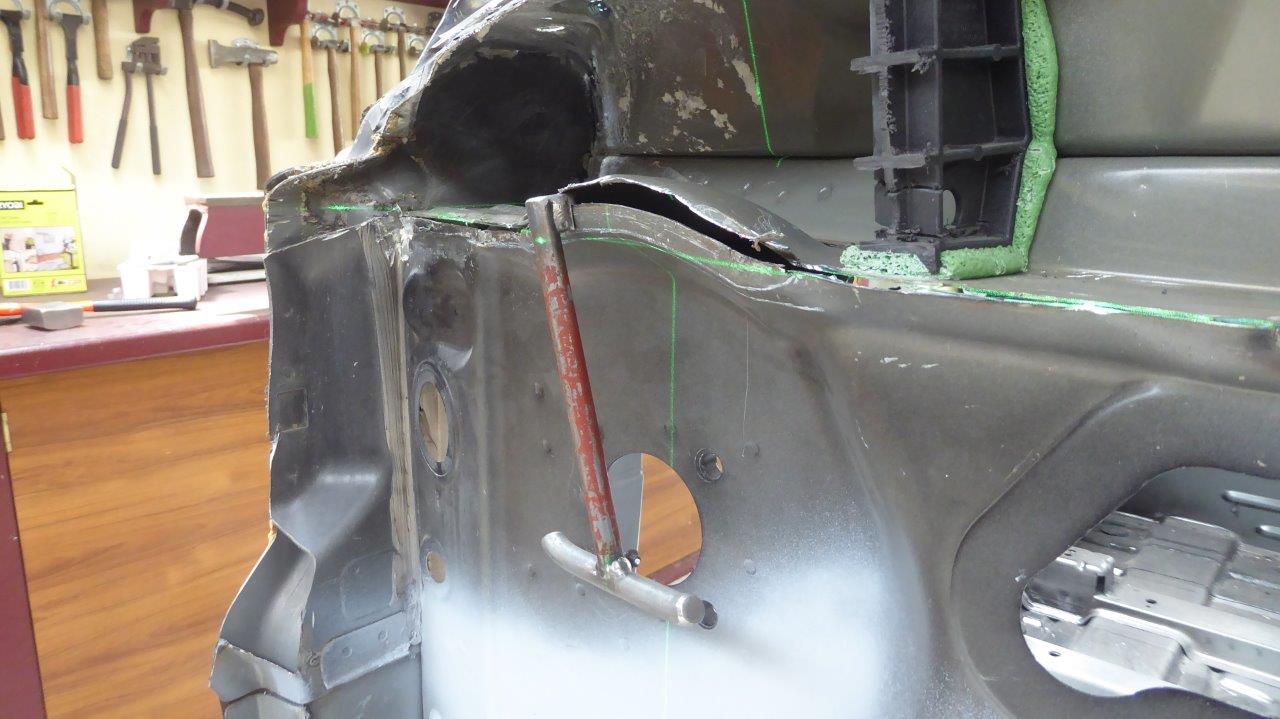
Once I had gone as far as I could with the first tool, I switched to one that allows me to get it even closer to vertical.
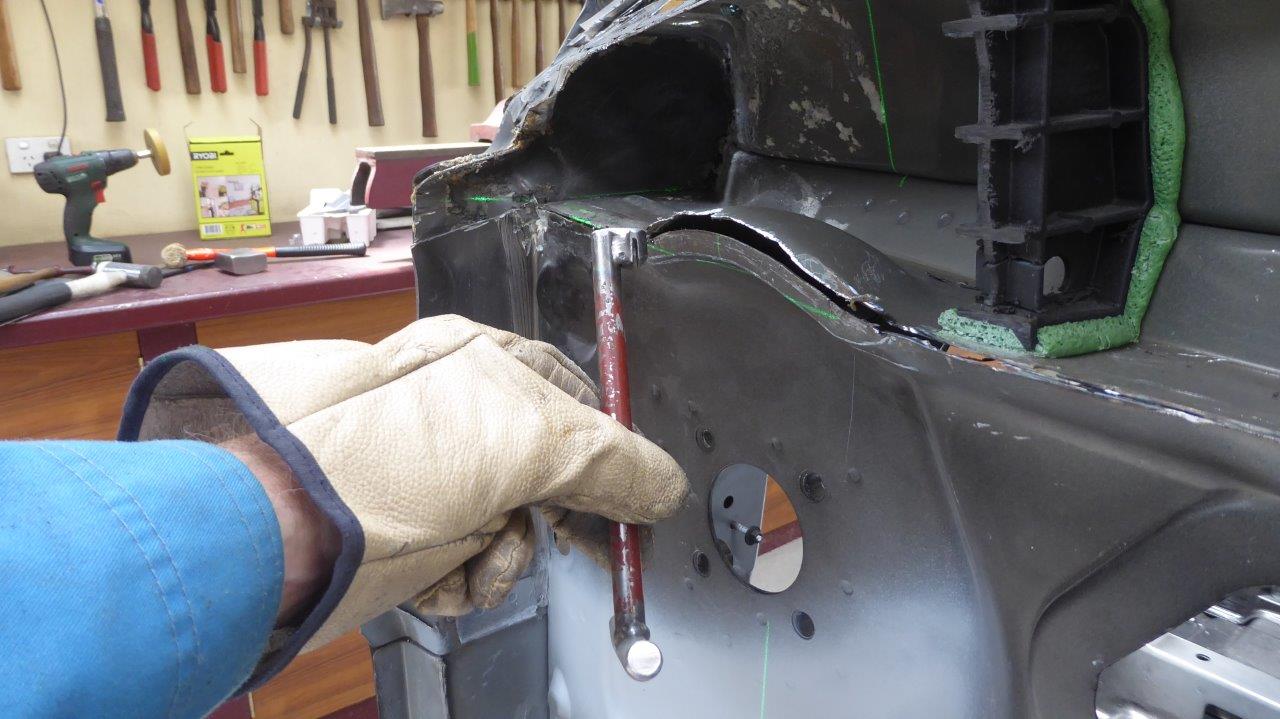
Close up showing how this one differs from the first flanging tool.
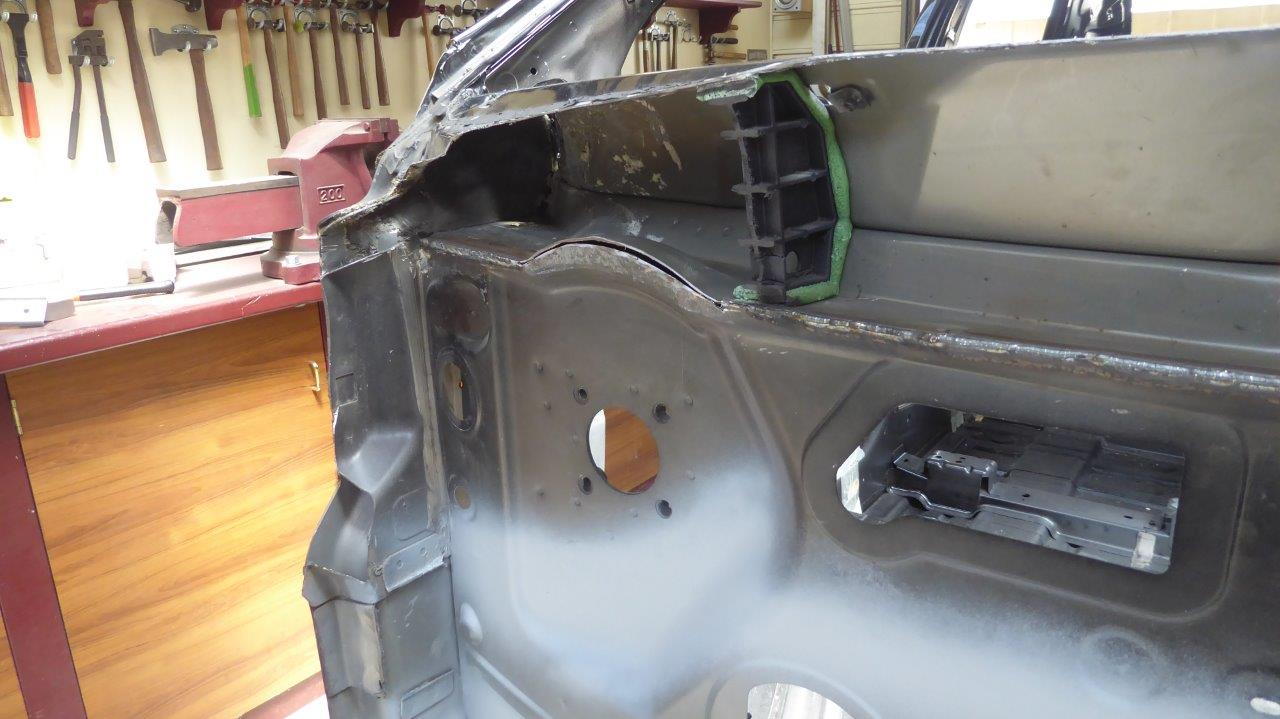
The rest was completed using a hammer and spoon as there was limited access on the inside with an internal support in the way.
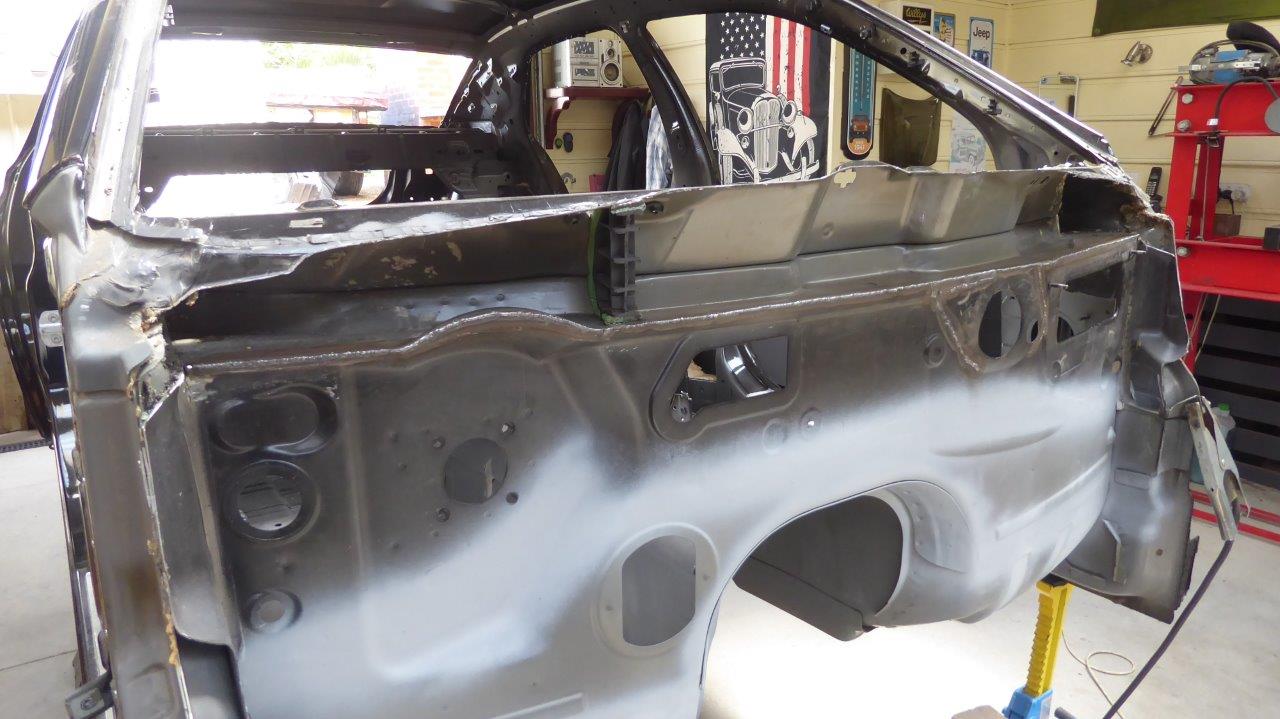
Fully welded up. The space above the seam will be covered later once the Willys cowl goes over all this and over the top of the SRT8 dash. A fill panel will then be made between the new firewall seam and the underside of the cowl, just like I did on the Willys Truck.
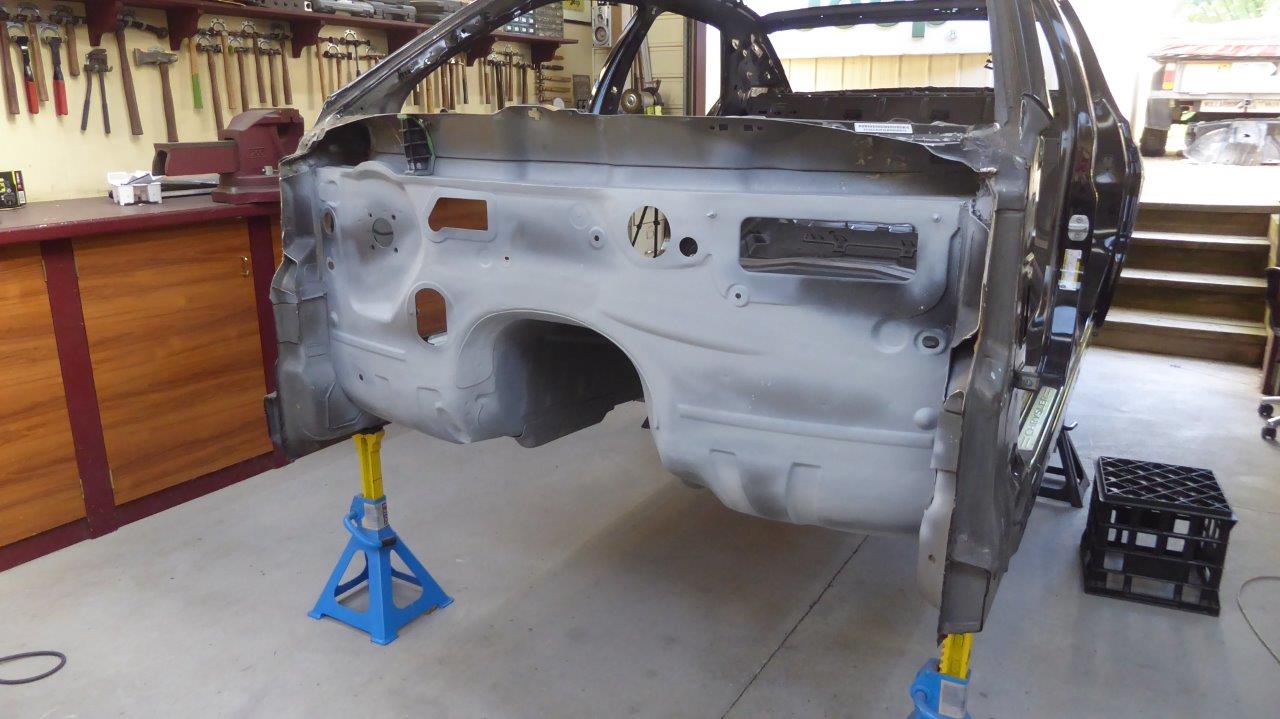
All the spot welds that were removed from the braces etc were planished and any over drilling from the spot weld cutter, were welded up. It was then sprayed with etch primer to stop it from rusting in the mean time. I rather do all these fiddly time consuming things now rather than after strip down and before painting for the final time.
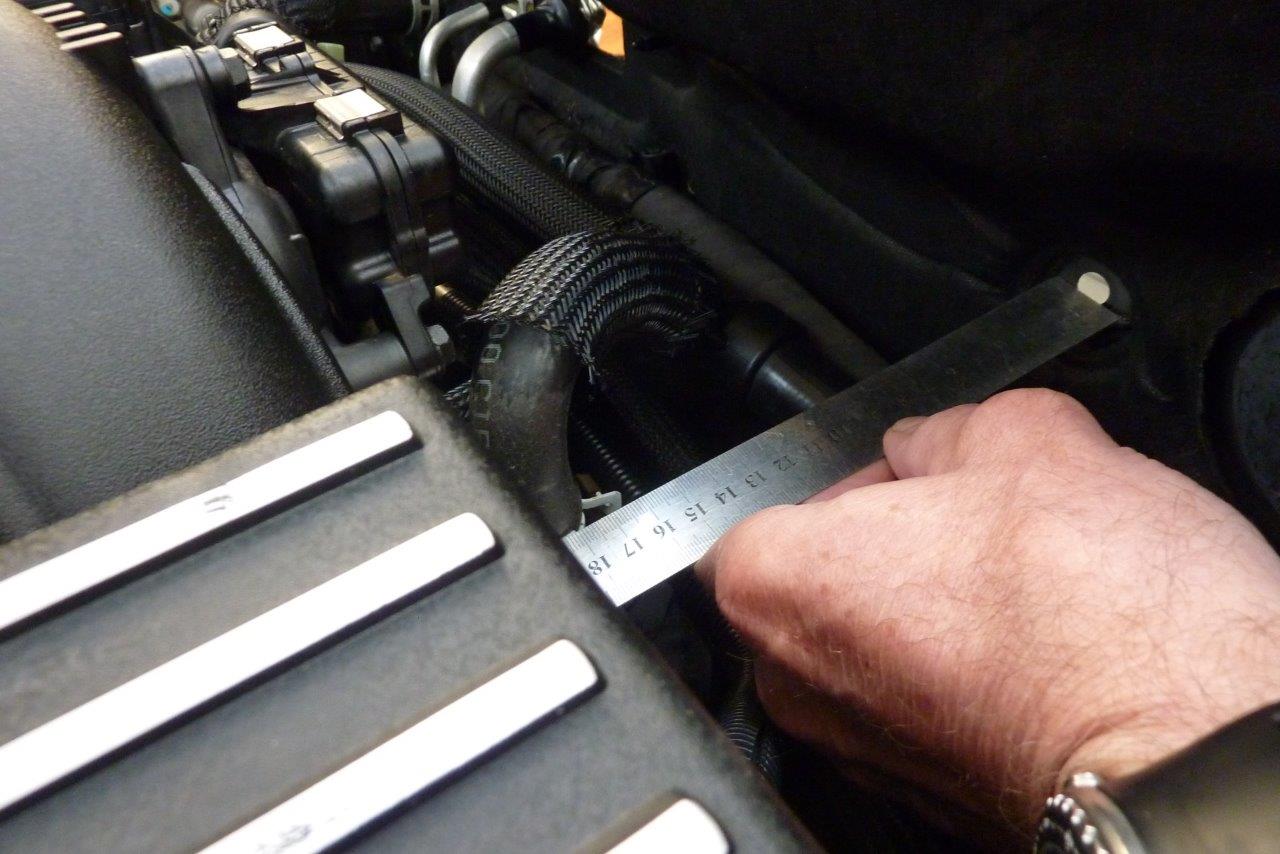
From the back of the grille bars, inside the Willys radiator shell, to the firewall is 200mm-8" shorter than the distance from the front of the condenser to the firewall of the SRT8. I don't want move the Willys grille that much further forward in the frame. So before I pulled down the SRT8 I measured the distance from the firewall, where there was no padding, to the heater tube and it was 180mm-7".
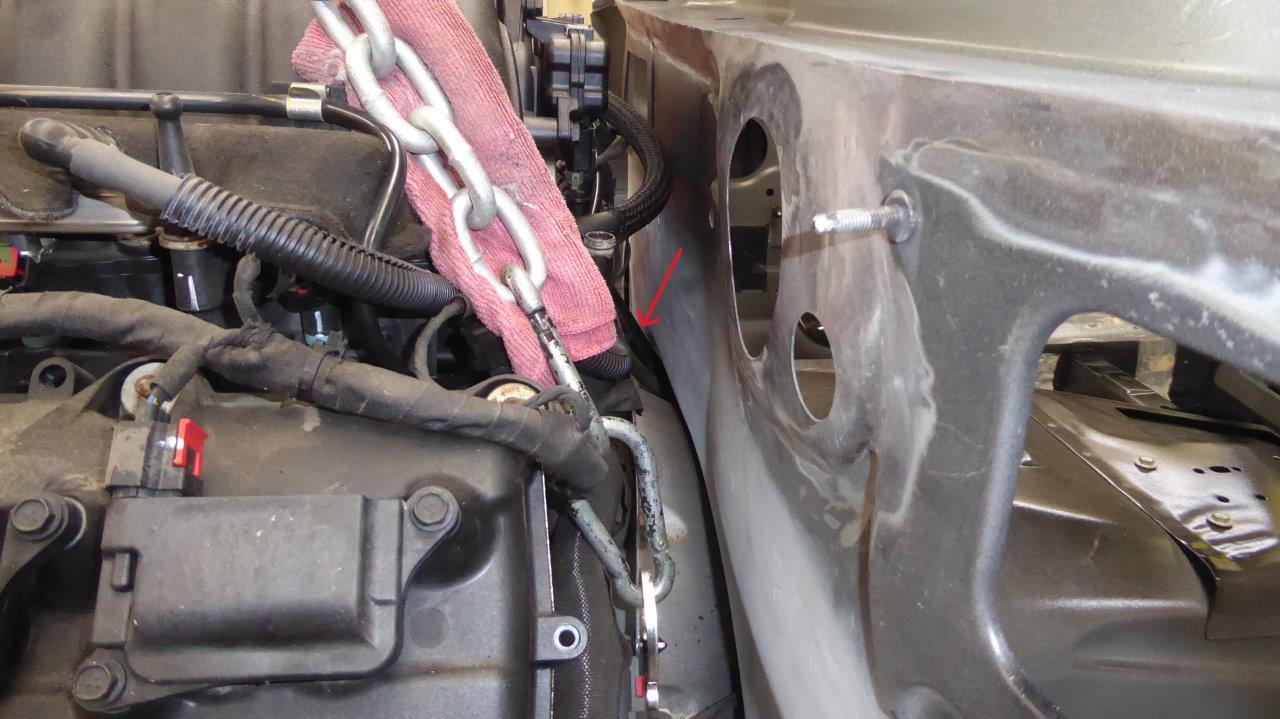
So I hooked up the engine and transmission back to the hoist and wanted to see how much I could close up that gap. First attempt showed that the transmission fill tube was hitting the firewall and tunnel join first. It is indicated by the red arrow and is on the other side of the engine to the heater tube just behind the pink cloth.
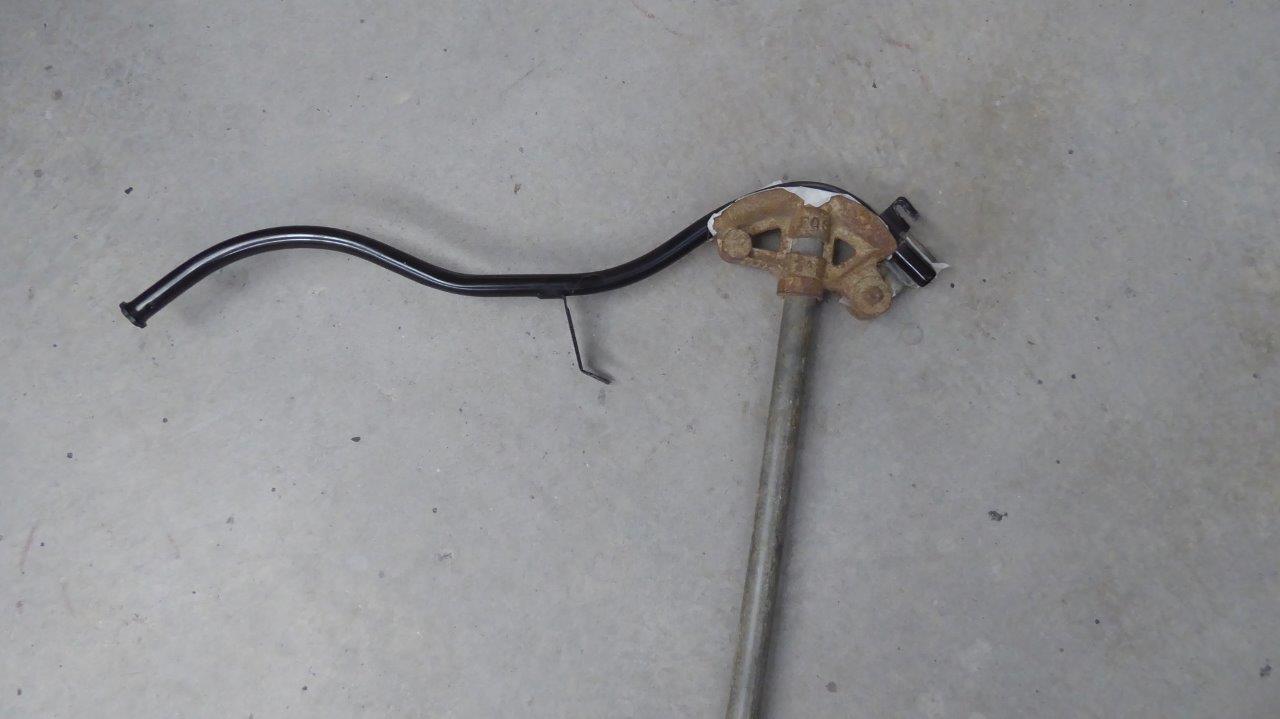
I have my late fathers old steel conduit bender, he was an electrician, and it was the right size for the transmission tube. So I increased the first bend as it comes out of the transmission pan, and then later one in the opposite direction further up. I also had to alter the support bracket as it was too long after the modifications.
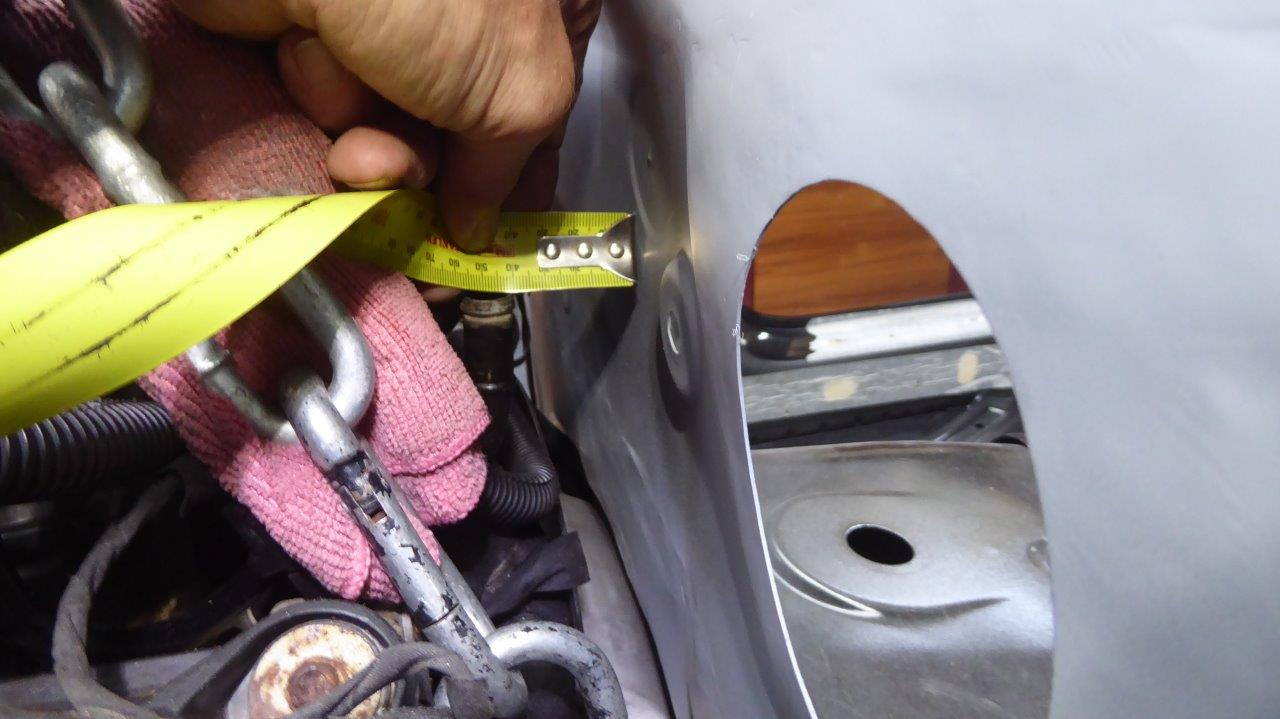
Then everything was hoisted back up to see how far it could be pushed back while still keeping the factory height and angle of the engine and transmission. Also the factory offset of 10mm-3/8" to the divers side of this RHD. It went from the 180mm-7" to only 40mm-1.5", giving me a gain of 140mm-5.5". The further back the engine is from the front axle centreline, the better too for handling. The Willys already has the front axle 240mm-9.5" further forward than the SRT8, and now it has another 140mm-5.5" on top of that! The whole engine will be well behind the front axle centreline now.
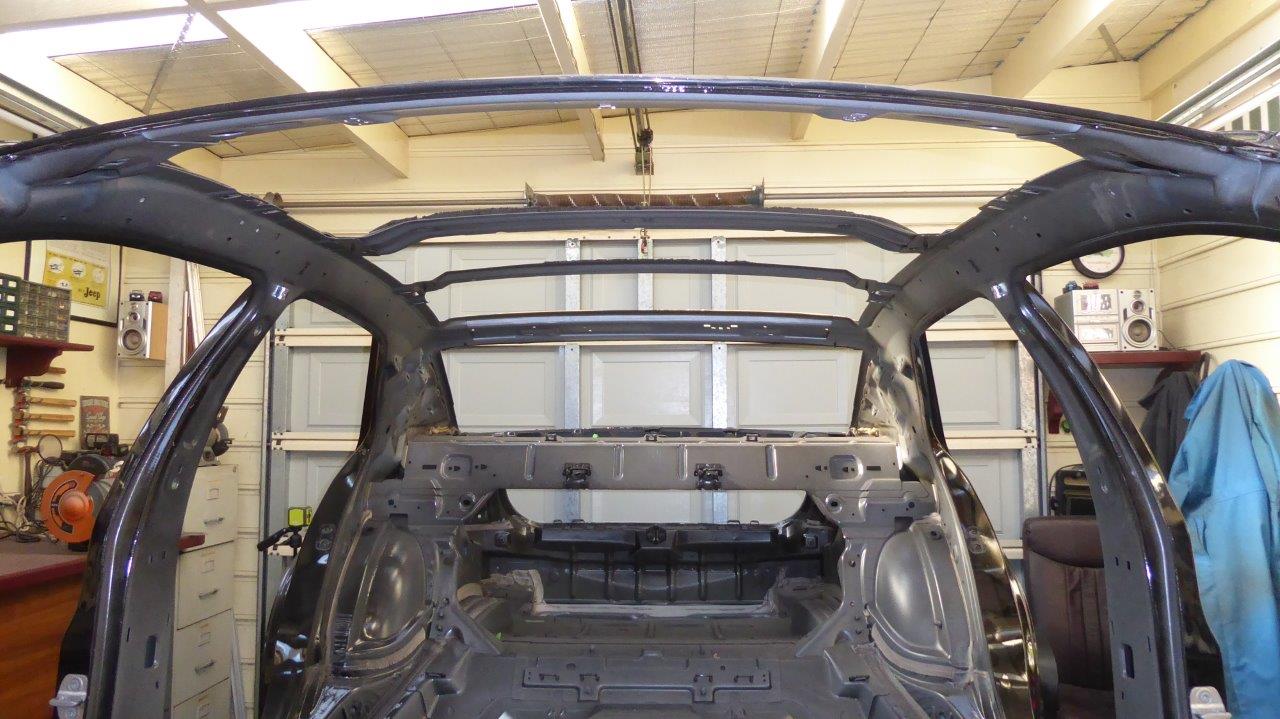
I have cut away the roof skin in one piece and stored it with the roof off the 2008 Jeep Grand Cherokee donor I used for the Willys Truck. Maybe I can make a new roof skin from the both of them? Either that or off a van or make a new one from scratch. Least I had practice doing such a large panel for the Trucks hard tonneau.
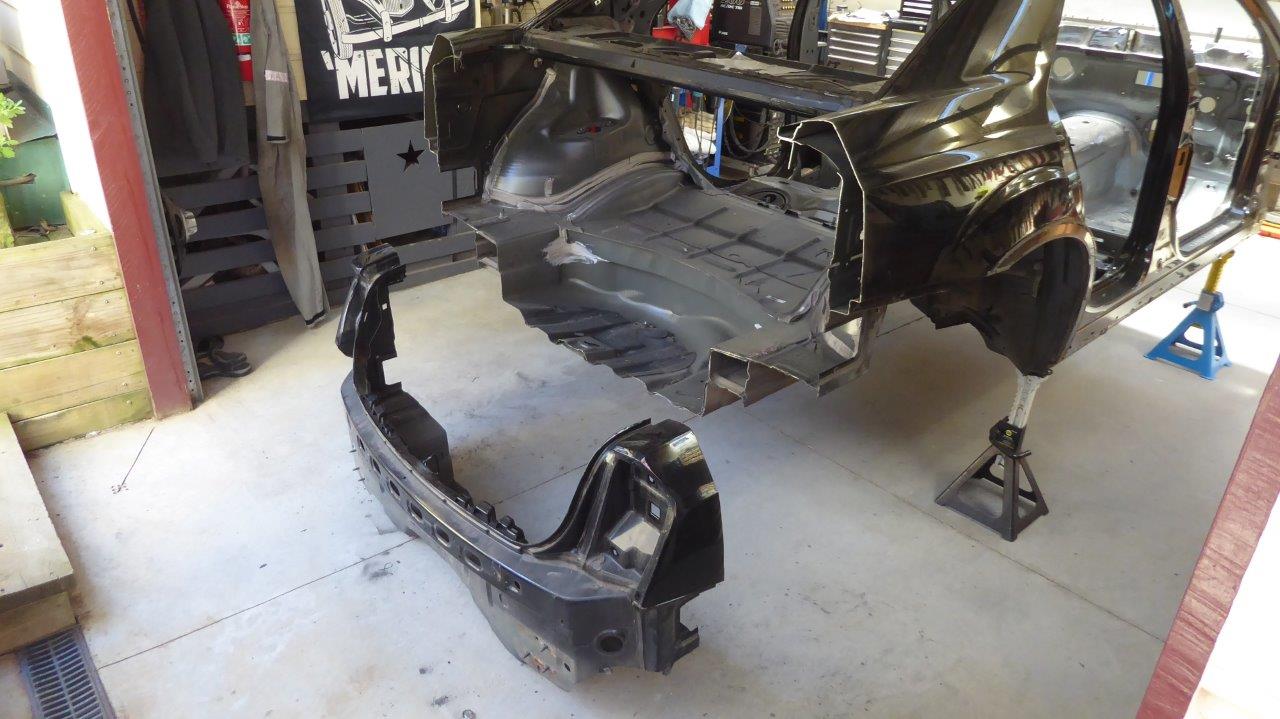
I have cut away the rear of the body in a straight squared off line for now past the widest point I will need. The rest will be cut away once I start fitting up a widened rear wall from the Willys. Plan on leaving the lower part of the tyre well in place as that is where the battery and cabin fuse box was located on this. Make a hatch over it level with the floor in front of it. The whole area between the wheel wells will also be very useful storage access from the flip forward rear seats.
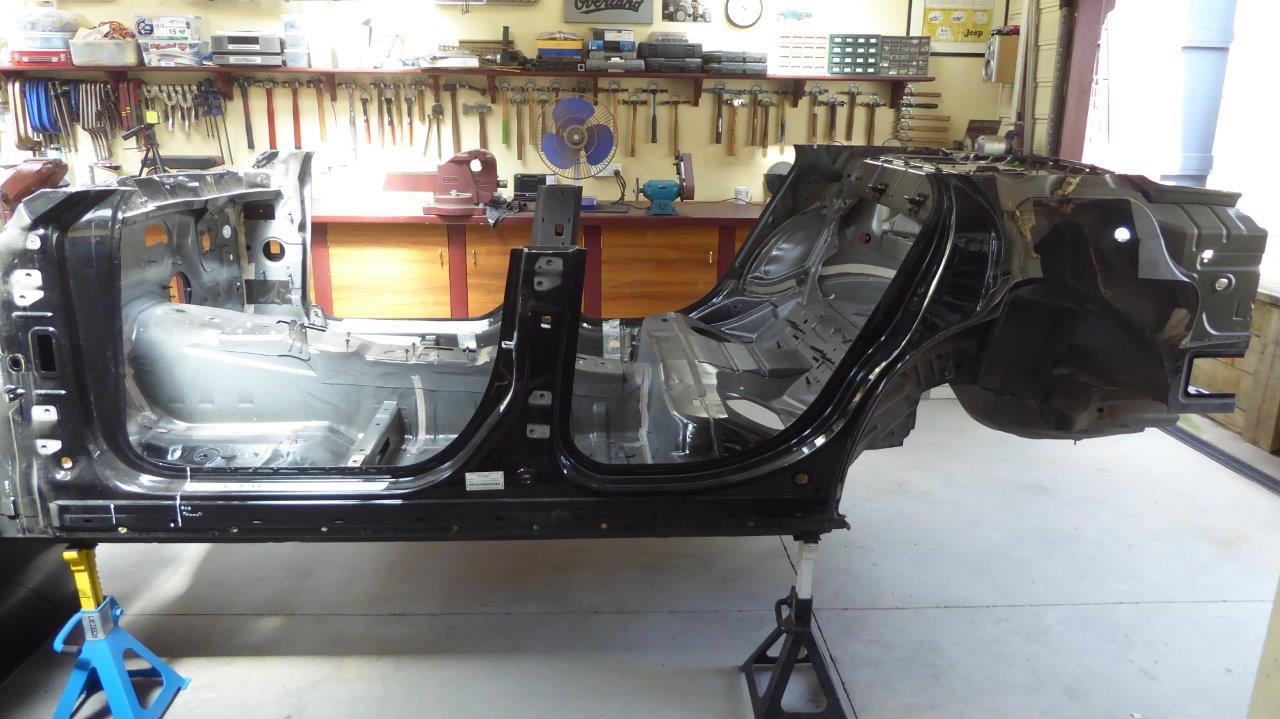
The front A pillars were cut just above the dash and the B pillars at the top of the lower straight section. The upper pillars lean in way too much for a 1930's body. The C pillars were cut off just above the rear parcel shelf.
Believe it or not the length you see here from the firewall to the start of the rear wheel well, is 420mm-16.5" longer than the Willys in the same section. I am thinking of making Willys doors the size of the actual openings seen here, and leave the whole floor intact. So long as I can make that look half decent. It would mean the back edge of rear door of the Willys would be further forward on the wheel arch, just like the 8-88 pictured earlier. Would make the rear doors suicide opening, hinging from the C pillars, as well just like the Willys is now if possible. The Willys would still end up 200mm-8" shorter than my daily driver, which is the small 2010 Jeep Cherokee, (Liberty), but with a 129.5" wheelbase. I might start with mocking it up like that to see if it will work or not. If not, then cut a section of the rear floor if we don't like it.