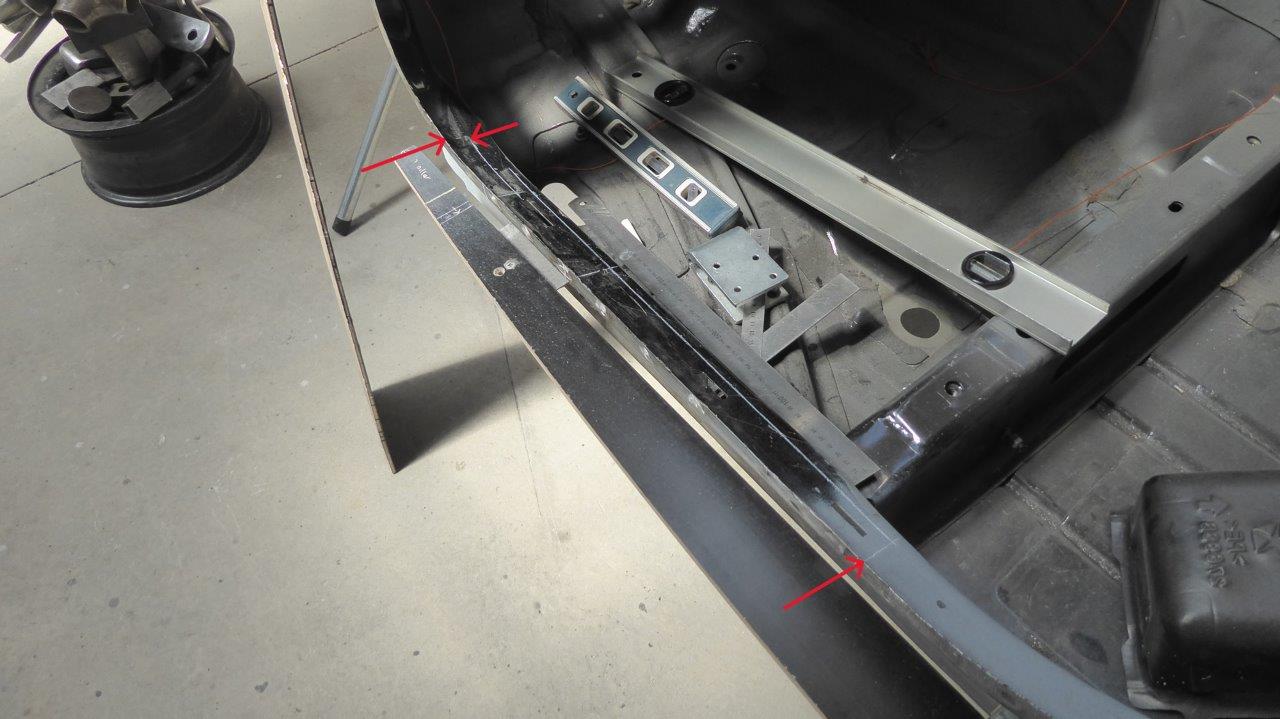
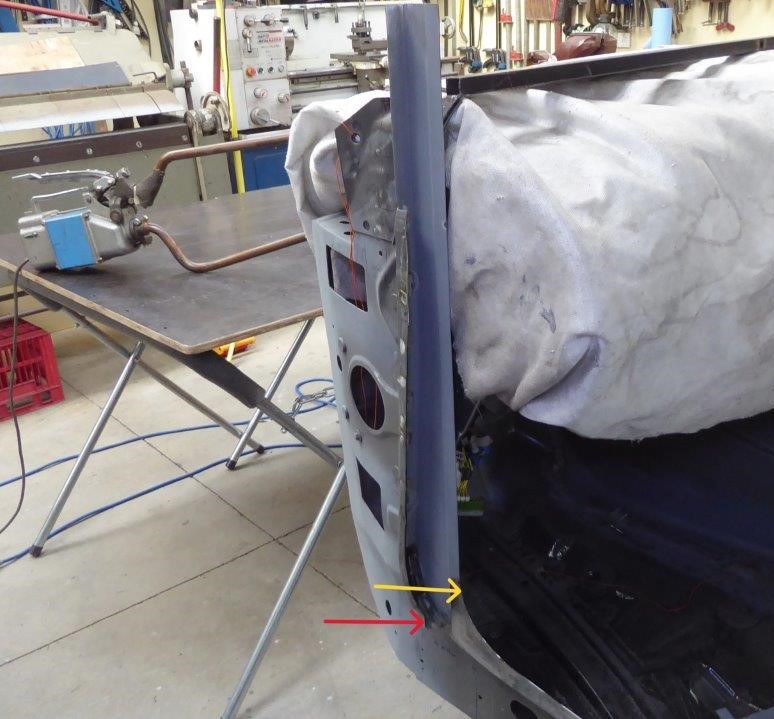
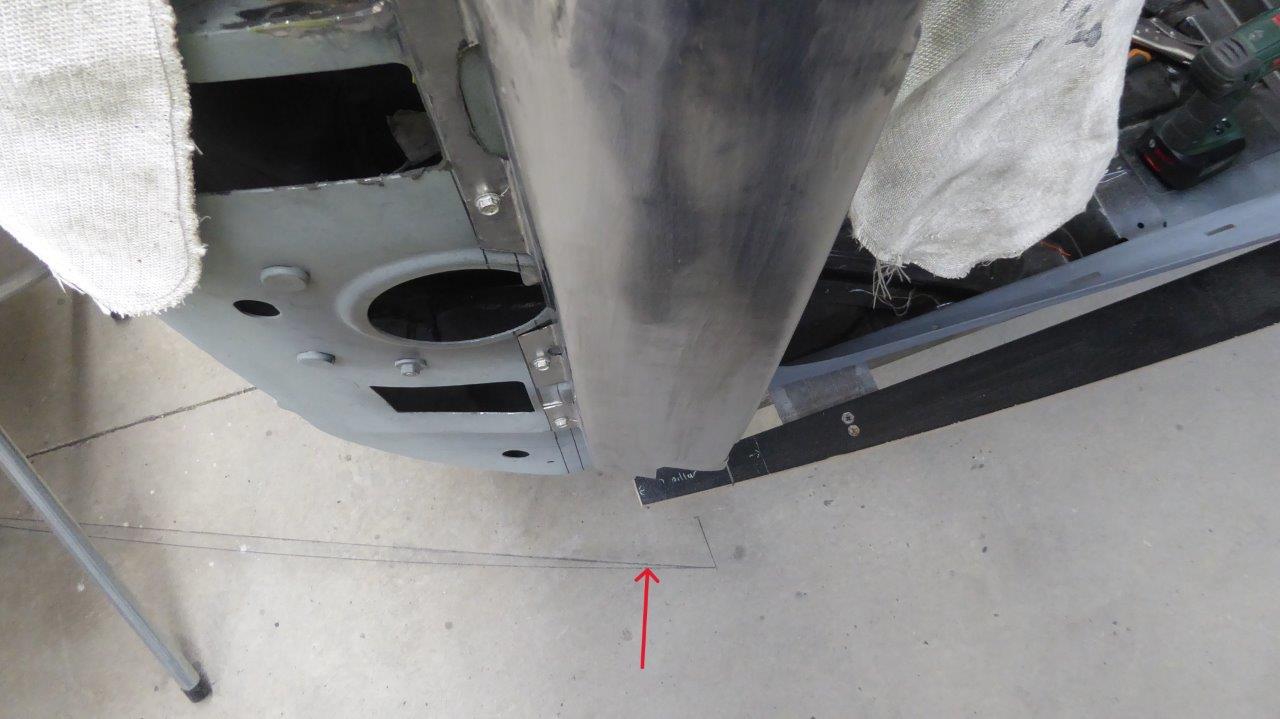
I am finally going to start on the A pillars after putting it off until now while I thought about the best way to do it. As I want to narrow the body as much as possible at the firewall, without loosing any more foot well space, I need to move the pinch weld flange inwards as close to the side of the dash as possible. I also need to have enough width in the A pillar for strength, as well as to fit the door hinges on. 30mm-1.3/16" is the most I can do and still be able to bolt the dash back in place on new mounts that will have to be made. Might not sound like much, but it narrows the body 60mm-2.3/8" overall. The double red arrows show how much it needs to move over and the single arrow is where I will start the taper from.
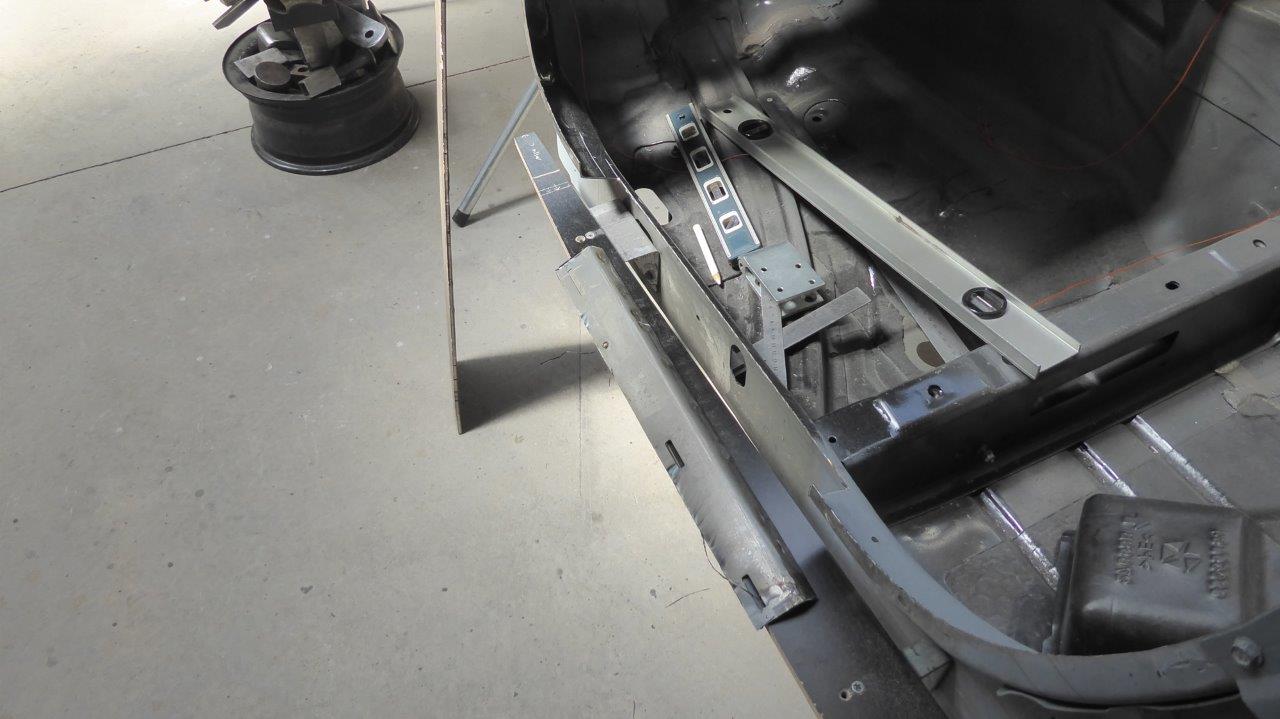
I cut a piece out wider than needed so I could flatten it and then re-bend it to the new position with the front of the fold 30mm-2.3/16" further over.
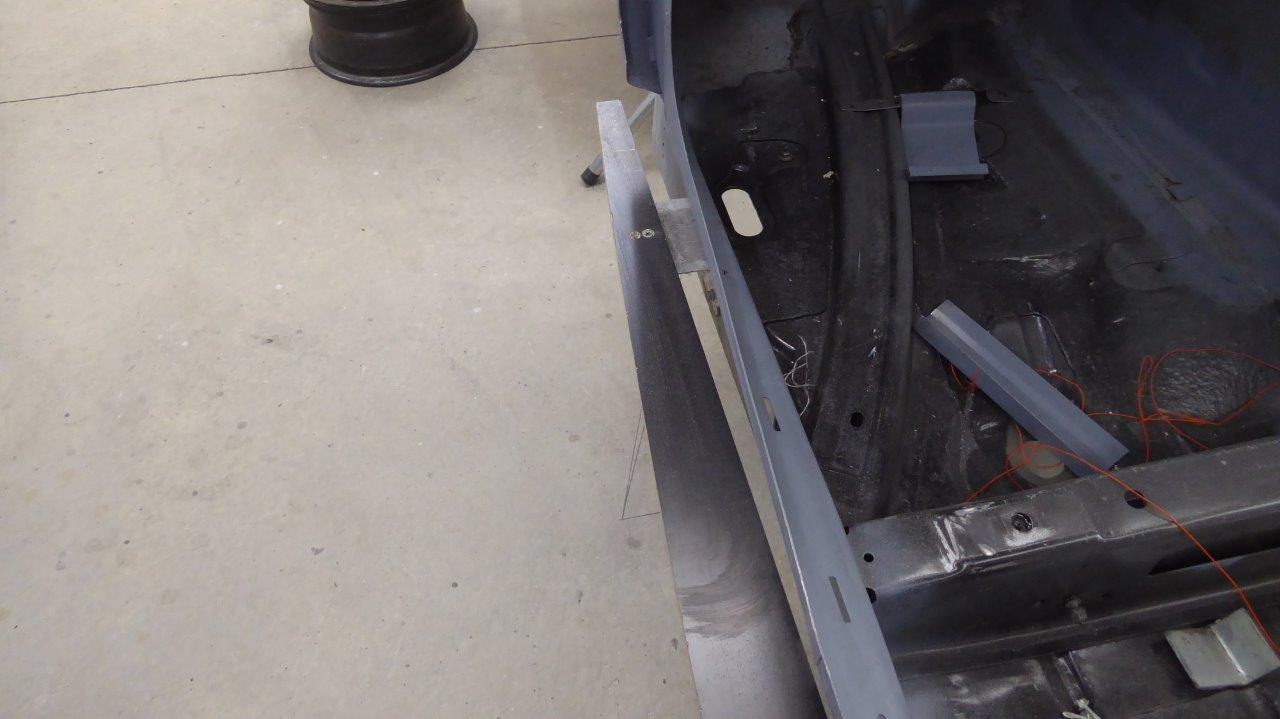
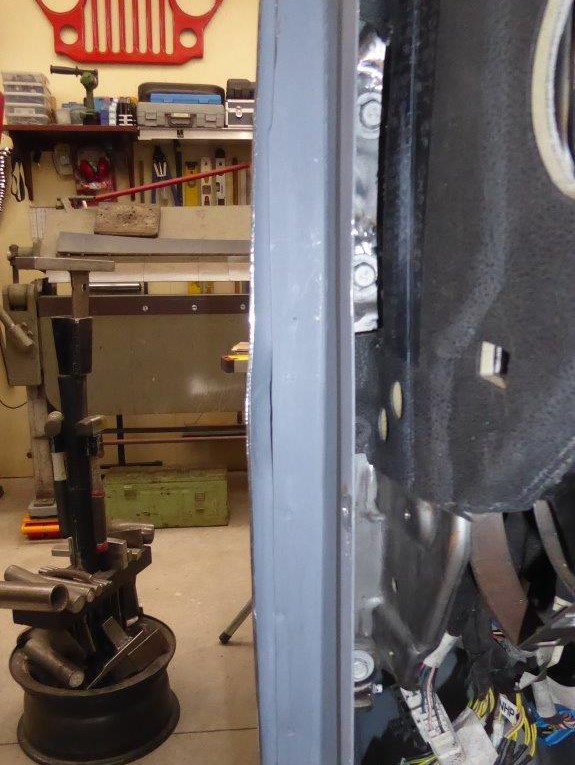
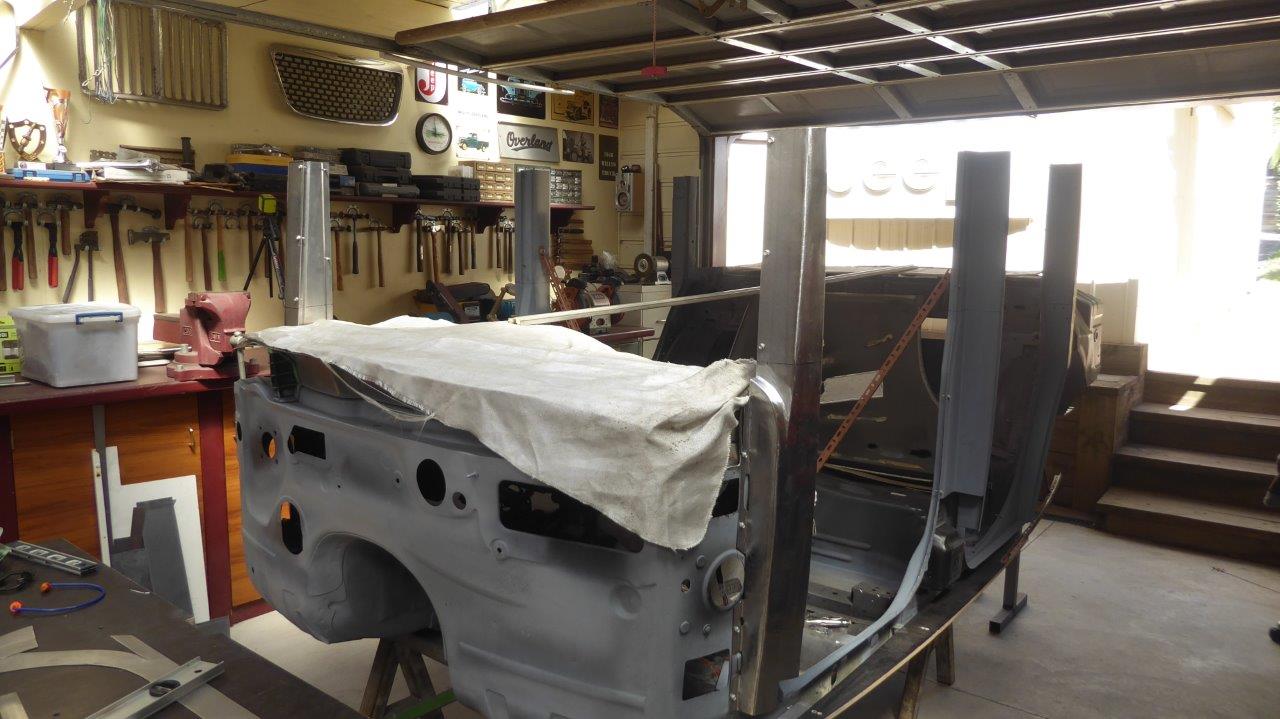
The new flange location is now fully welded back it to give the A pillar the width needed and make the body narrower. The body template, showing the outside profile on it, shows how much more width I have now compared to what I started with.
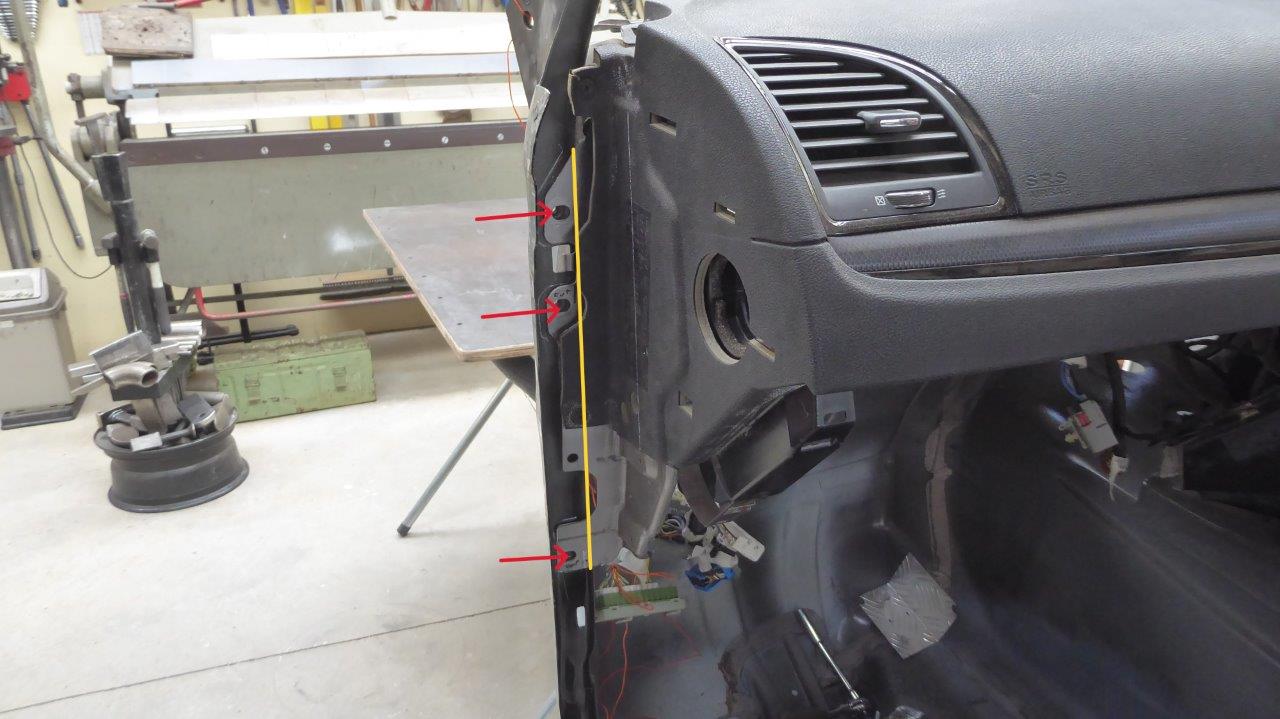
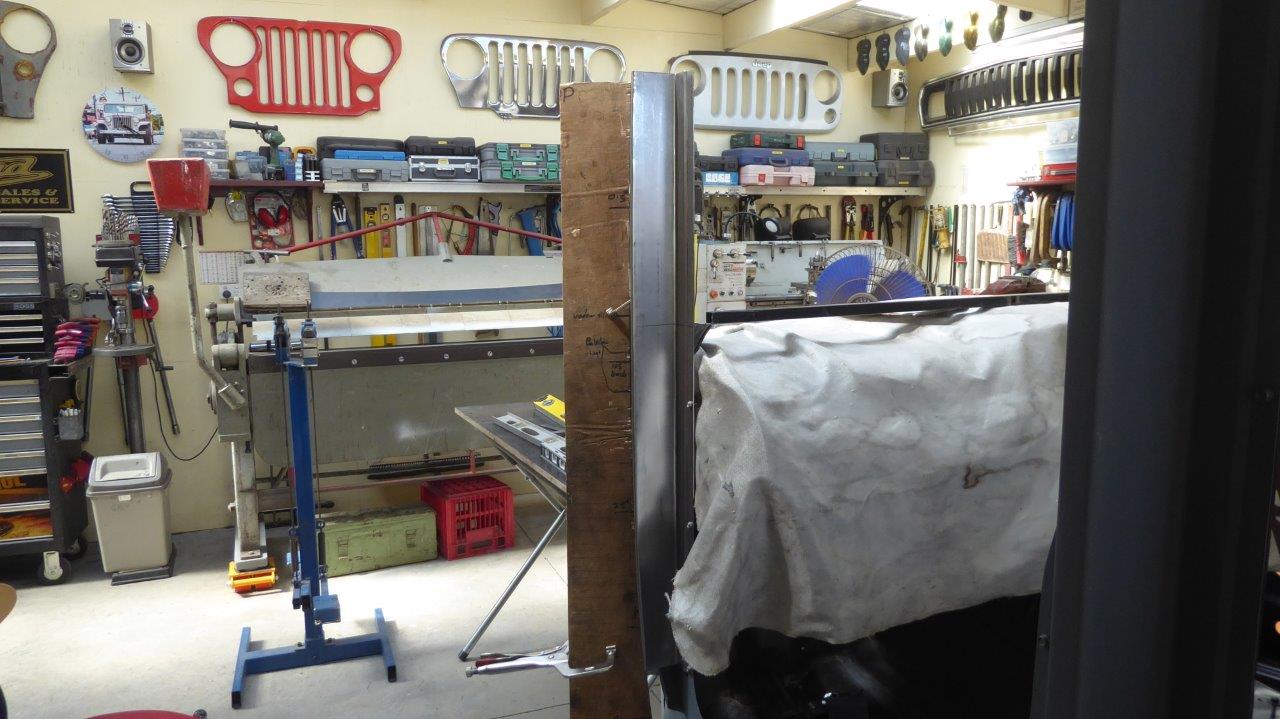
Now I have to deal with the mounting of the dash which has to be sorted out now, otherwise once the rest of the pillar is made, I wont be able to get it back out! The yellow line shows where the new pillar will end up and the three red arrows show the current mounting holes for the dash.
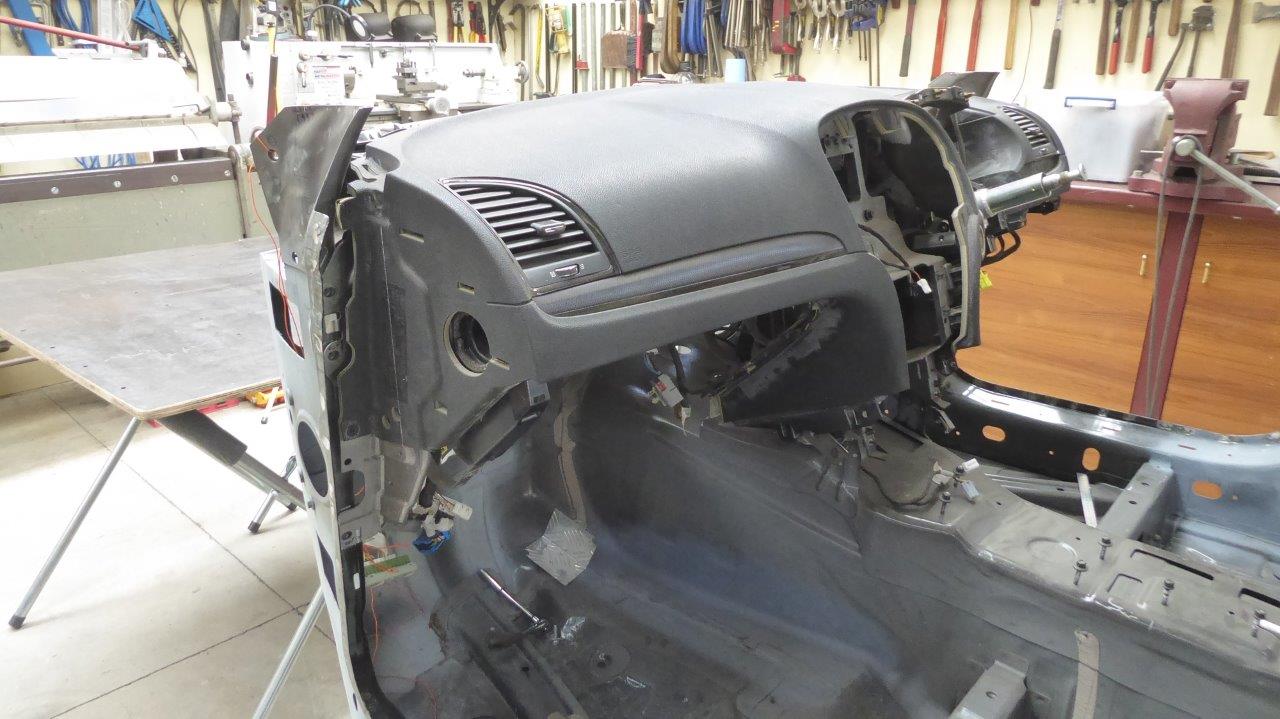
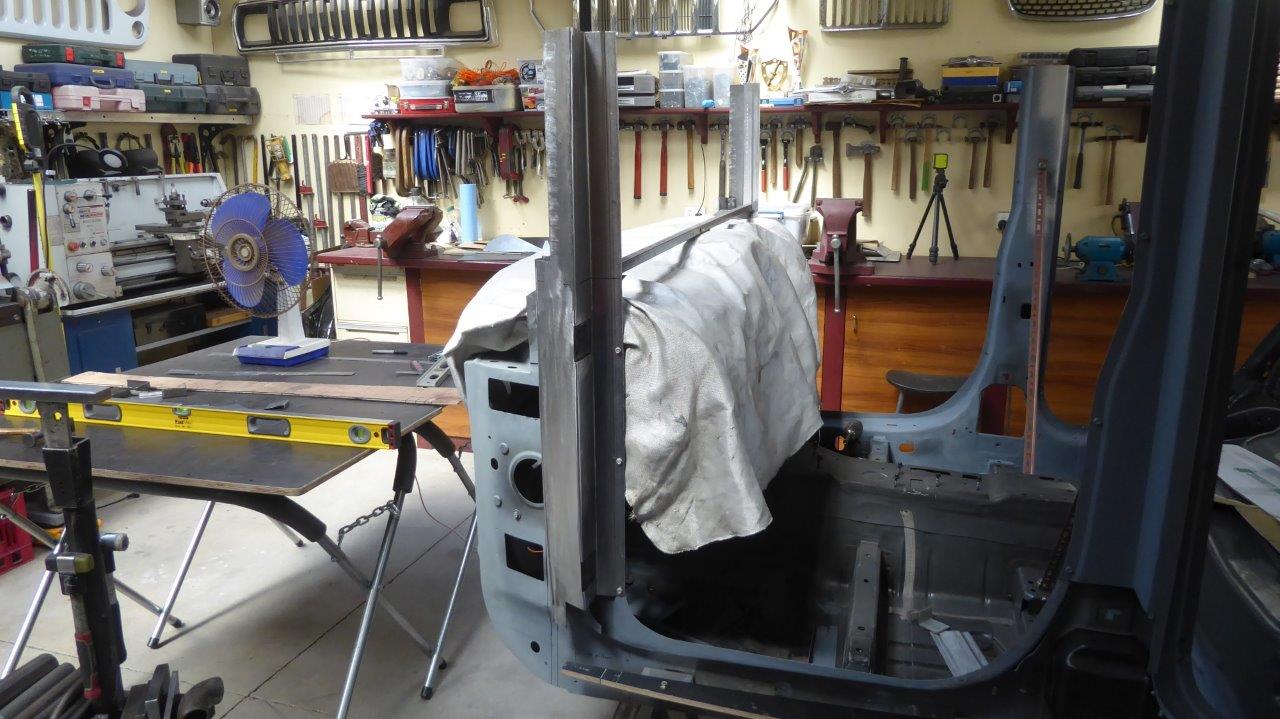
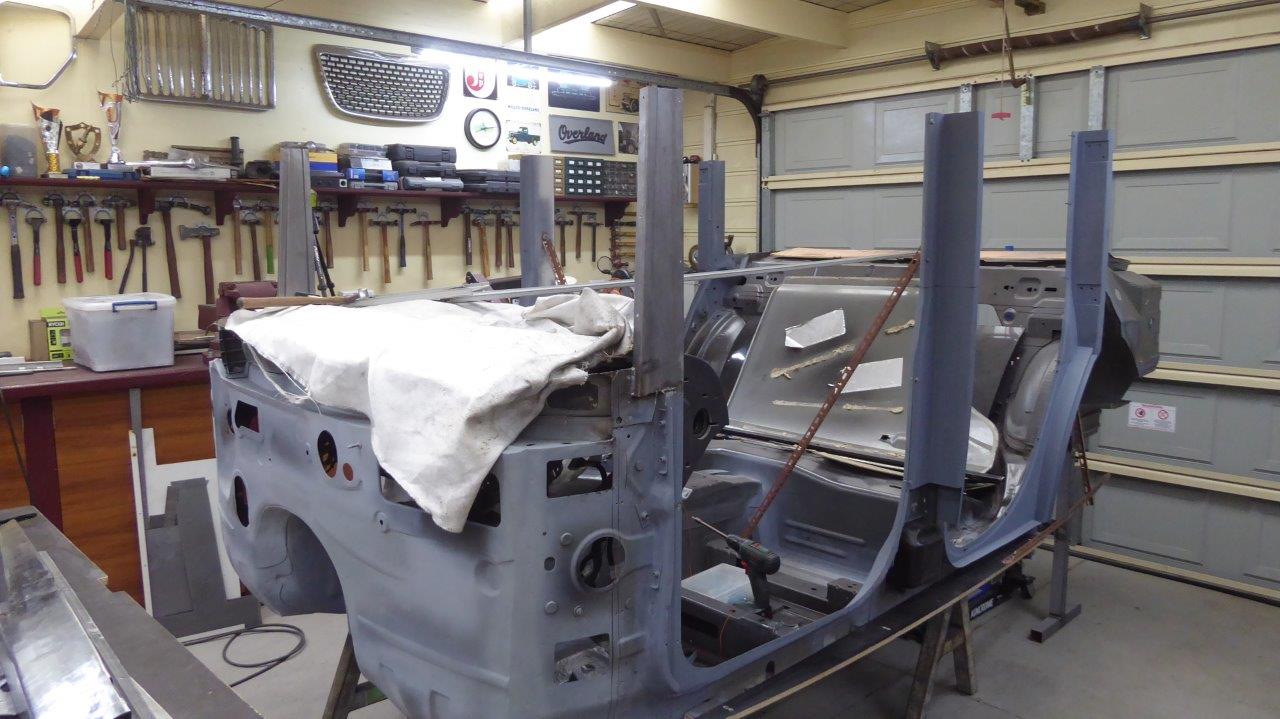
So now I have to try and lift the big awkward dash up and over the firewall and onto the table by myself. There is quite a bit of weight to it still with the steering column still in place and the steel dash structure as well.
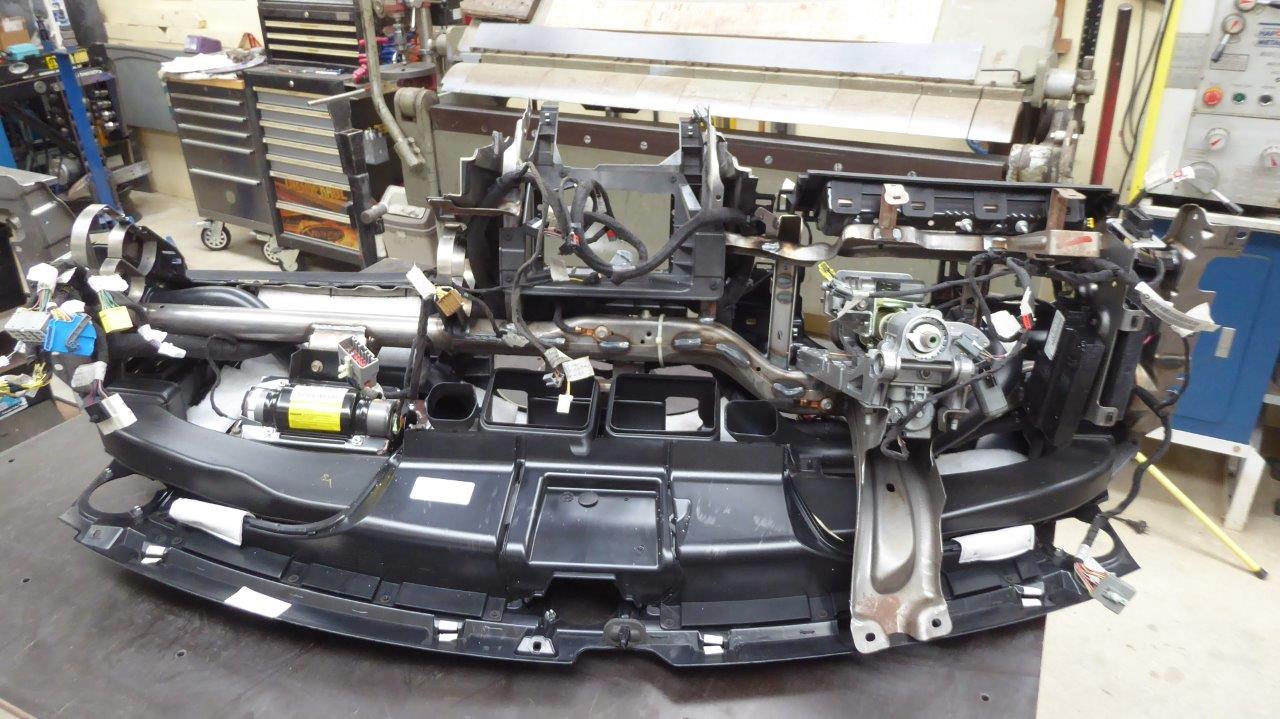
Well I did it without hurting my back or the dash itself. Notice the substantial steel tubular frame that everything attaches too and also keeps the A pillars ridged as well. It is important that I don't weaken any of this.
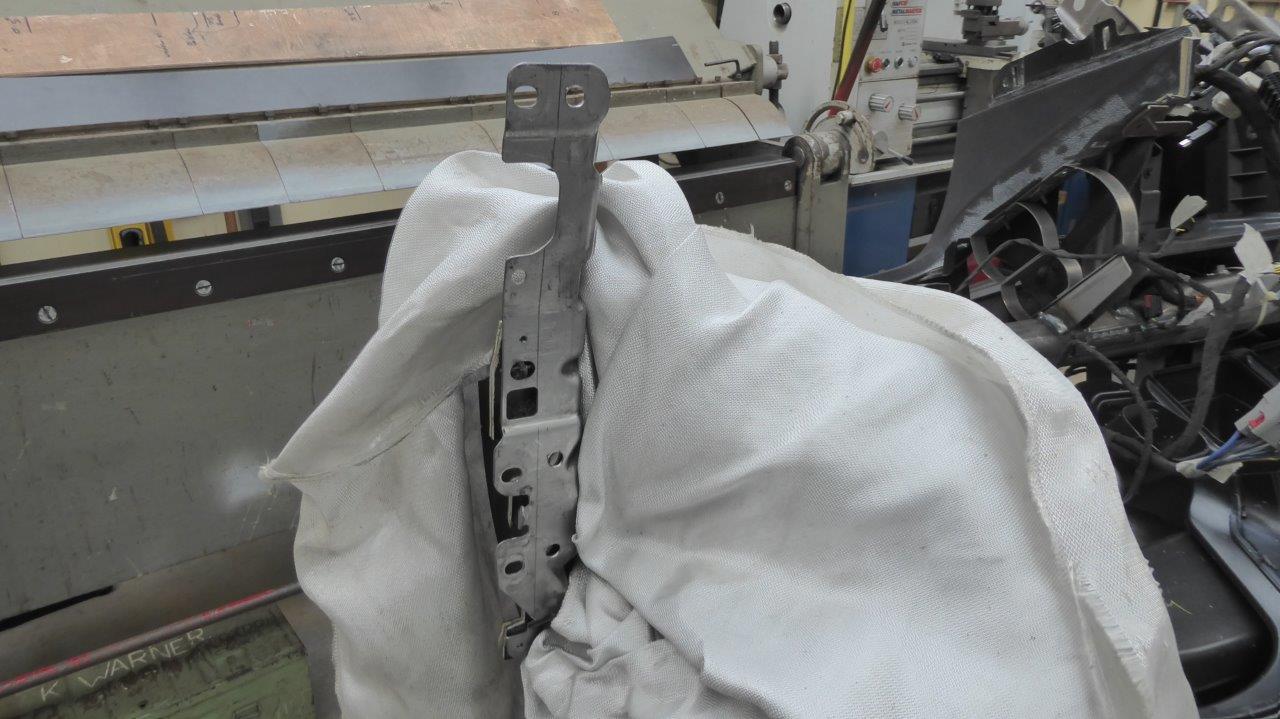
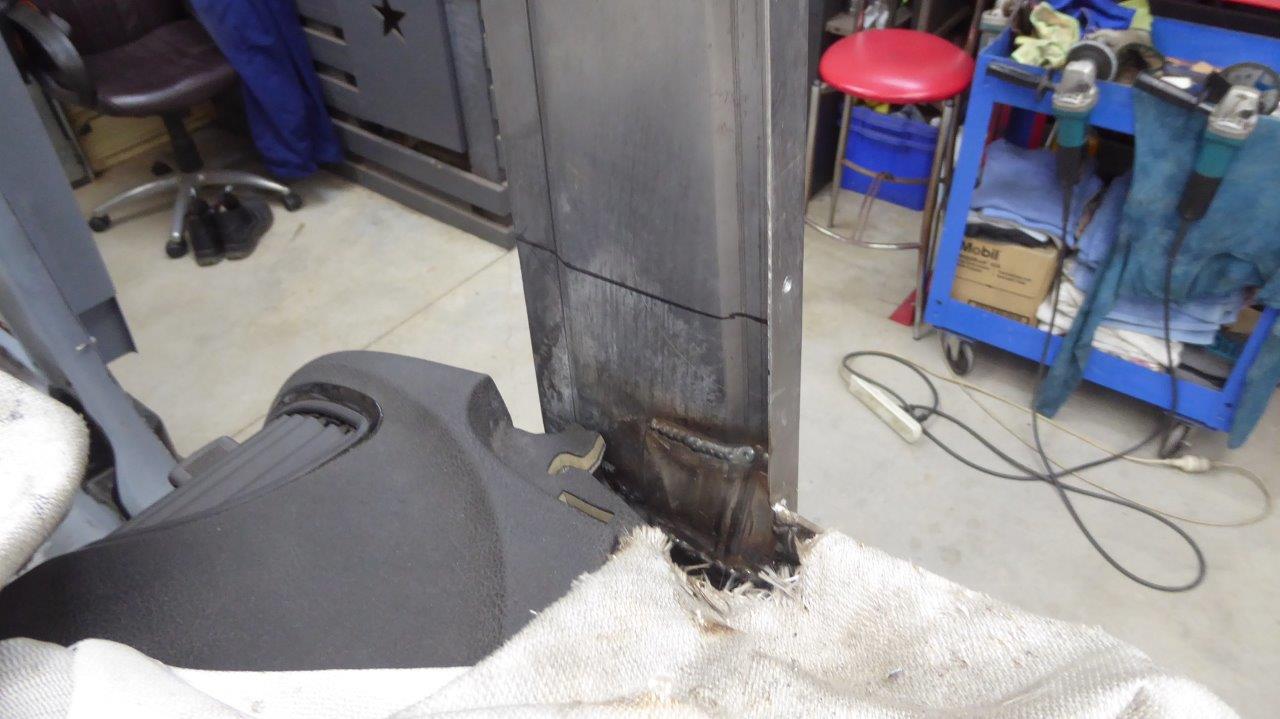
So I have re-drilled the 3 holes further inboard, staying as close as possible to where the were before spacing wise. Had to move two of them to be able to leave reinforcing ridges in place. I protected the rest of the dash with a fireproof fibreglass blanket to stop the grinding sparks melting anything.
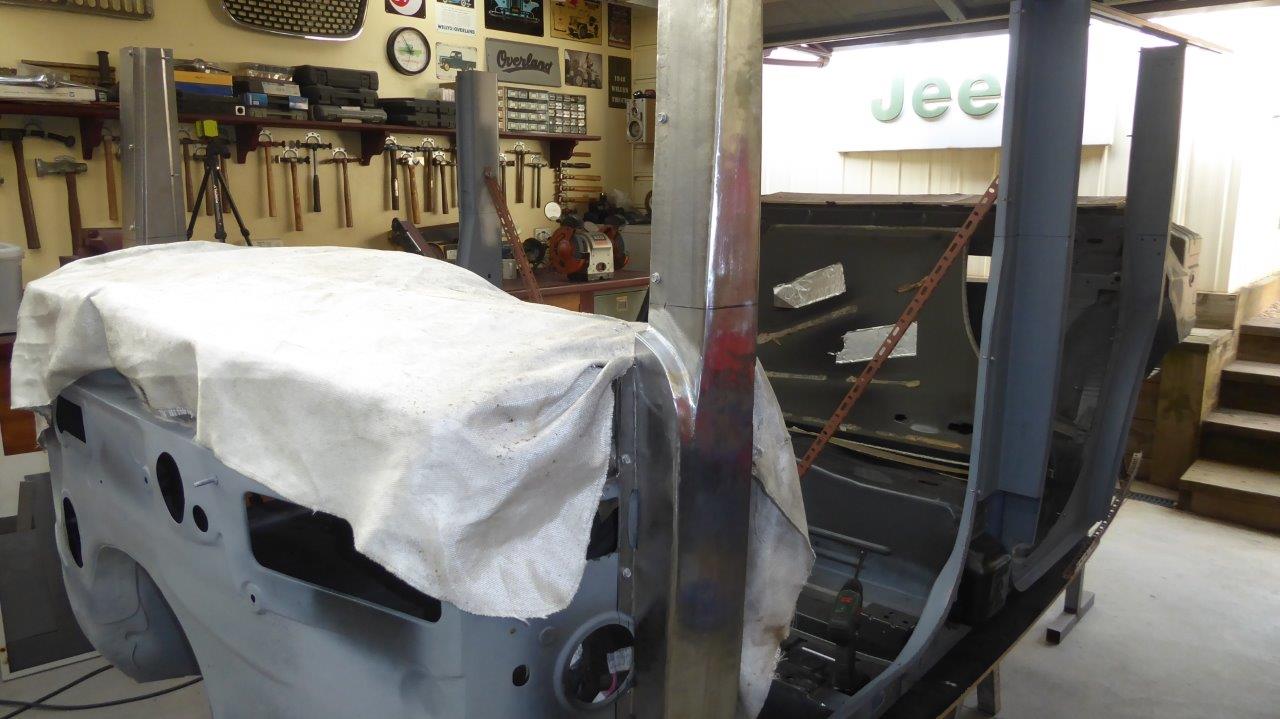
It came out well with no damage to the dash components. I started on the easier side though, so on to the other side.
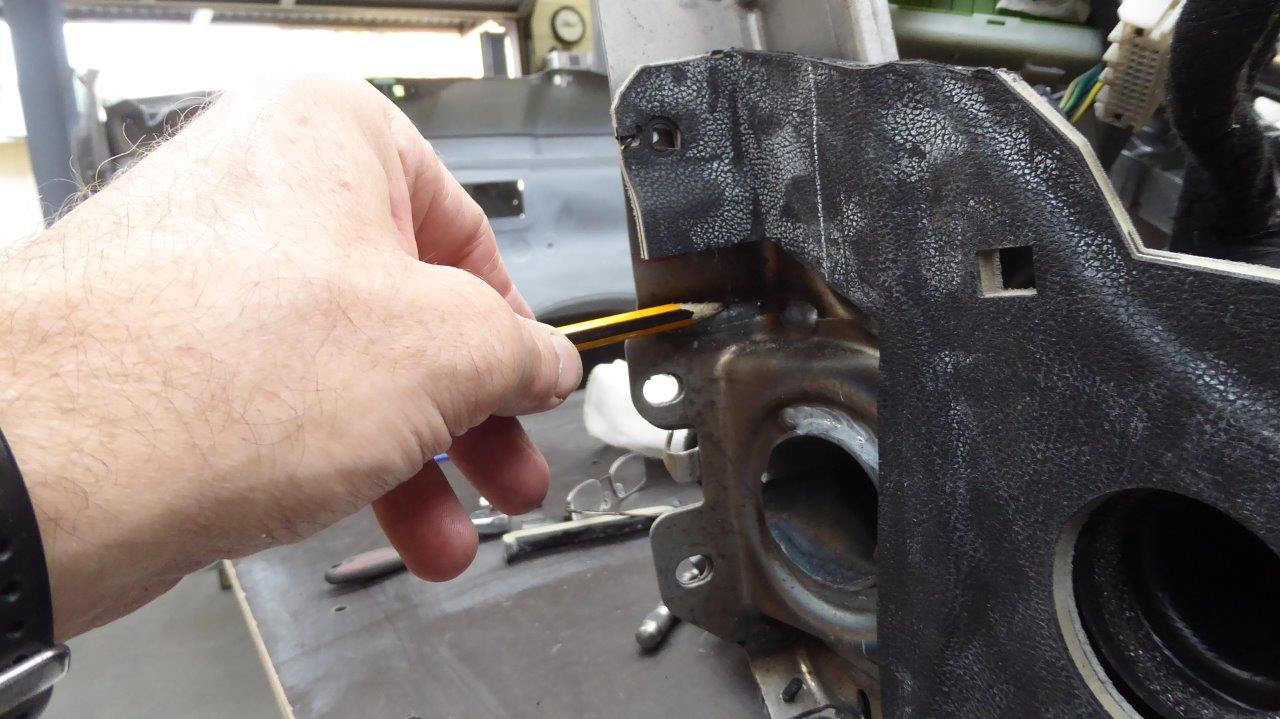
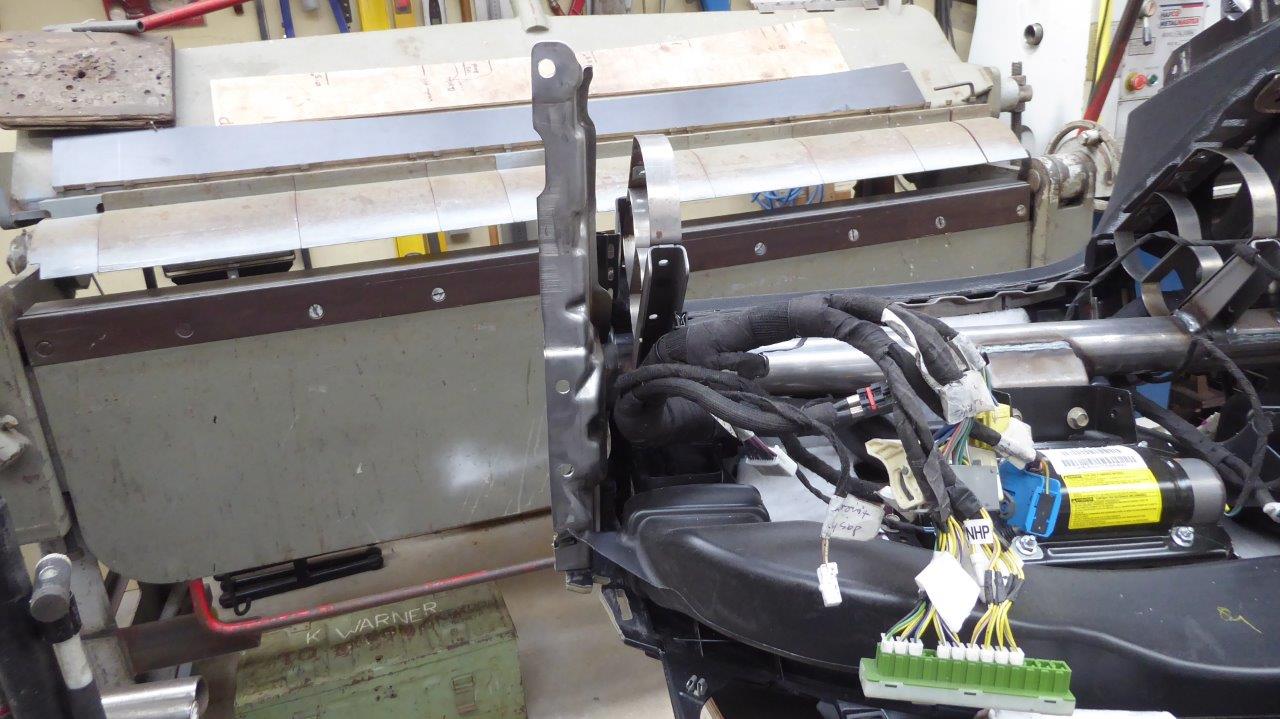
This side is harder as the end of the tube frame has an extra support around the end of it. The pencil is pointing to the spot I am going to drill the new hole. The same will be done for the other hole shown too.

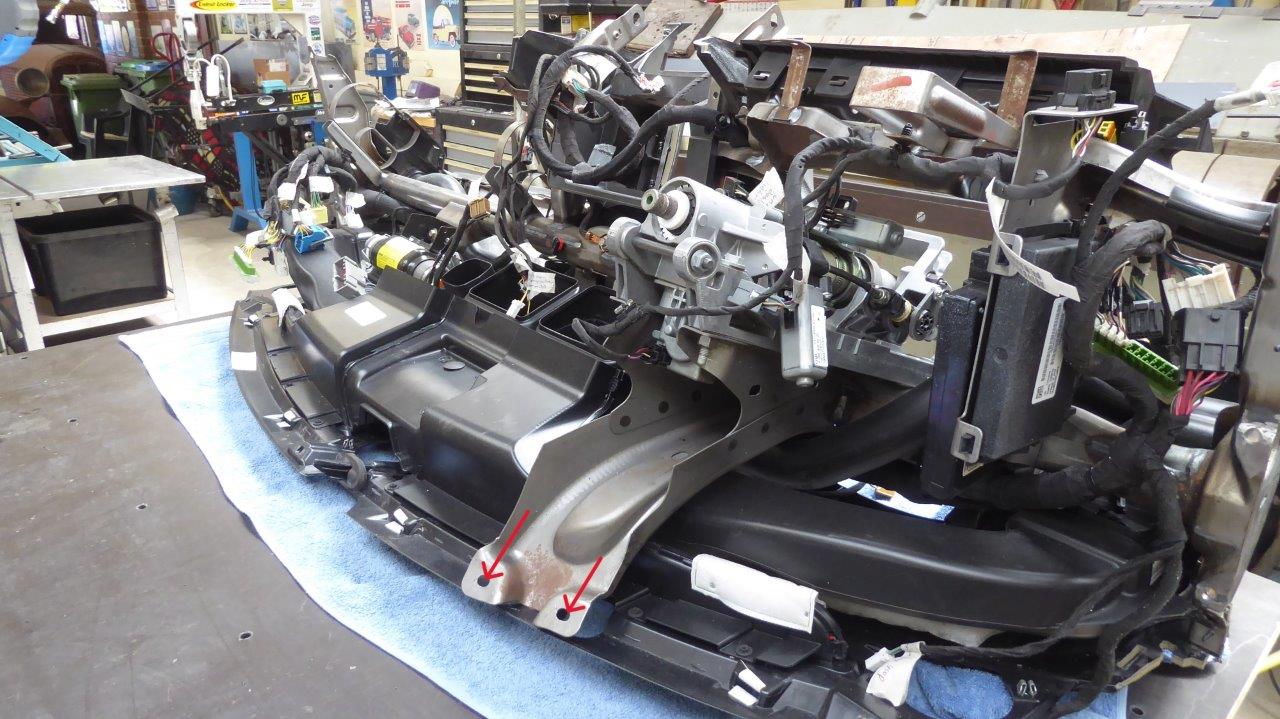
I added weld to the area first to make it flat for the head of the bolt to seat against and then re-drilled the holes, as indicated by the red arrows. The excess has already been cut off as well in this shot.
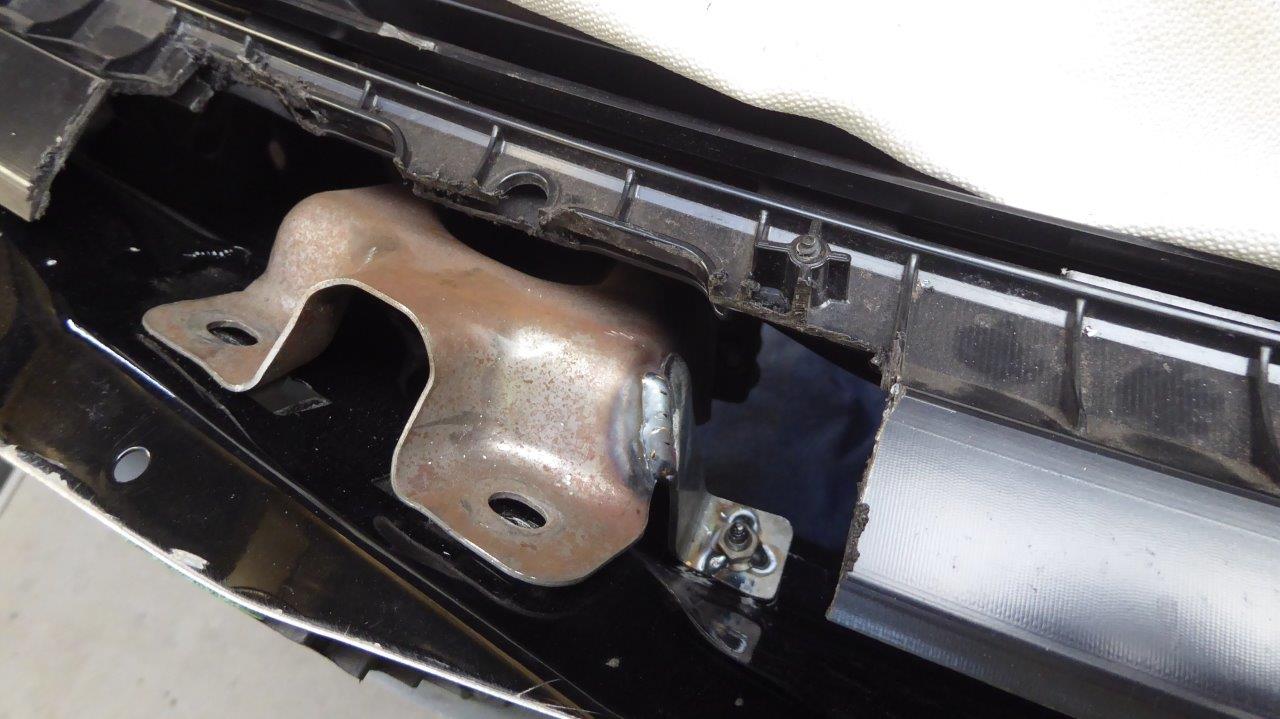
There is yet another mount I have to deal with too. Not because of the narrowing, but because the upper column mount wont be accessible at all later on. This mount on the donor was at the base of the windscreen under the removable defrost vent grille panel.
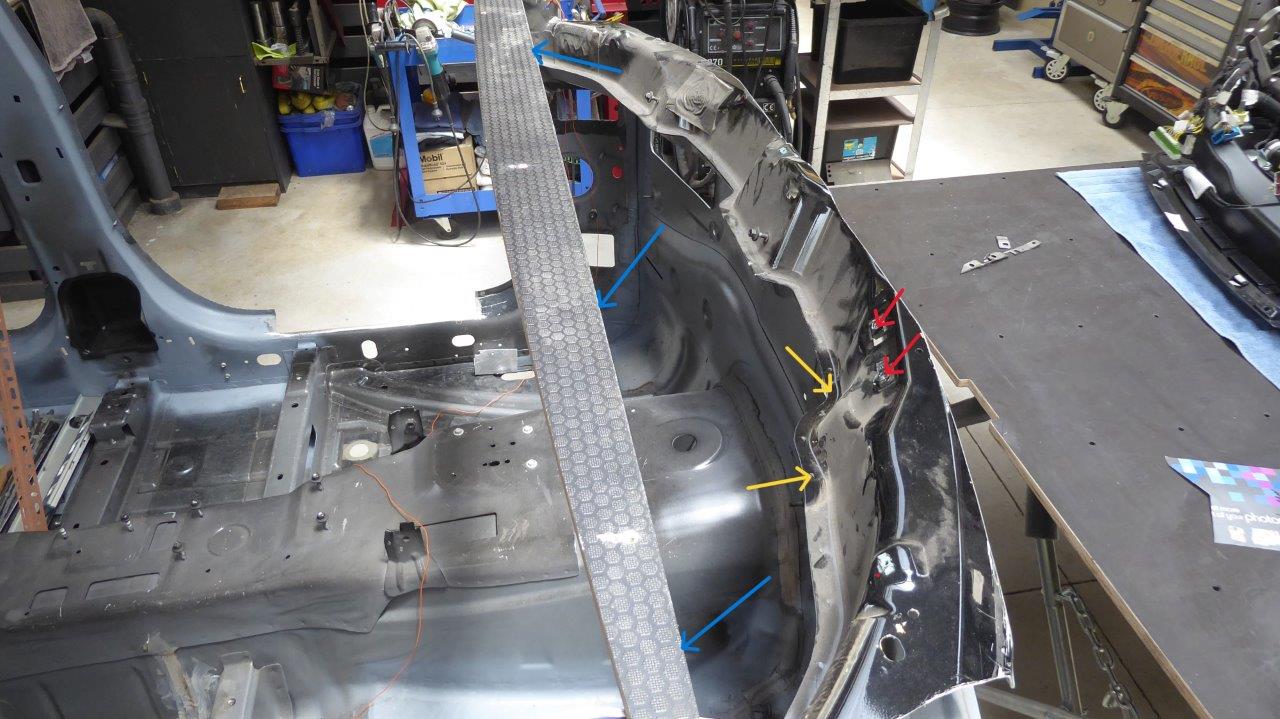
The red arrows show the old mounting sliding nuts that the column mount bolted too, where the edge of the dash/windscreen was. I'm going to move the upper column mounts to the much stronger pinch weld as indicated by the yellow arrows. The blue arrows at the edge of the board is where the new windscreen/windshield is going to be. All this area between the board and the top of the firewall will be covered by the cowl in front of the windscreen/windshield, hiding a lot of the donor dash, which is what I wanted.
The dash was put back in place and I cut away some of the plastic so I could weld the new upper column mounts in while the dash was in place. Another steel strap mount was also welded in on the other side and will be fully welded when the dash next comes out. I had to remove the steering column to be able to more easily bolt them in place, but it is not something I hope to do very often!
I made a new piece for the start of the A pillar and spot welded it into place. The red arrow is where it was and the yellow where it moved inwards to. It is also now vertical instead of sloping back to suit the Willys door hinges. I had to build new mounts for the dash out of plate that was drilled and threaded to take the stock bolts. It is tight in there but can get a 1/4" drive socket in.
Just like the other pillars, the A pillar needs to be shaped following the body curvature. The bottom of the template is against the horizontal template and positioned at the right height with the outside of the template perfectly vertical. Then it could be folded over in the tipping wheel.
The front half of the pillar was done the same way but was made a lot shorter. That is because it needs to slope back at the windscreen angle from this point up.
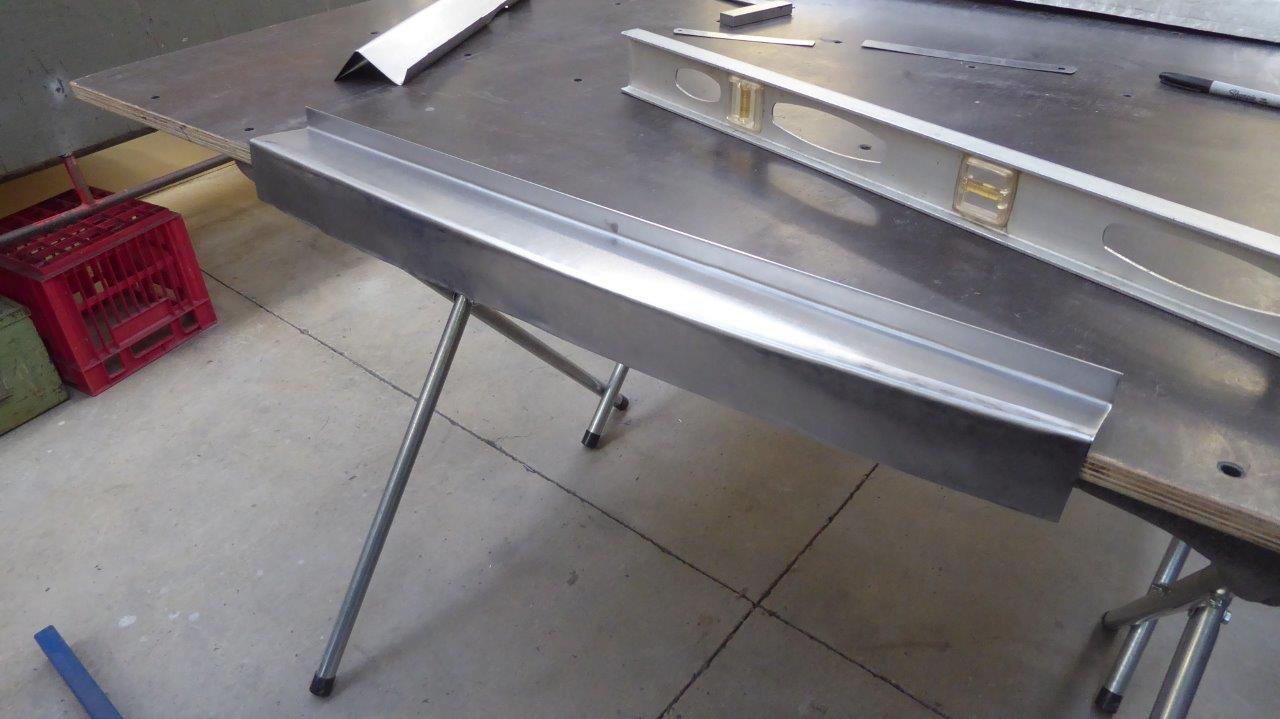
The lower portion was tipped and ready to join onto the longer back half.
This pillar was made wider than the others because the leading edge of the lower half will also be where the front 1/4 panel will come too. The A pillar will still get an outer skin added later that becomes part of the cowl and windscreen frame. Everything is double layered except for the hinge face. The 10mm nut plates have also been recessed into the pillar.
The A pillar also needed to be angled inwards to match the line on the floor which shows where it will run to the side of the grille. I have two lines as still not sure if to do flat 1/4 panels like stock or with a slight curve like the rest of the body. So angled the pillars to the steepest line and can adjust the outer skin to suit either line later on. The outer skin is 5mm-3/16" spaced out from the inner pillar, but can space the forward edge out more if needed.
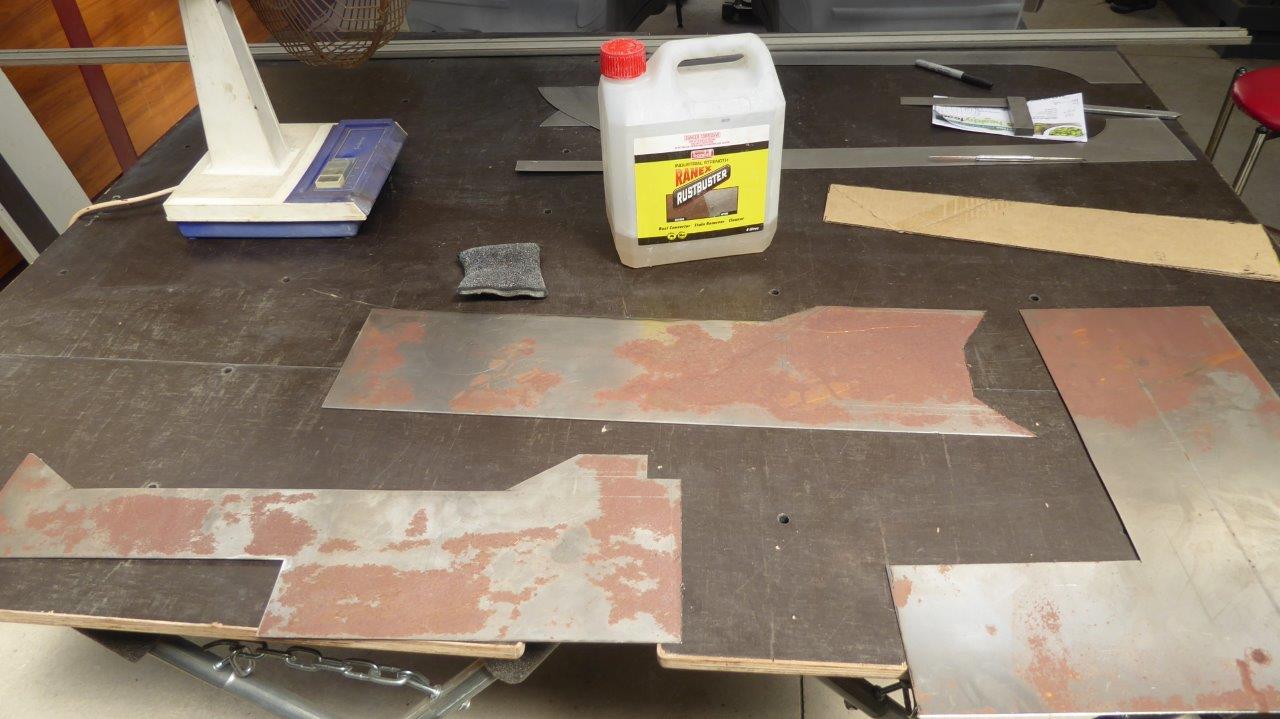
I don't have much of my new sheet left and always use up any smaller pieces first. I had these off cuts still from when I was building the Truck back in 2024. They have now got some light surface rust on them so will treat them with Ranex Rustbuster, bought at Bunnings, which is phosphoric acid based.
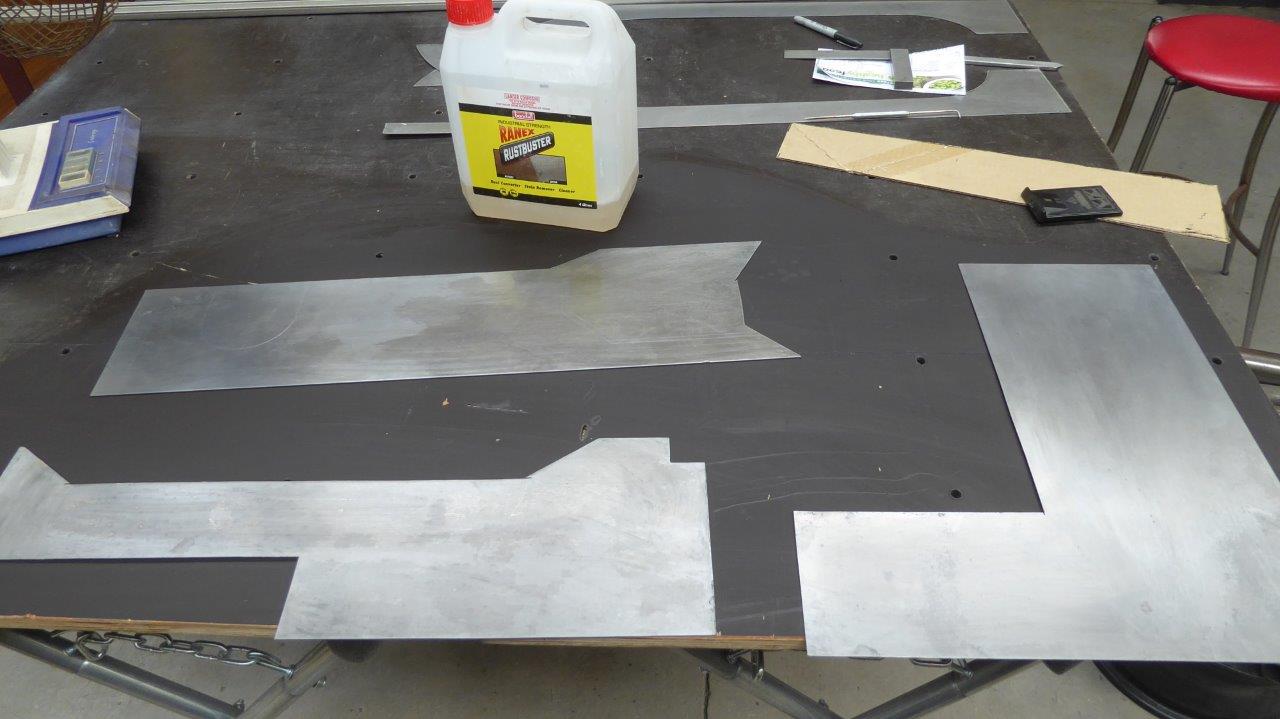
I just use it neat, poured onto a stainless pot scourer, or red scotch bright pad. Only takes a few minutes with light rust as you don't want it to dry on the surface. Keep it wet with the acid and add more if it does dry. I then quickly wipe it down with a damp rag to remove the excess and leave to dry. Leaves a protective coating on it too which lasts a while.
From the scrap I was able to make the upper inner part of the A pillars. There was a lot of working out as the forward inner edge determines where the windscreen glass gasket will sit on. So I needed to choose which rubber gasket and ask for all the specifications on it as every measurement I needed was not publicised. The inside edge also had to be at the final angle front to rear, but also left to right as the edge of the glass frame tilts in 0.5° and back 3.6°. Also had to take into account the amount of step the gasket sits on and how far in and back from the final A pillar frame skin as well.
I made tapered reinforcements where the A pillar transitions from the more ridged body shell to the rest of the pillar to reduce stress risers.
There is another transition in the width of the pillar as it goes from inside the cowl to the windscreen frame. So I already had to work out exactly what height and shape that will become later in the build as it determines where the cowl and windscreen lower frame will be.
So the A pillars just need to be extended down the the top of the chassis level and then the piece which joins the the A and B pillars along the top of the future door sill will be next. Kind of looks like the ships wooden hull or whale skeleton right now!
Video updates: