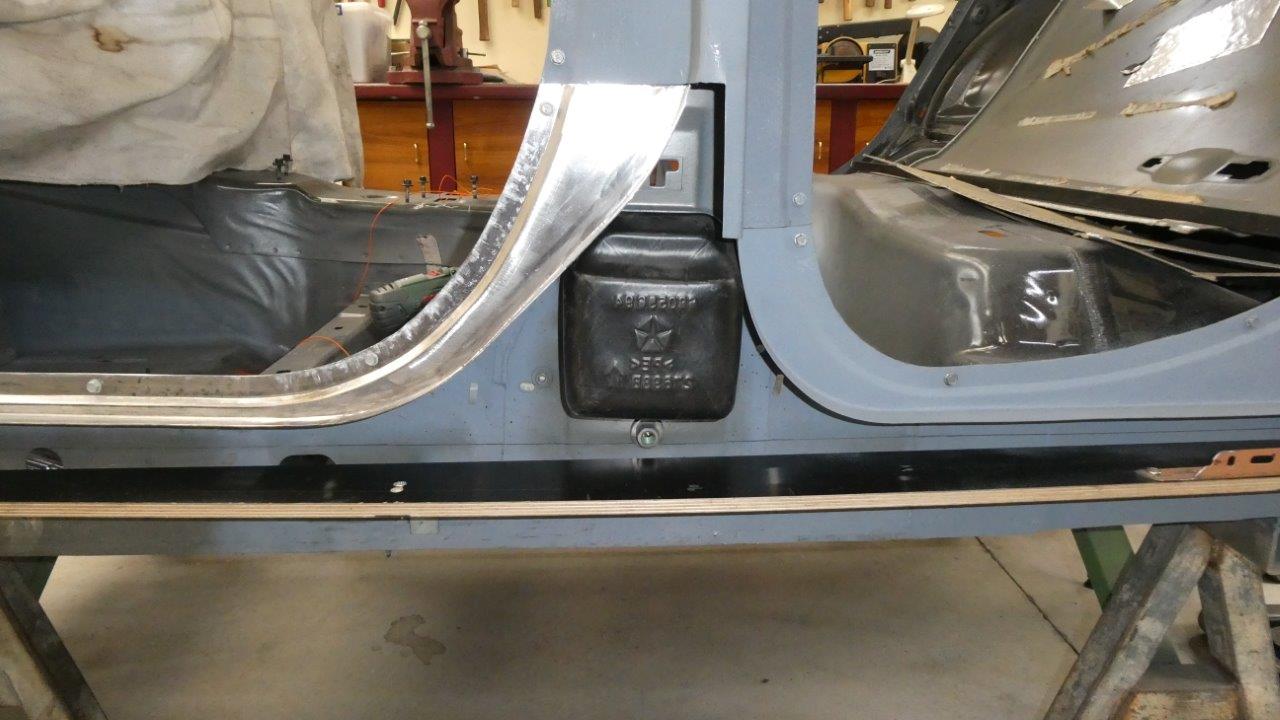
Moving on with A to B pillar door sills. Biggest thing I had to deal with here is clearing the seat belt reel cover. I followed how it was done on the donor with two radius turns linked by a straight section.
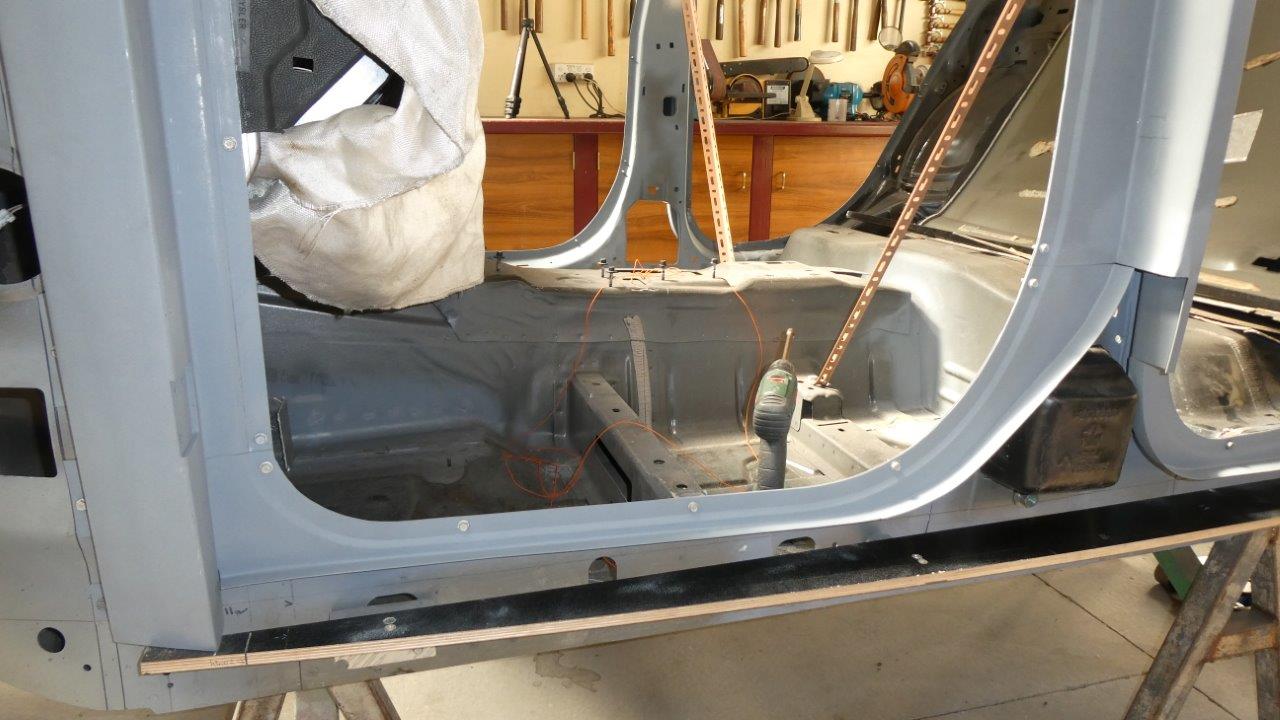
The other side I just mirrored the 90° corner I have at the C pillar end on the outer edge, and followed the door pinch weld flange on the inner.
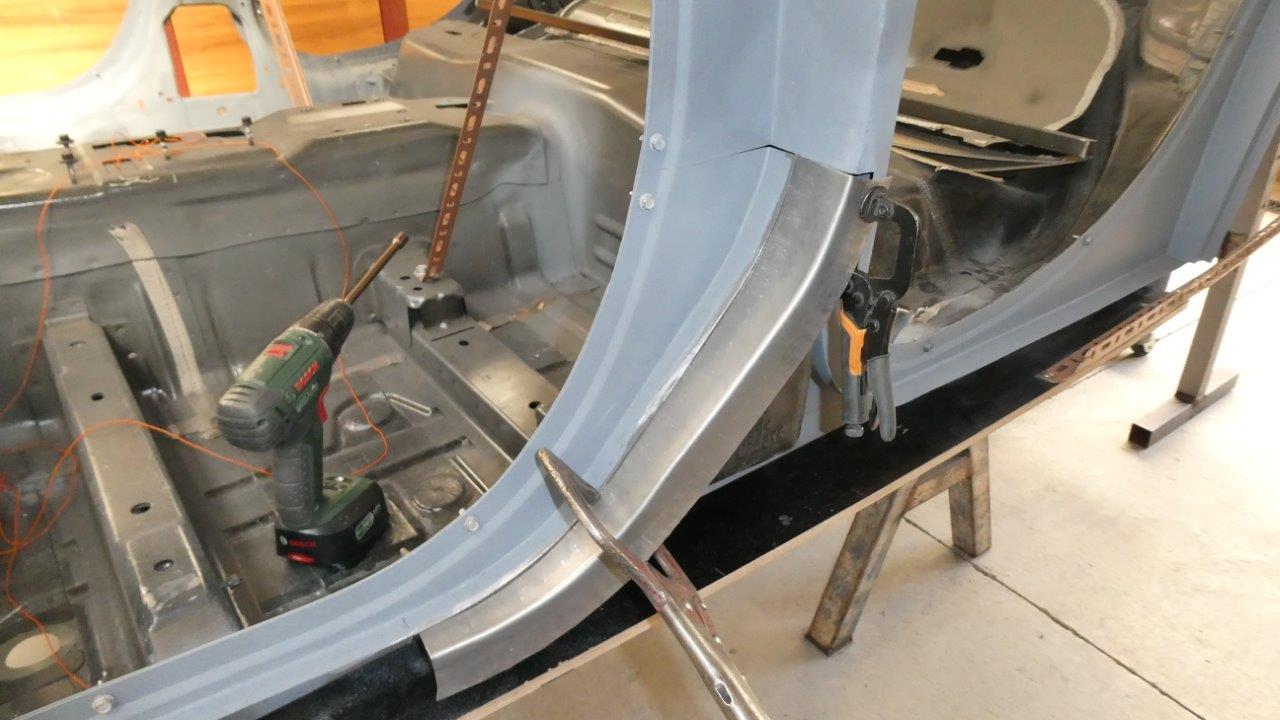
Next is to complete the door sill all the way out to the edge of the bodyline minus the seal depth. I thought to just come straight out to the full width of the B pillar following the piece I had just made. I did a straight fold and then used the shrinker/stretcher to make the curves follow the inner piece, but also the body profile vertically, keeping an even width out to it the depth of the seal that will sit in between.

But then while I was doing the dishes at night with the wife, I was worried that there was not enough door frame support in that corner later on when I build that. So I decided to build the rest of the door sill between the B and C pillars next, slimming down the inner section as much as possible against the seat reel pocket. This more than doubled the clearance for the later door frame in the corner.
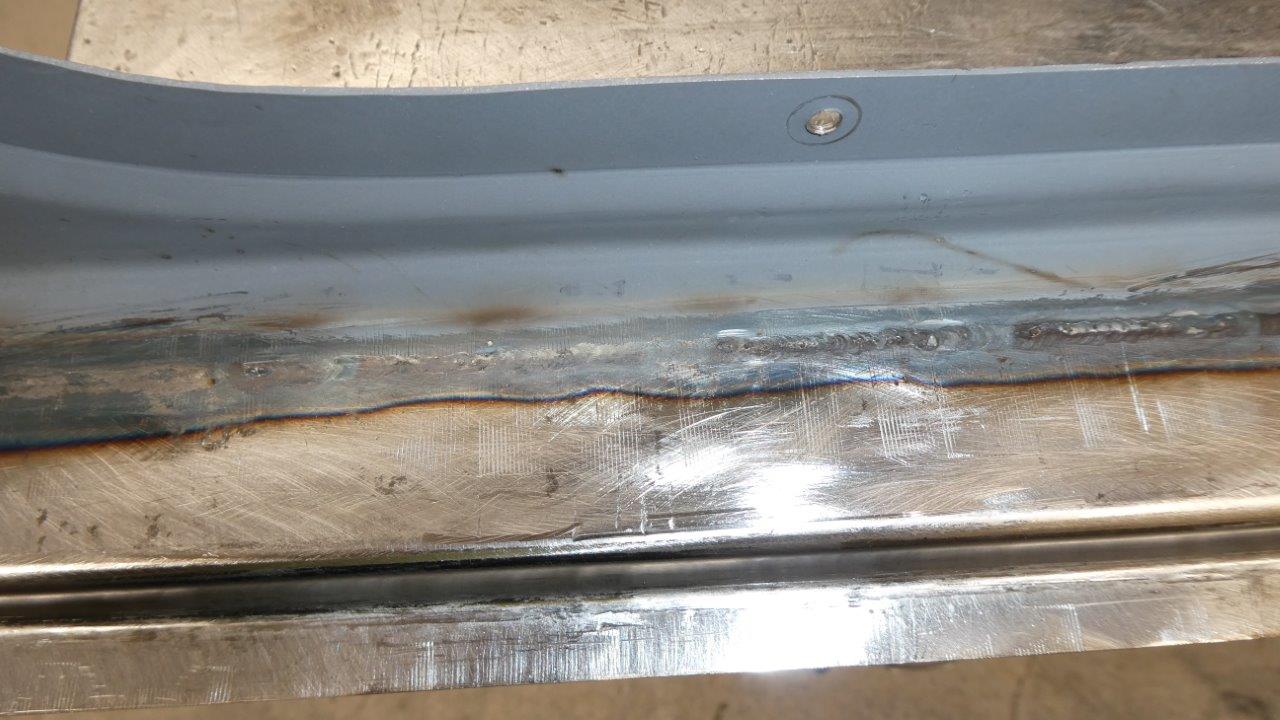
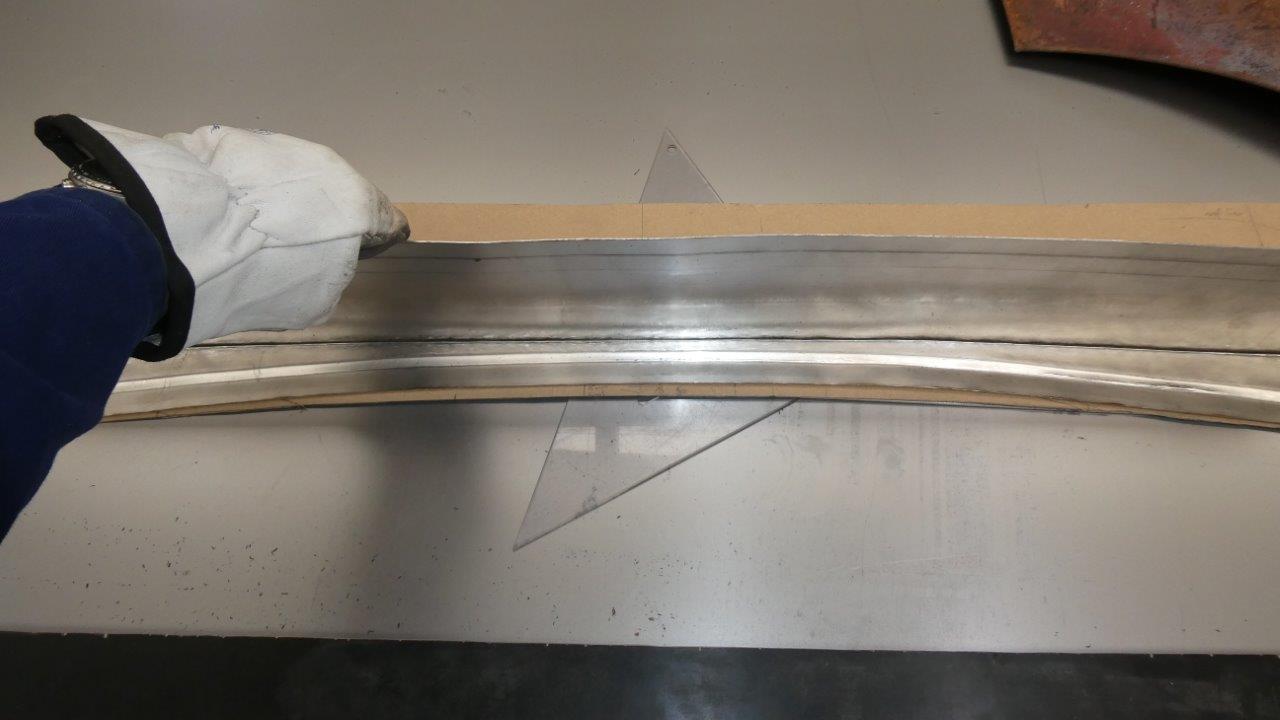
I used the left over steel from the electrical cabinet that was 1.4mm/17ga joining it to the 1.2mm/18ga inner sill. The beauty of this is I was able to just fuse weld the two together without using filler wire, as you flow the thicker metal across to the thinner. So much easier and no grinding, just sanding, after planishing the weld.
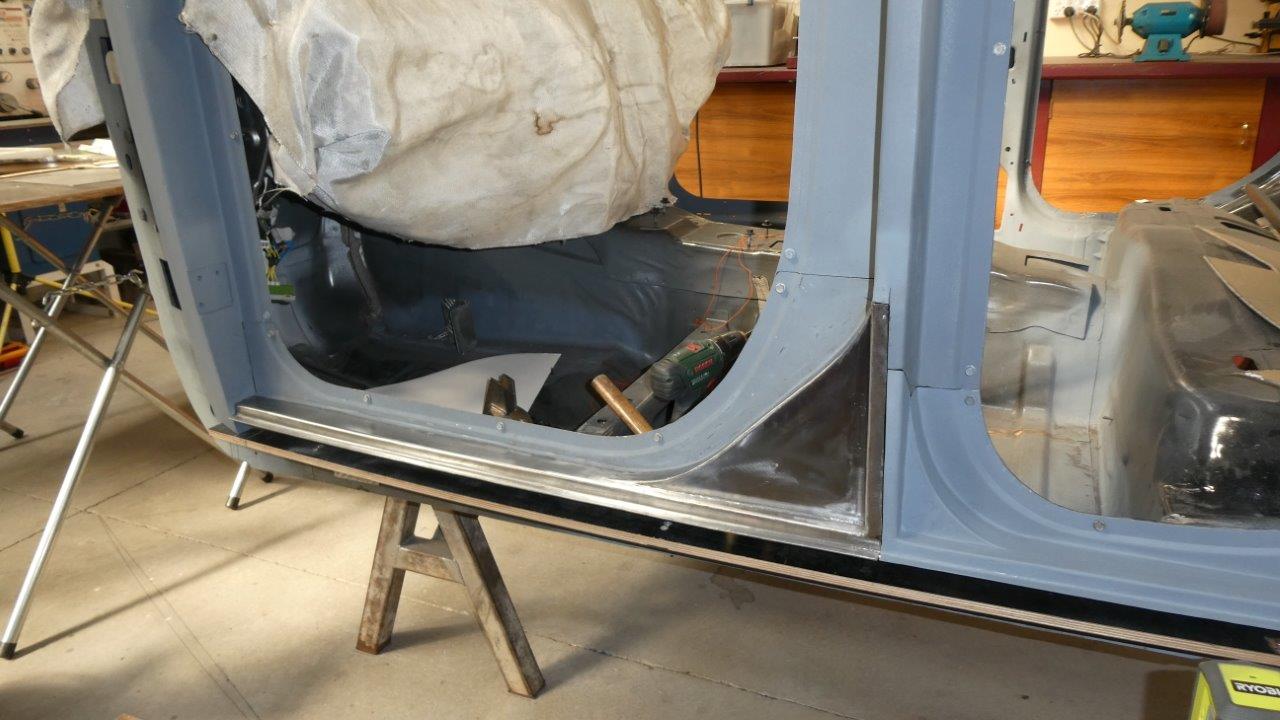
I then did the same thing to the A to B pillar sill, reducing the depth of that corner which covers the seat belt reel. The door frame depth over that corner can now be over 25mm/1", much like stock on the donor.
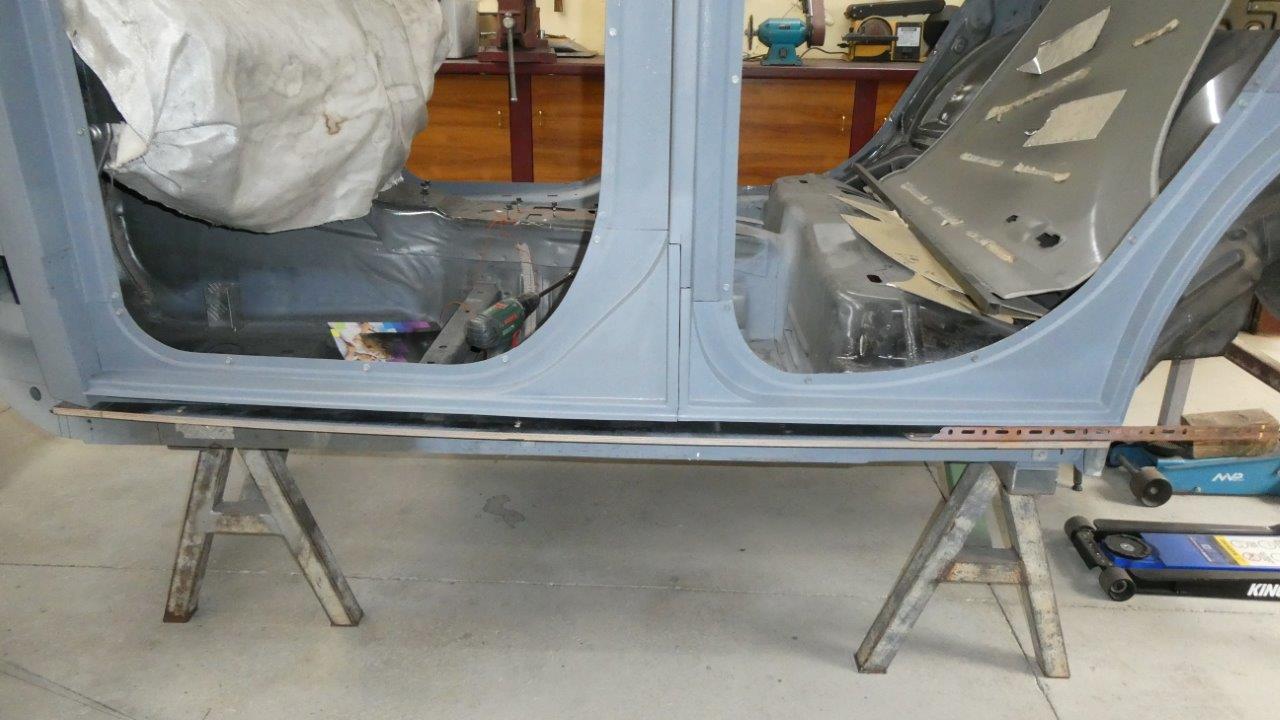
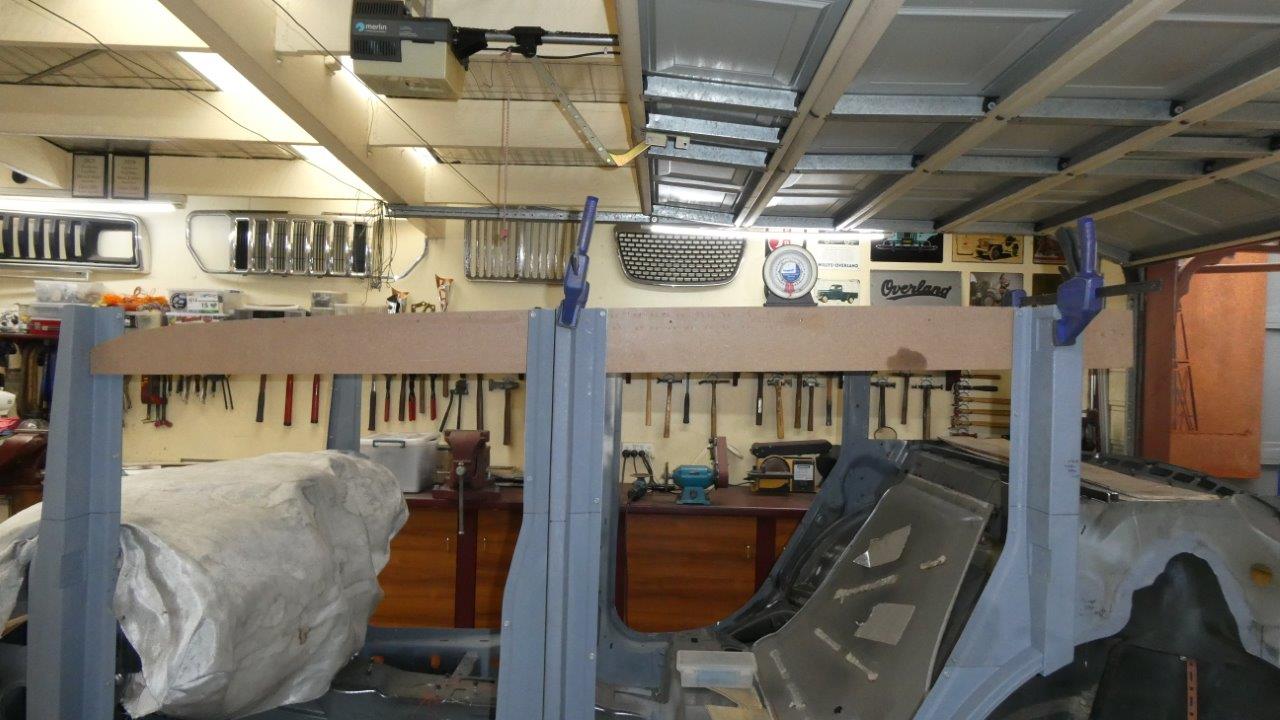
The door sill will be left at this point so I can put the vertical body gauge any where along it and check the profile while building the doors. There is still a body swage piece that comes out from below the door and then curves back under all the way to the side of the chassis rail. That wont go in until after the chassis rails are fully welded in place. Everything built so far will also be fully welded together at that point.
Video update on the door sills showing some things not in the pictures above.
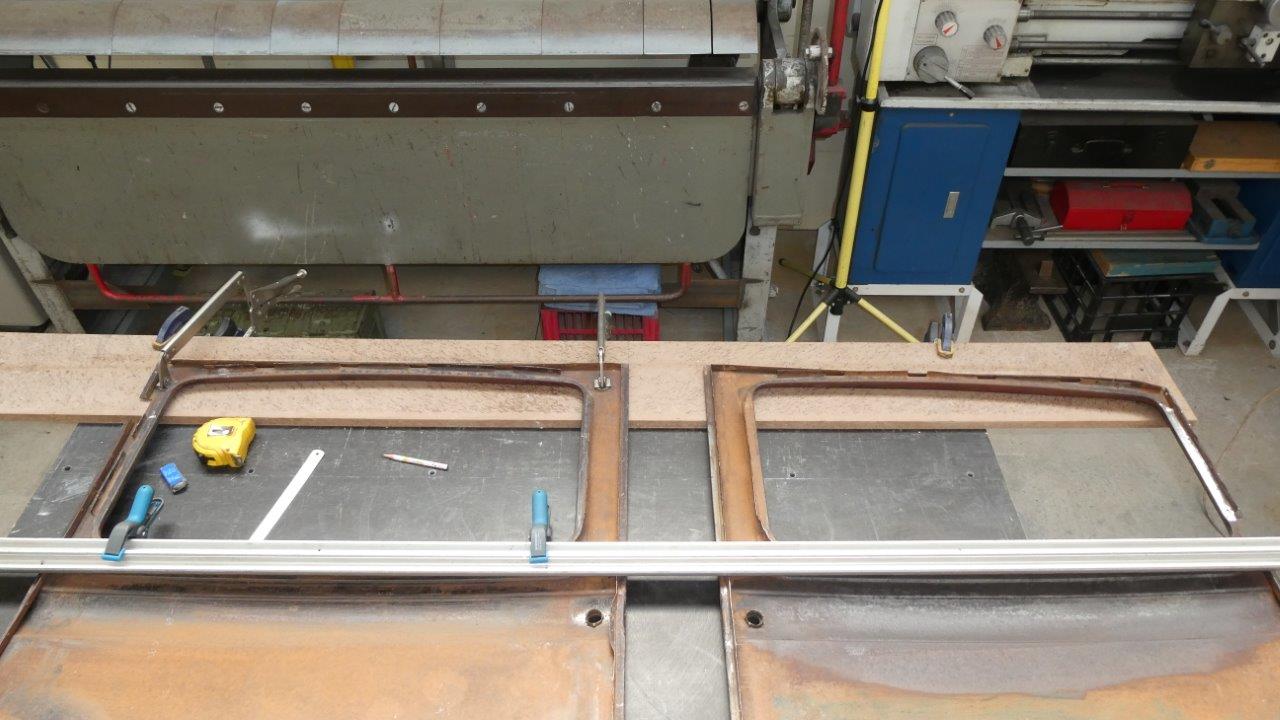
To complete the door openings, I first have to make a template to the shape of the gutter line and the top of the doors. As the doors will be longer than stock, I have to work out exactly where I will be adding the extra length to each door. The front doors will be made 115mm/4.5" longer, and the rear 130mm-5.2" longer which will make them the same length overall. I know that the doors will be inline with the bottom of the window openings, so started there keeping them equal distance up to the template.
The back door was easy as it is the same height from the bottom of the window sill to the top of the door on each side, so could use the top of the door to draw against and just move it the extra distance each way, overlapping in the middle where the extra length will be added later. The front was much harder as it gets gradually bigger, so had to project the line back to meet up with the back door. I'm also making the window frame at the A pillar side wider as well to match that of the C pillar end of the back door to make them the same length overall. Stock both window openings are the same width, but the window frames are not.
The top of the template shows where the gutter line and top of the doors will follow. Notice how much it drops just before the A pillar. The roof line itself does not drop this much at the front.

The gutter line at the A pillar ends up dropping to the same level as the top of the glass opening on the front windscreen/windshield.
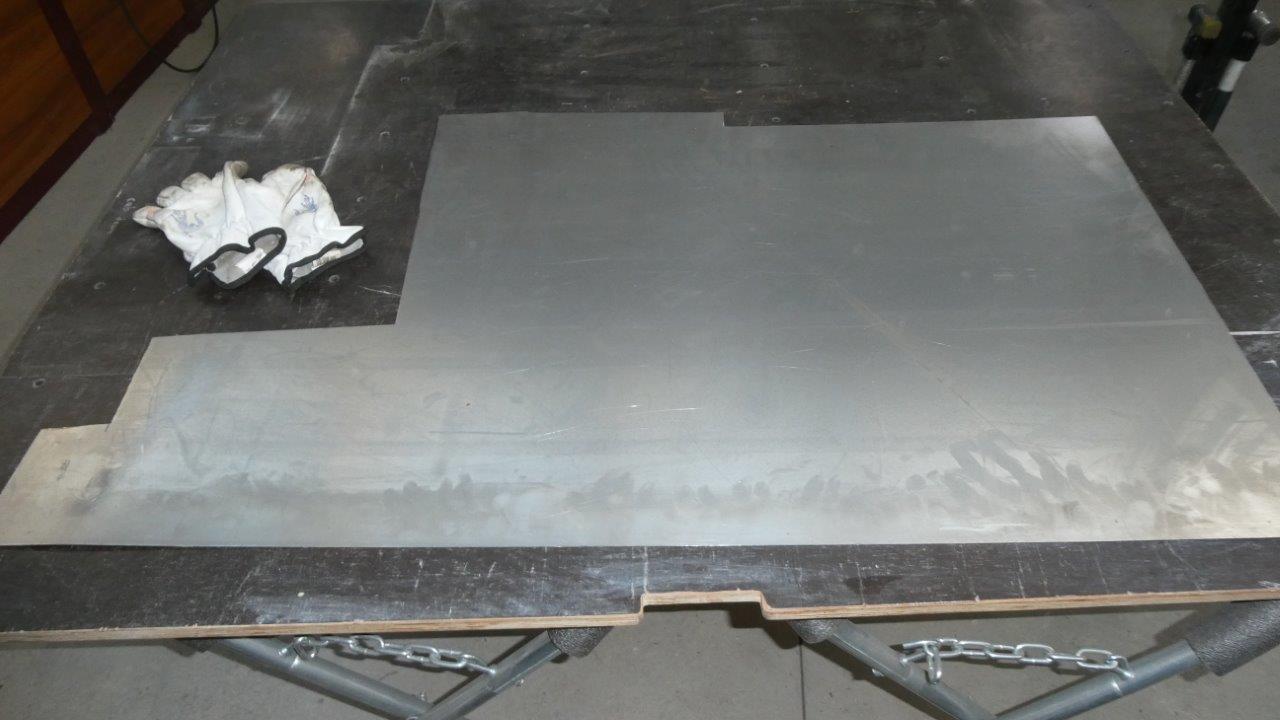
This is all I have left of the 2400x1200mm, or 8'x4' sheet, just doing the three sides of the door openings so far! I even started with a similar size left over piece from the Truck build and used the electrical cabinet doors and even the draw lid from my toolbox. I'm really careful how I lay out my pieces and save every piece to less than the size of a pack of cards.
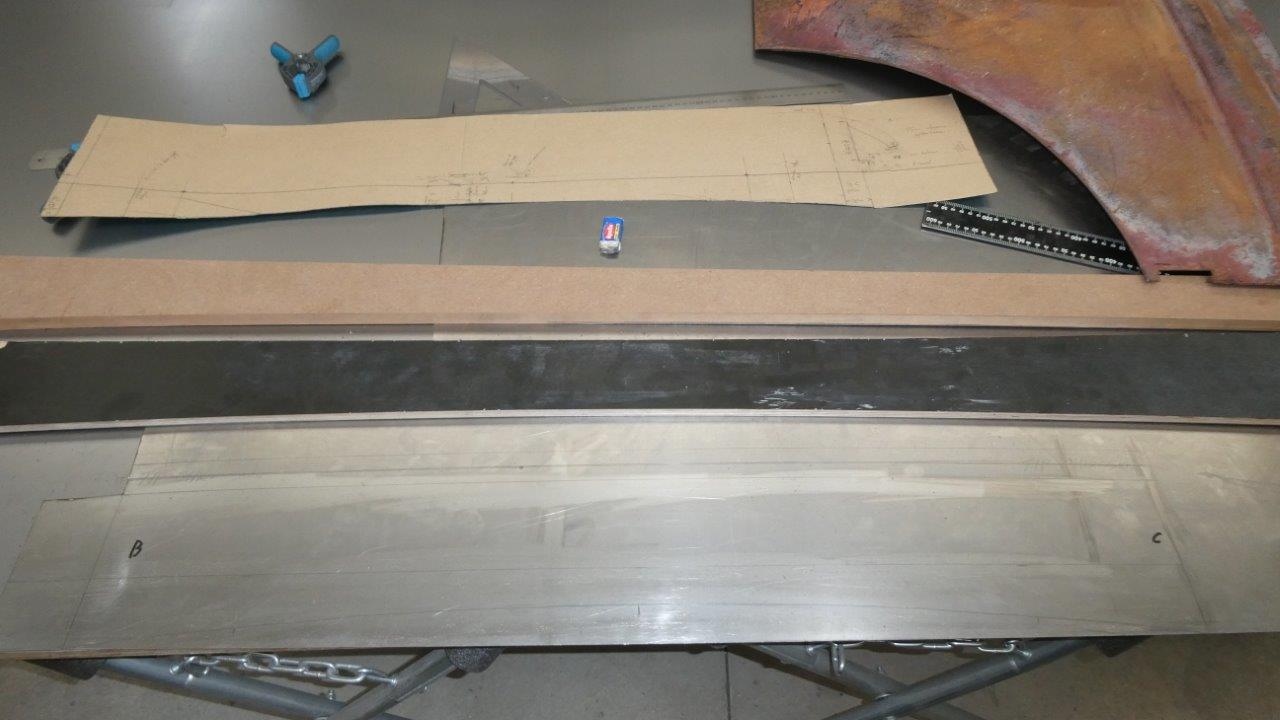
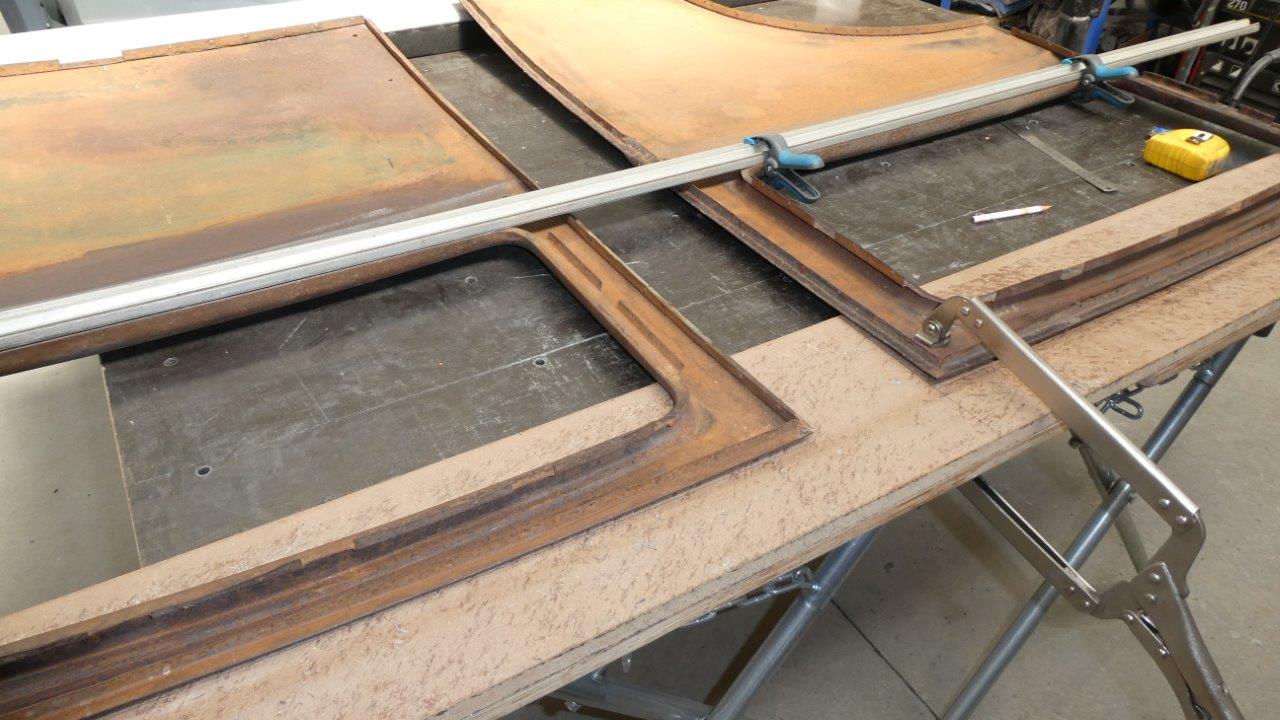
This is where it got complicated. To layout the piece I need 4 different templates for cutting or bending on. The top cardboard template is the extended upper window opening profile and will be where I cut along the bottom. Next will be a bend line using the gutter template which will fold the piece on a curve making the piece a L shape over the top of the inner door frame. The next fold is I had to think about is where the piece will turn back up and form a step for the outside door seal to sit against. It has to curve to follow the gutter vertically, but also curve horizontally to follow the body line. I used the black ply body template for that as I cannot alter the horizontal curve once it is tipped, but can alter the vertical profile with a shrinker/stretcher to get it to suit the gutter line. Then I use the same body profile again to fold back to horizontal and to cut the piece at the top. Also had to remember on what side of the piece each of these steps need to be taken on and take into account material thickness as it will add to a dimension as well, depending on which side the fold is on.
After cutting out the template I first put the step into it to match the other sides of the door opening. The inner pinch weld seal sits in this step.
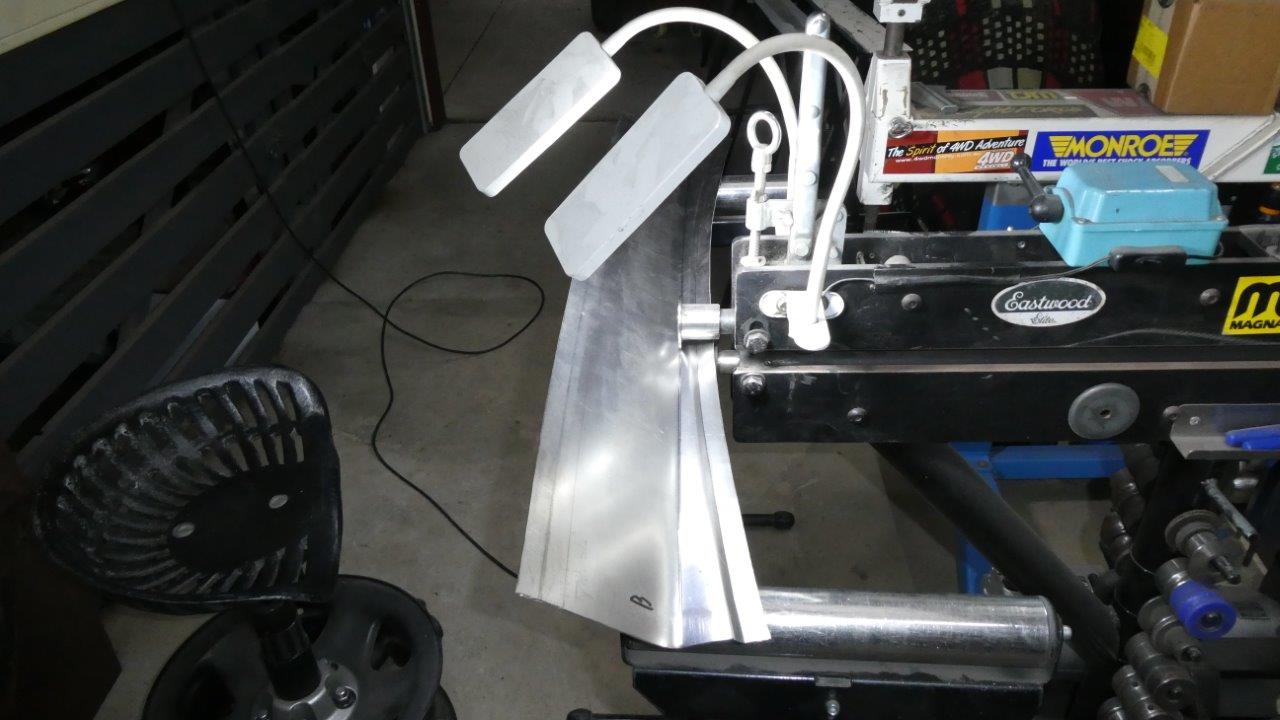
Then I could tip the gutter line profile which will make the piece into an L shape and go back over the top of the inner door frame.
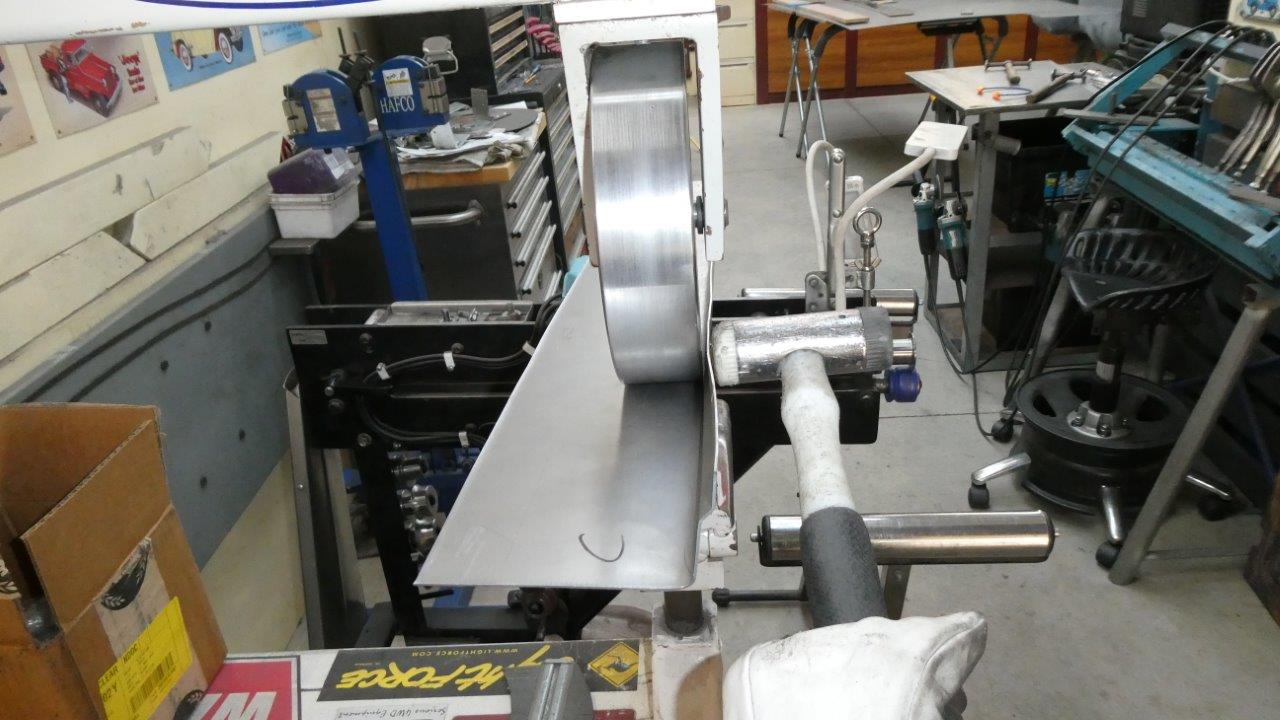
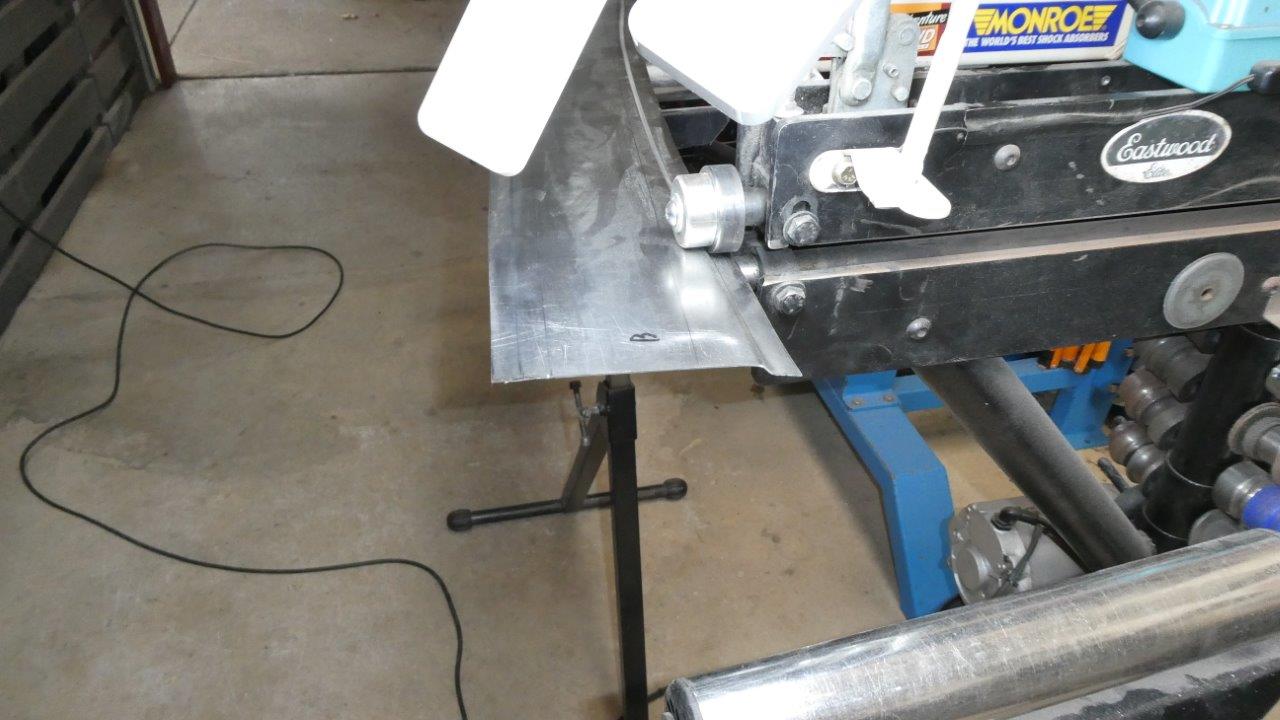
Using a tipping wheel leaves a soft radius next to the fold line on the side you are levering up on. I pass the piece through the English wheel with a bottom flat anvil which removes that radius. I also tip the fold the rest of the way to 90° as it is passing between the rollers. This makes sure the bend is only happening at the fold and I find it quicker and easier than finishing the fold over a stake or dolly.
The piece is now folded to 90°
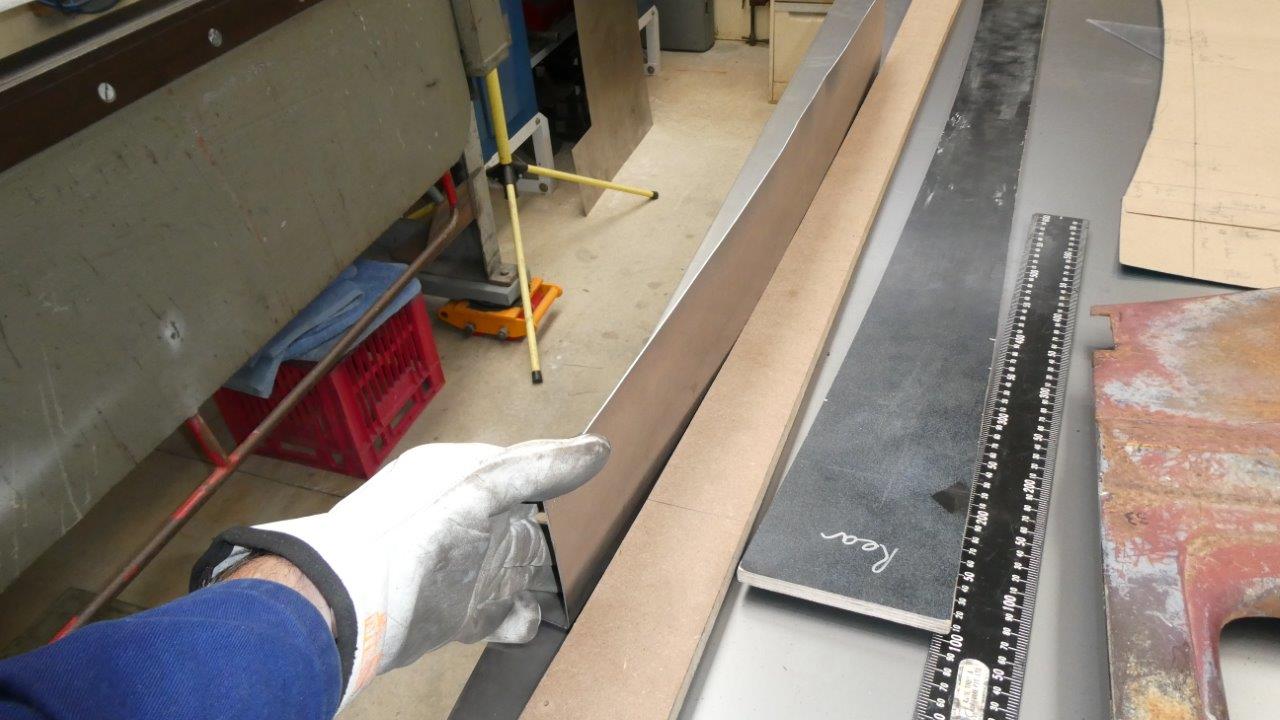
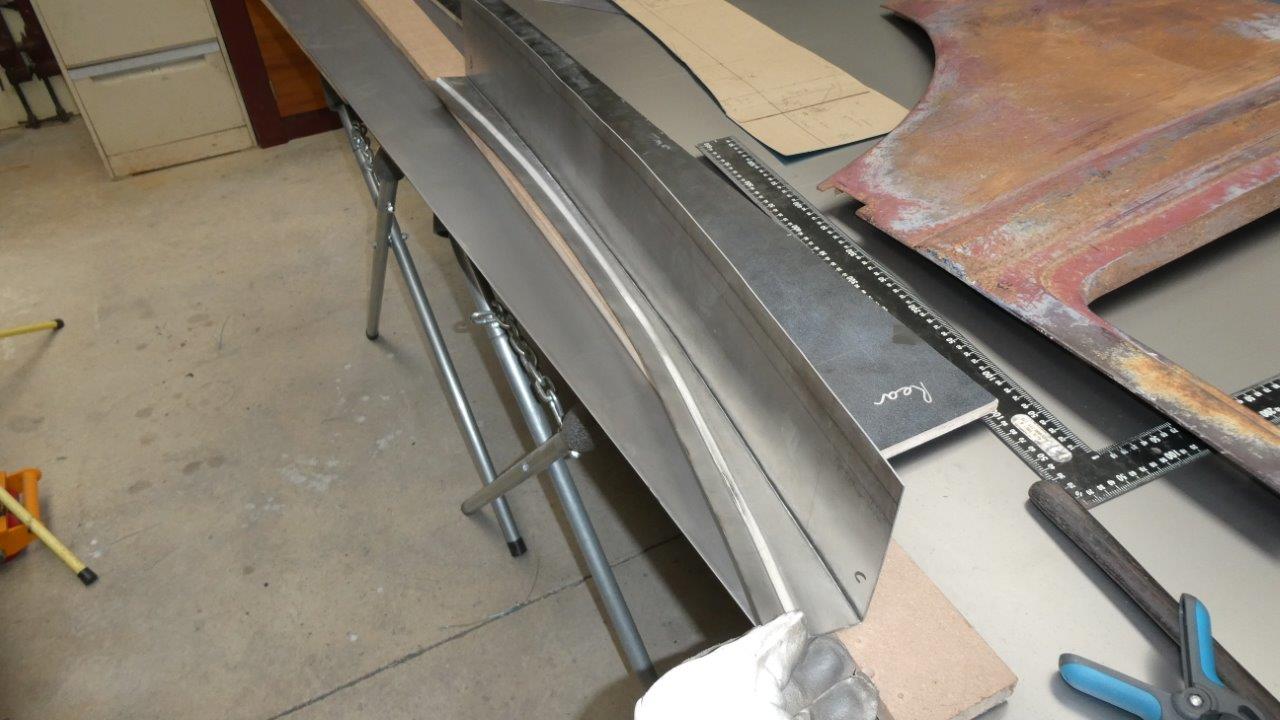
I always check after each fold to make sure it still follows the templates, even though I bent it exactly on the line. Can see tension in folding on a curve has actually increased the radius and no longer follows the gutter line template.
This is also reflected in more radius in the window line.