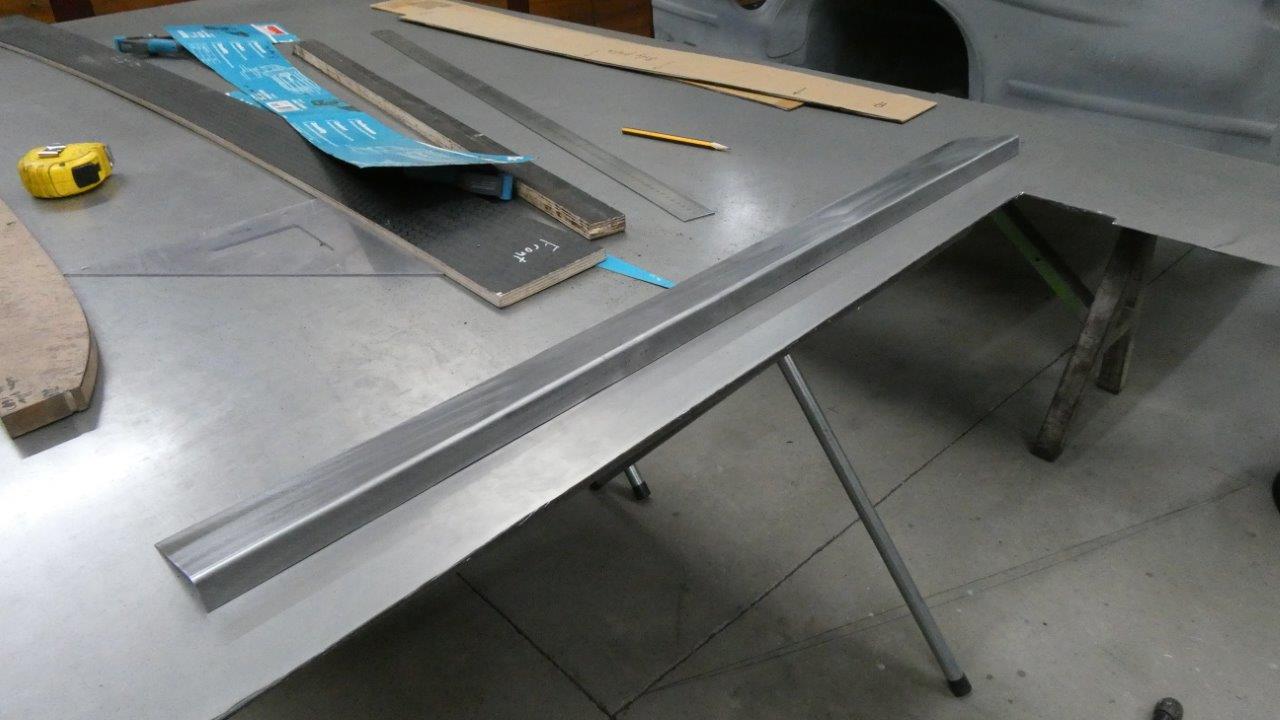
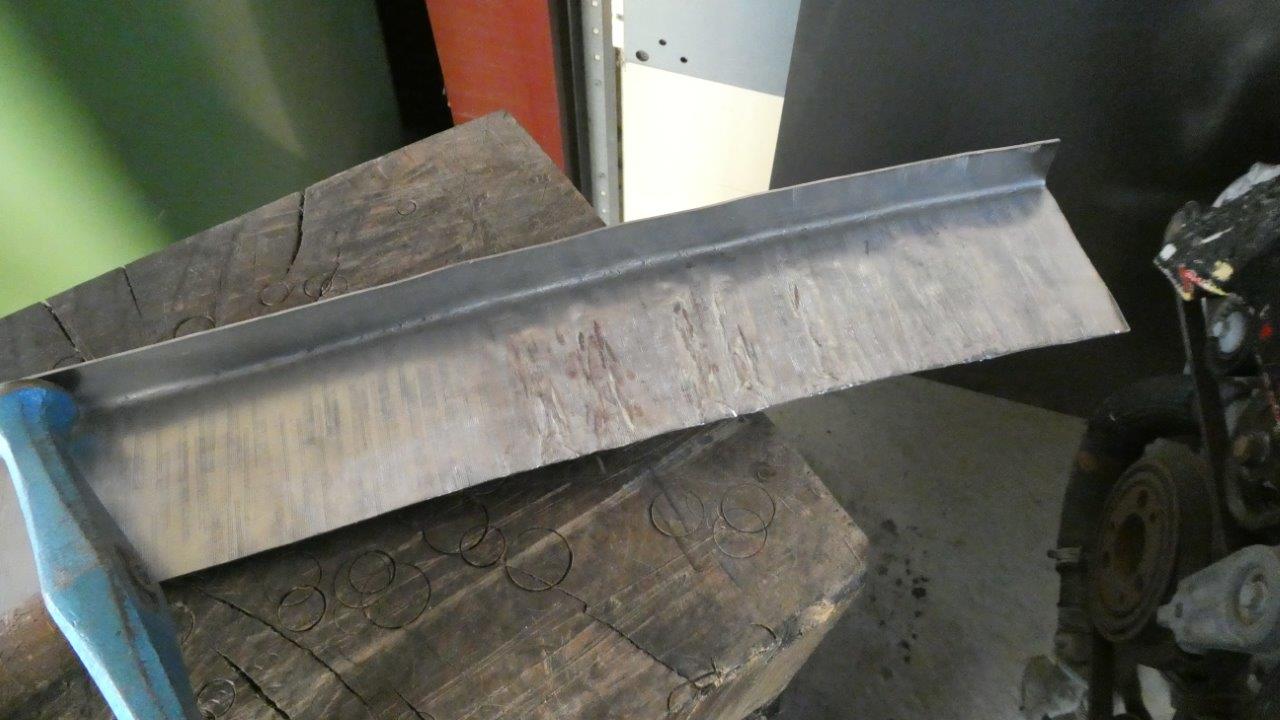
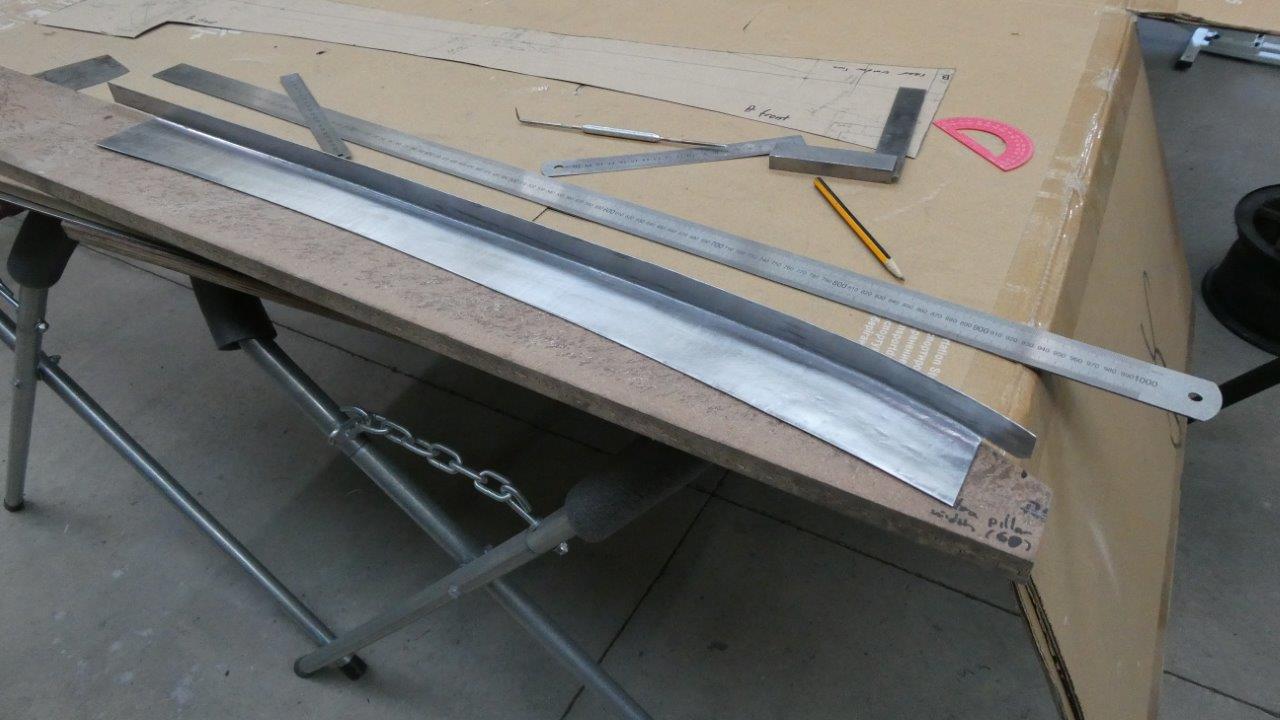
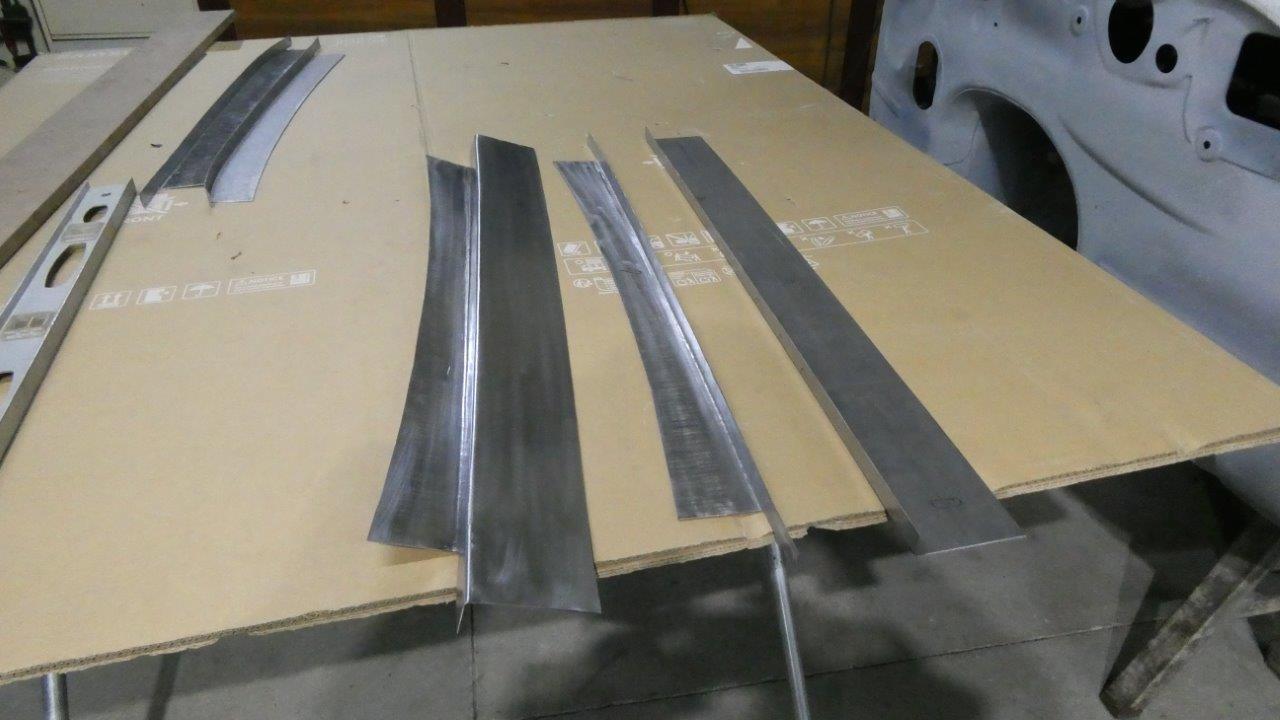
Now to create the inside half of the upper door openings. I thought I would do this differently to try out how deep of flange could be shrunk with the shrinkers. So just a straight piece was cut out and folded.
In a very short amount of time I already had the top edge following the gutter template and then only had to cut out the window frame curve using the other template. Little distortion at all to deal with like when tipping on a curve.

Trimmed it to fit the inner door frame uprights and this part of it was done. Biggest downside to this is the marring you get from the jaws, but as one side get covered by the outer piece made earlier, once it is spot welded in place, and the other side is covered by upholstery, it is not a real concern.
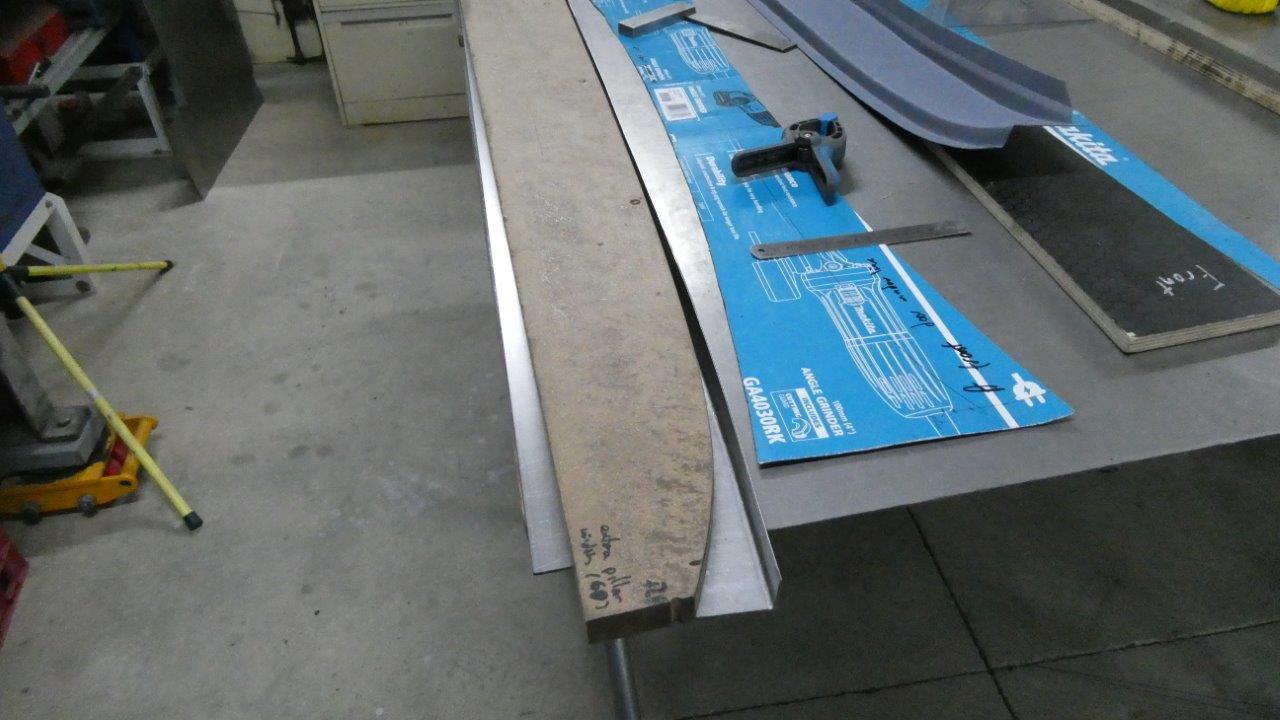
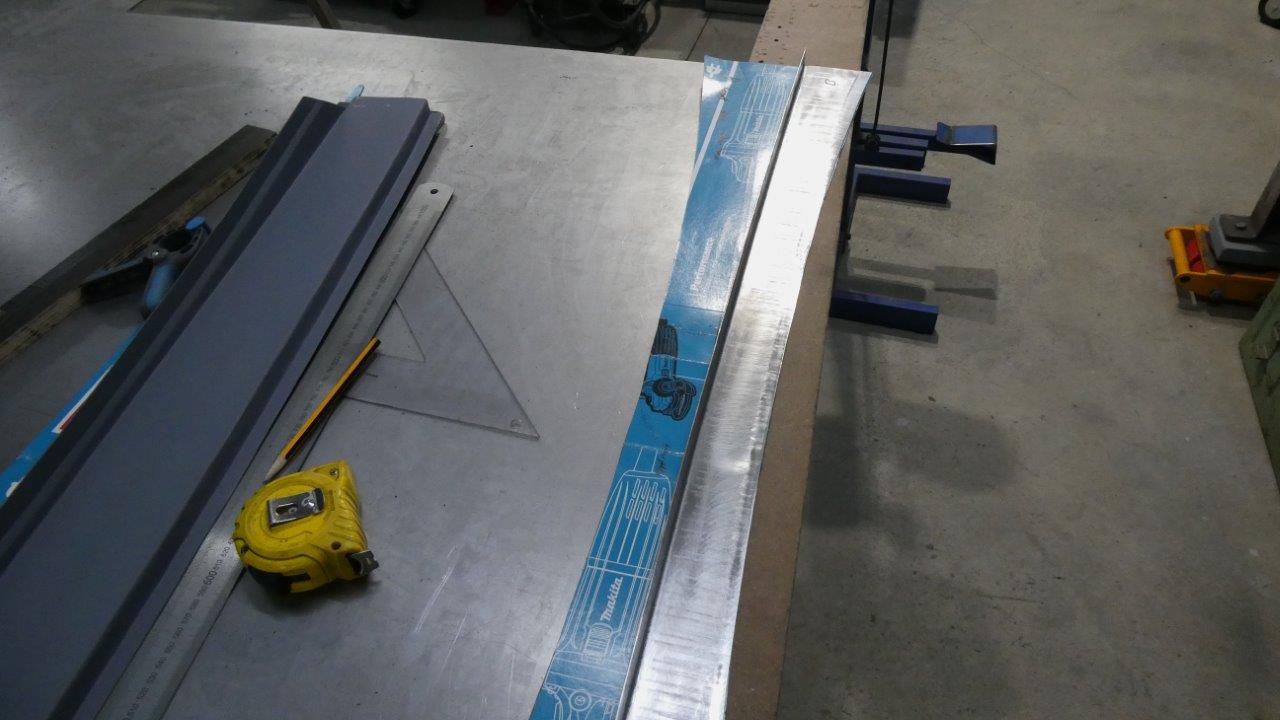
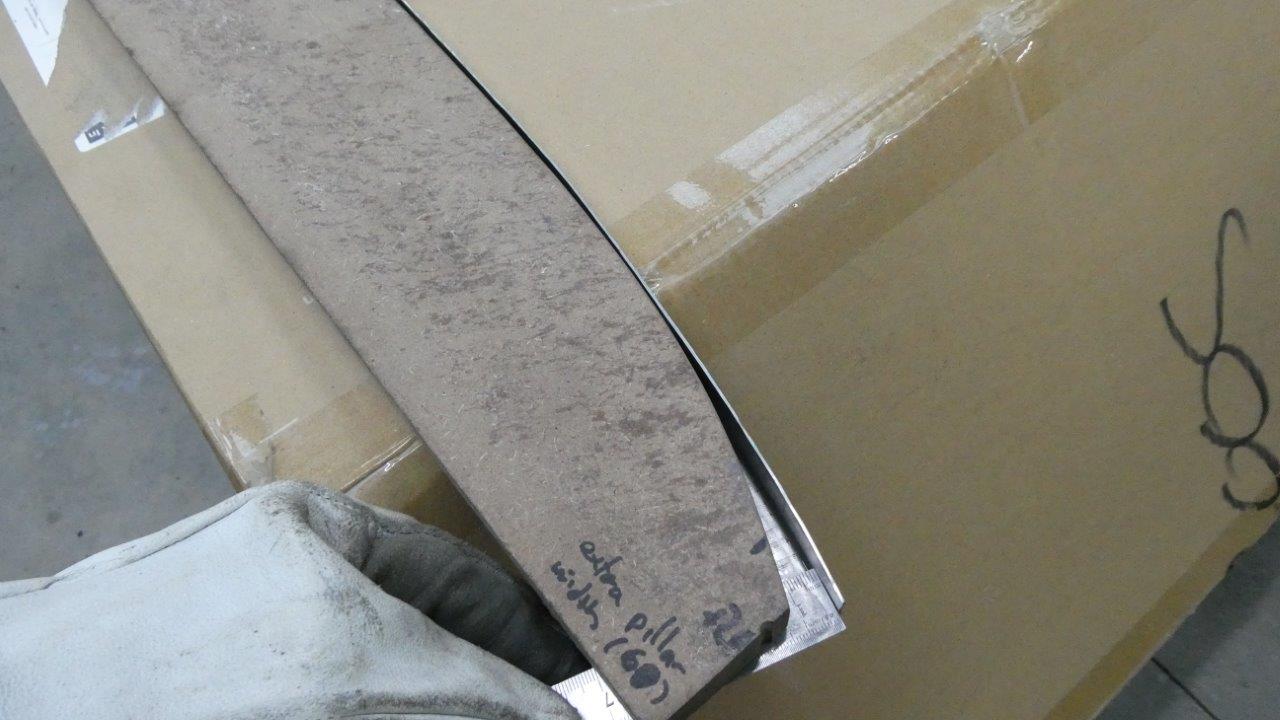
Thought I would push my luck and see if the front with the steeper curve at one end could be done, although knew I was already nearing the limit with the rear ones. The shrinker could get it to followed all along except where it got steeper. Just could not pull it around further even when standing with all my weight on the foot pedal of the shrinker!
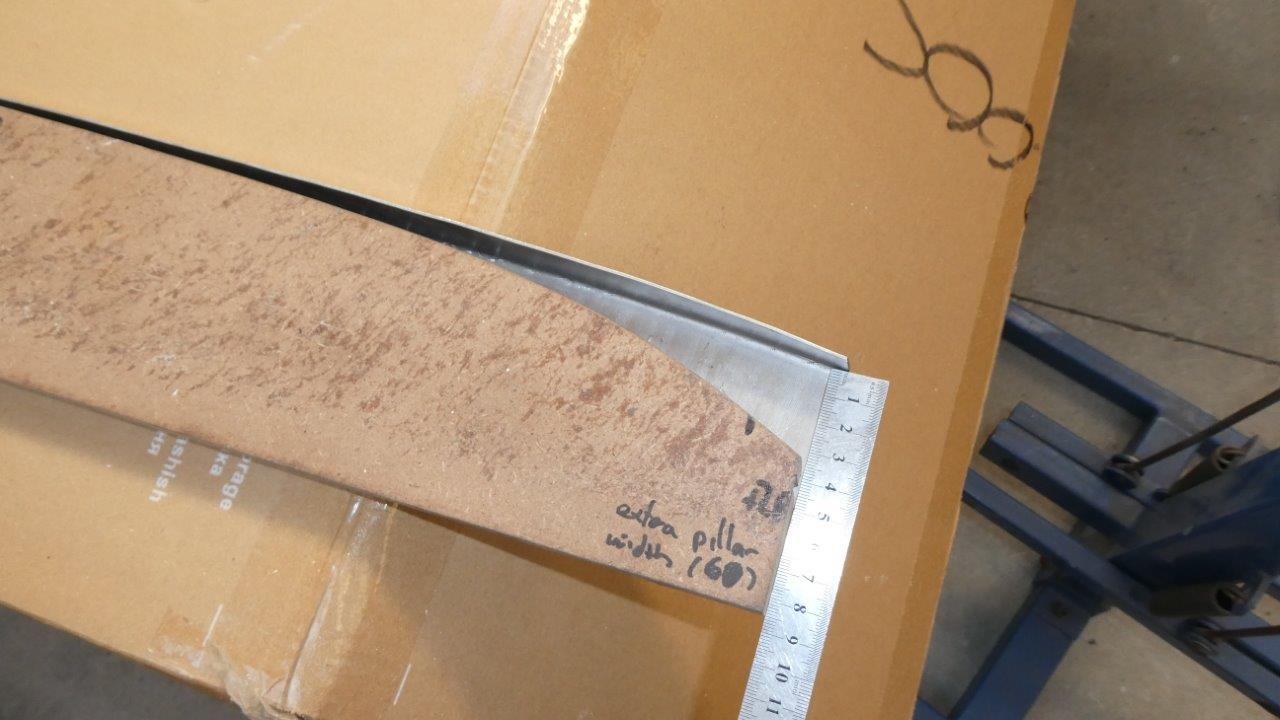
Both shrinkers could not pull it any tighter. 35mm, or nearly 1.5", it was too shallow to follow the temple.
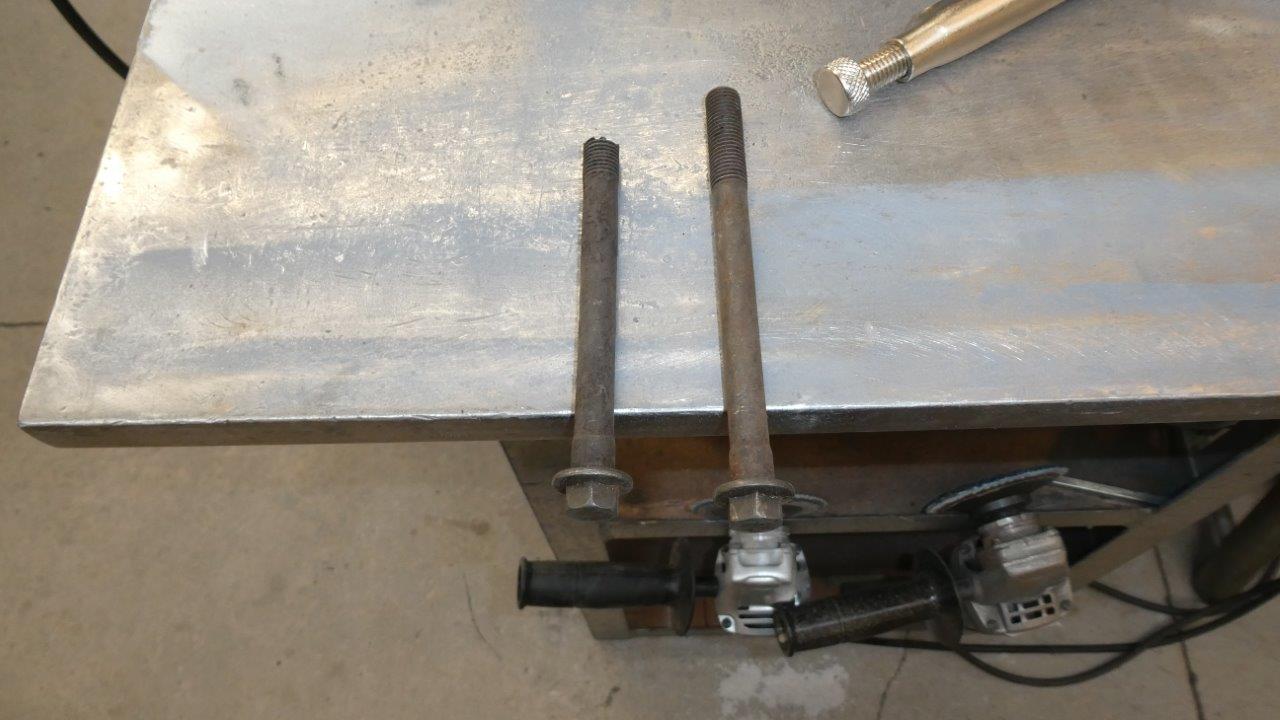
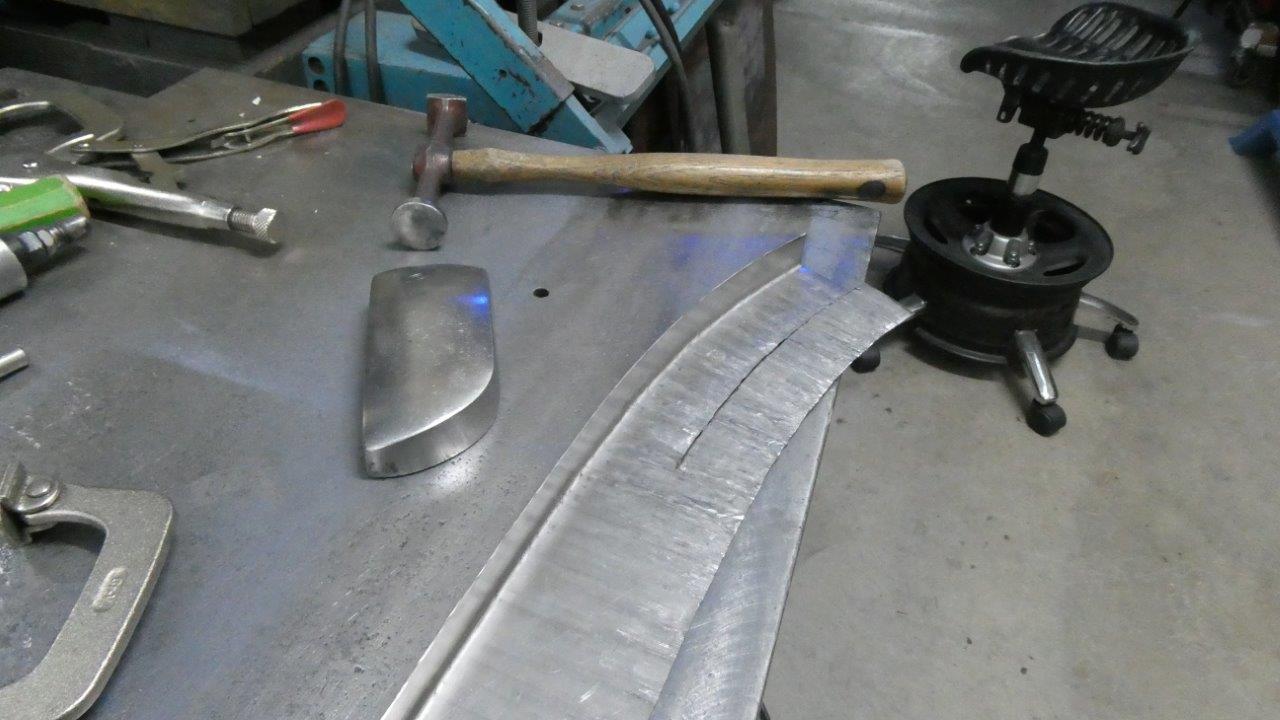
So rather than waste the material, I thought I would go really old school and make a tucking fork. I ended up using two of the longer grade 8 Ford head bolts to make the tines.
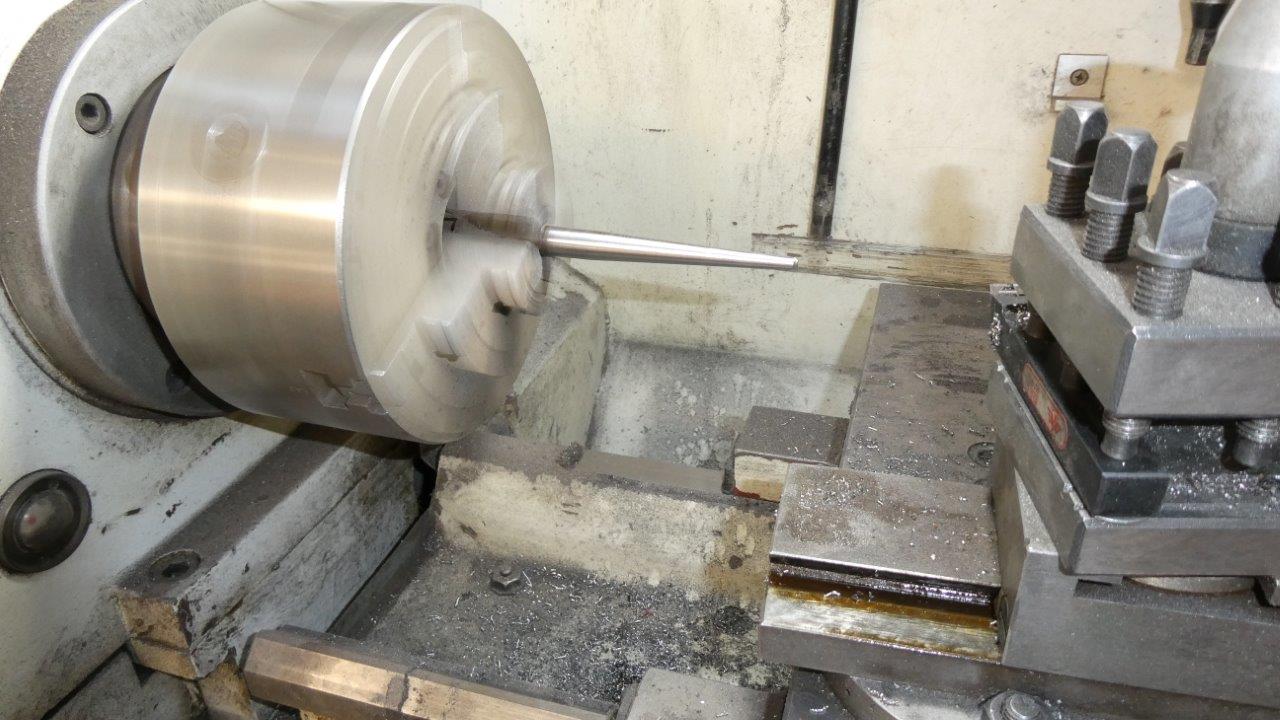
Using my compound slide I machined the bolts down to get a nice taper. Often nail or centre punches are used but I could not find any with a decent long taper on them here. You can hand grind bolts or rods to shape as well.
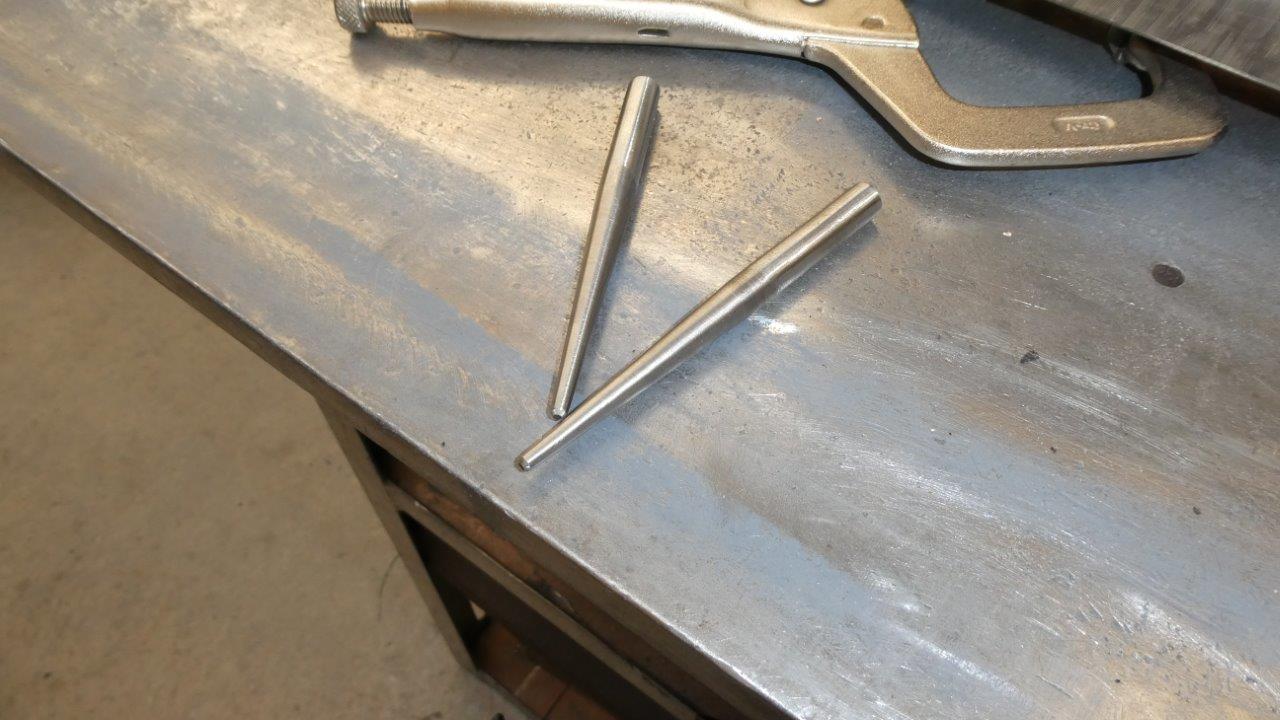
Rounded the points on the ends while I could still do it easily.
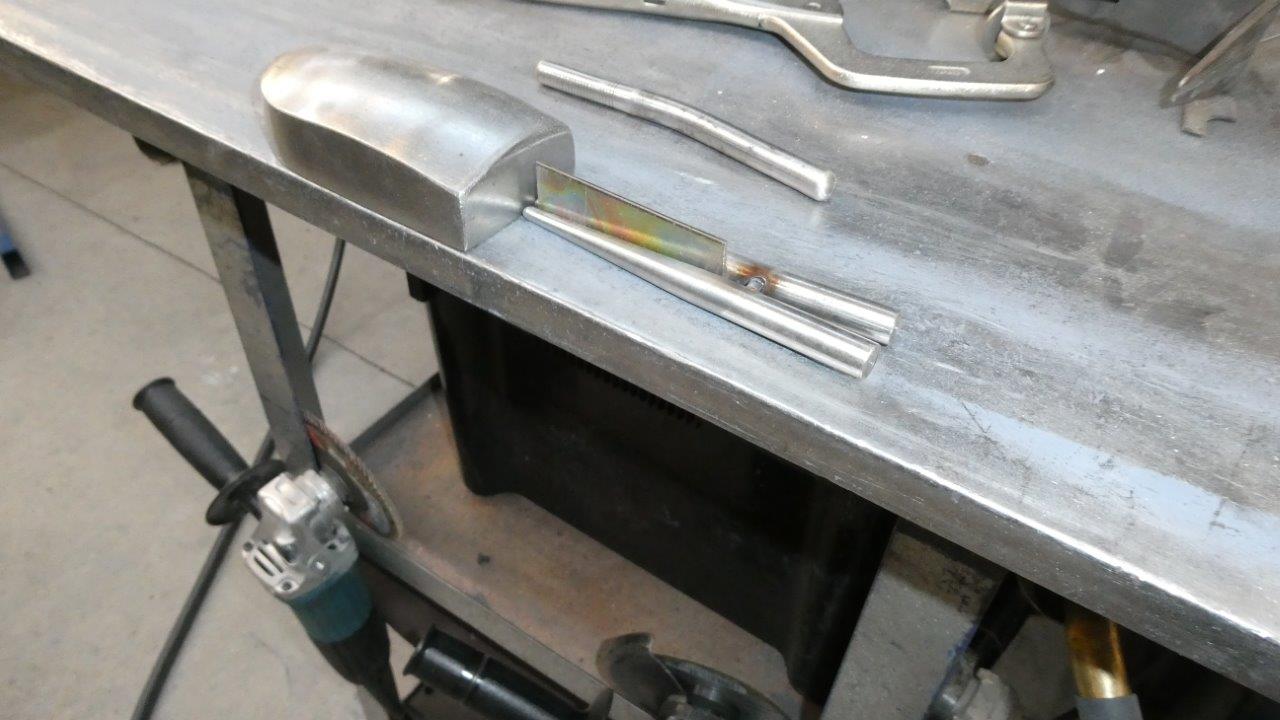
You want the tapers to be parallel with each other and an even gap. I used a piece of 2mm-14ga. steel in between and tacked it leaving only the ends that are not tapered to spread apart.
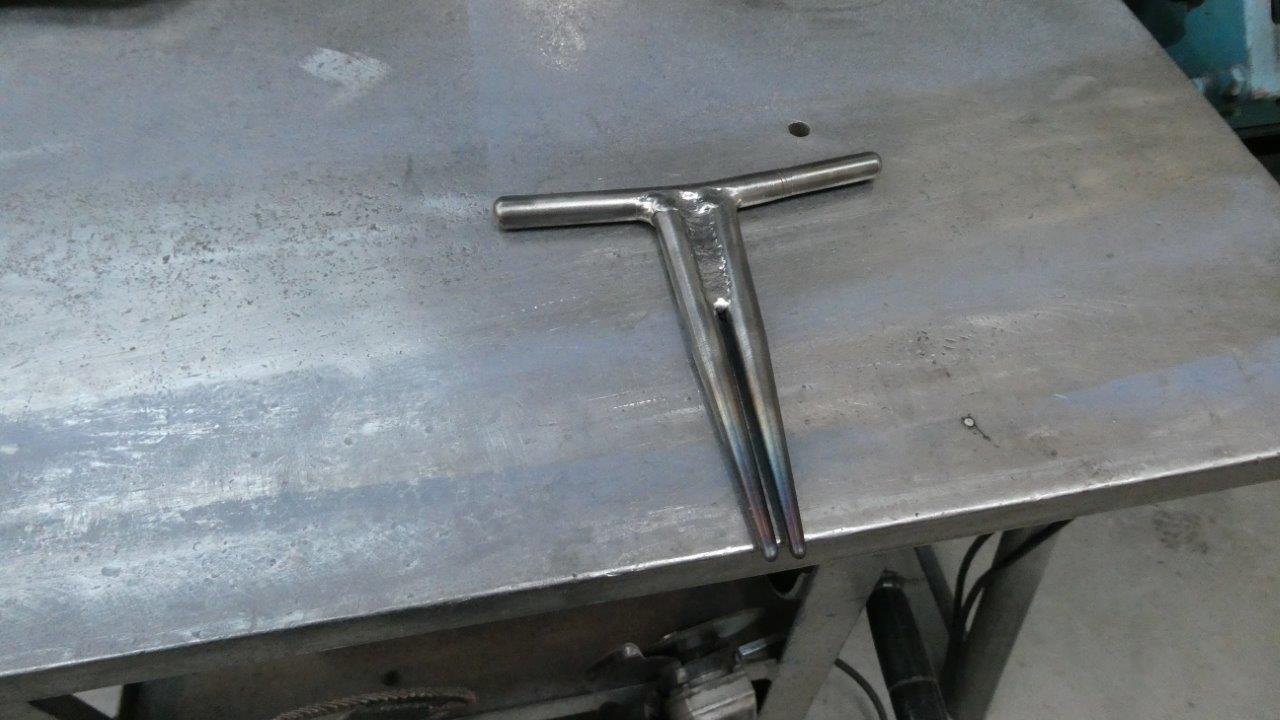
Then simply filled the non tapered end of the tines with weld and used another bolt with a slight bend in it for the handle.
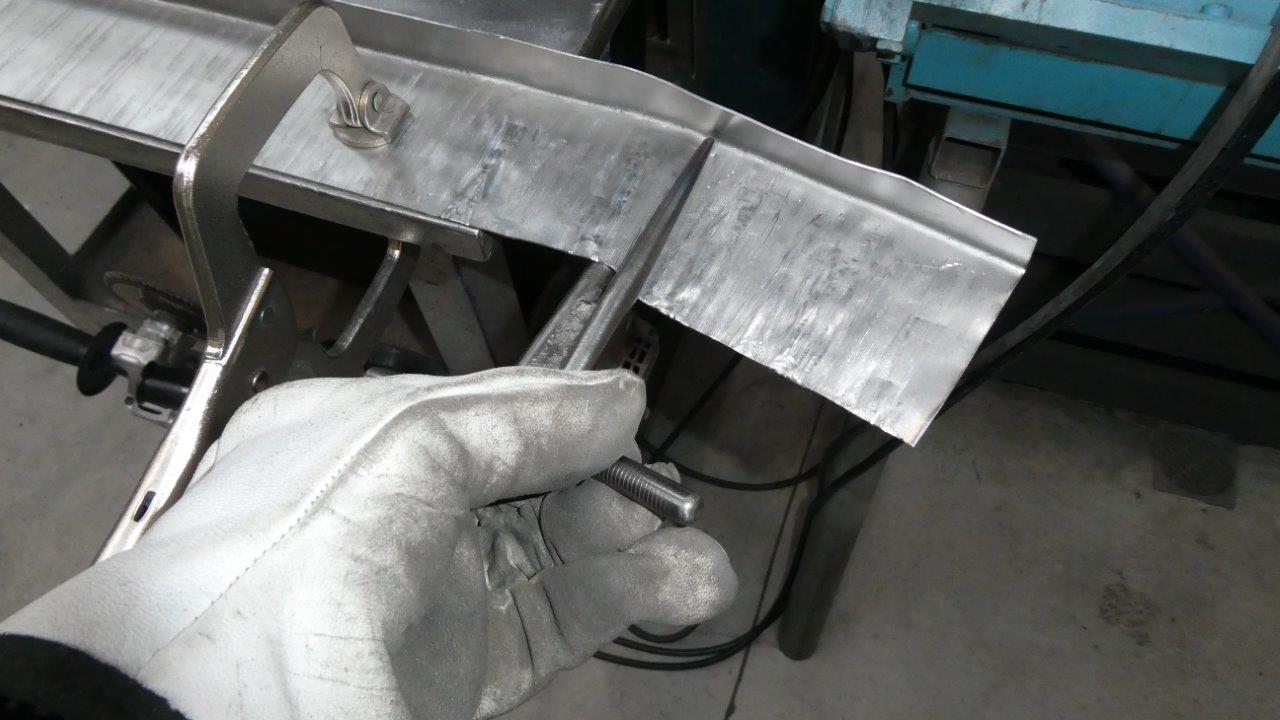
I'm not going to go into too much explanation here as I only briefly used this technique 10 years ago before I got my shrinker/stretcher, so really have had no need to do it since. So I would advise doing a search for 'tuck shrinking' and get pointers from those with better experience. But as the name implies, you want to create a tuck like you would a pleat in sewing, or the little ones you see around a cup cake paper. Insert the tucking fork and twist it hard until you get a steep fold at the end.
Take the fork out and reinsert it, or flip it right over, to create another fold that tapers off on the other side.
You should be left with a peak at the edge that gets shallower the further it goes in. These tucks could be a bit more pointed at the flange end than shown from what I have seen else where.

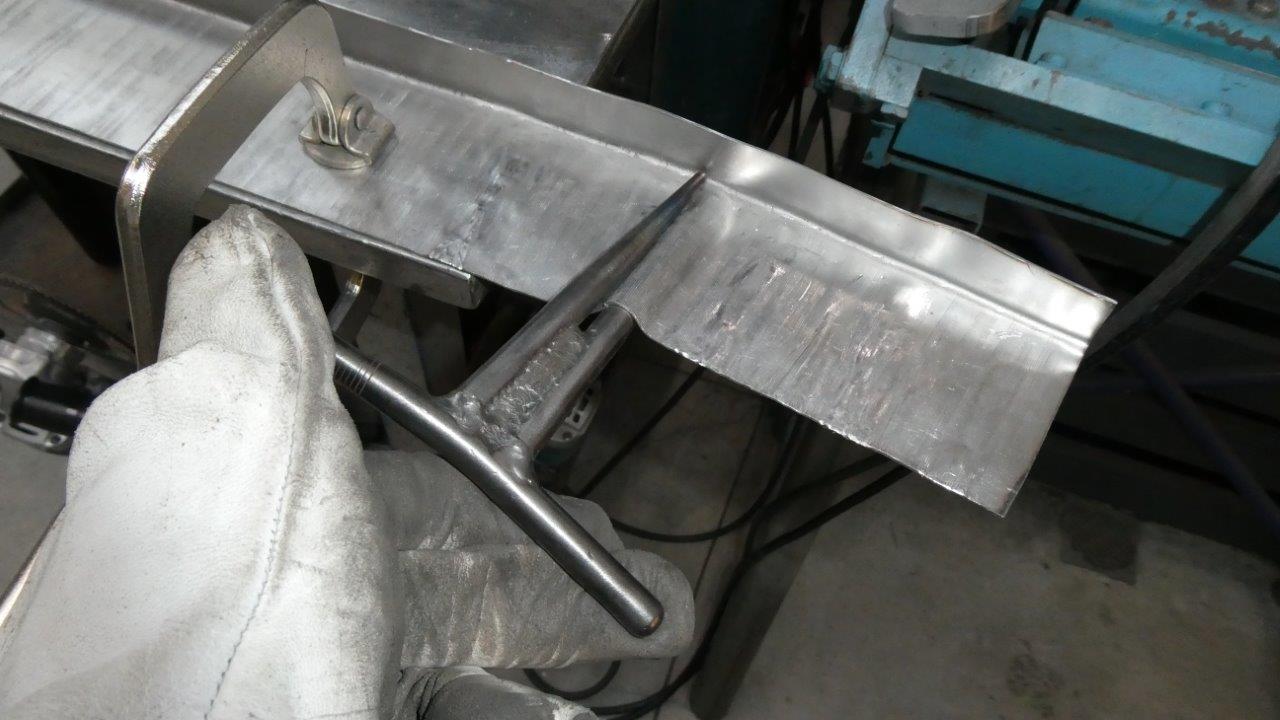
The open end of the tuck was first knocked down just on the very end, ramping up into the rest of the tuck at about a 45° angle to lock it in. Then the rest of the tuck was hit from both sides towards each other leaving a little ridge.
Then the ridge was collapsed into itself without going over board on flattening it. You need to do it on a piece of timber or something with some give, or use a nylon hammer, so you don't stretch it back out again when flattening it. As I said, search for instructions as I didn't take enough photos to show it properly, and don't want to show something I might not be doing optimally. You can also see the witness marks of others I have already done.
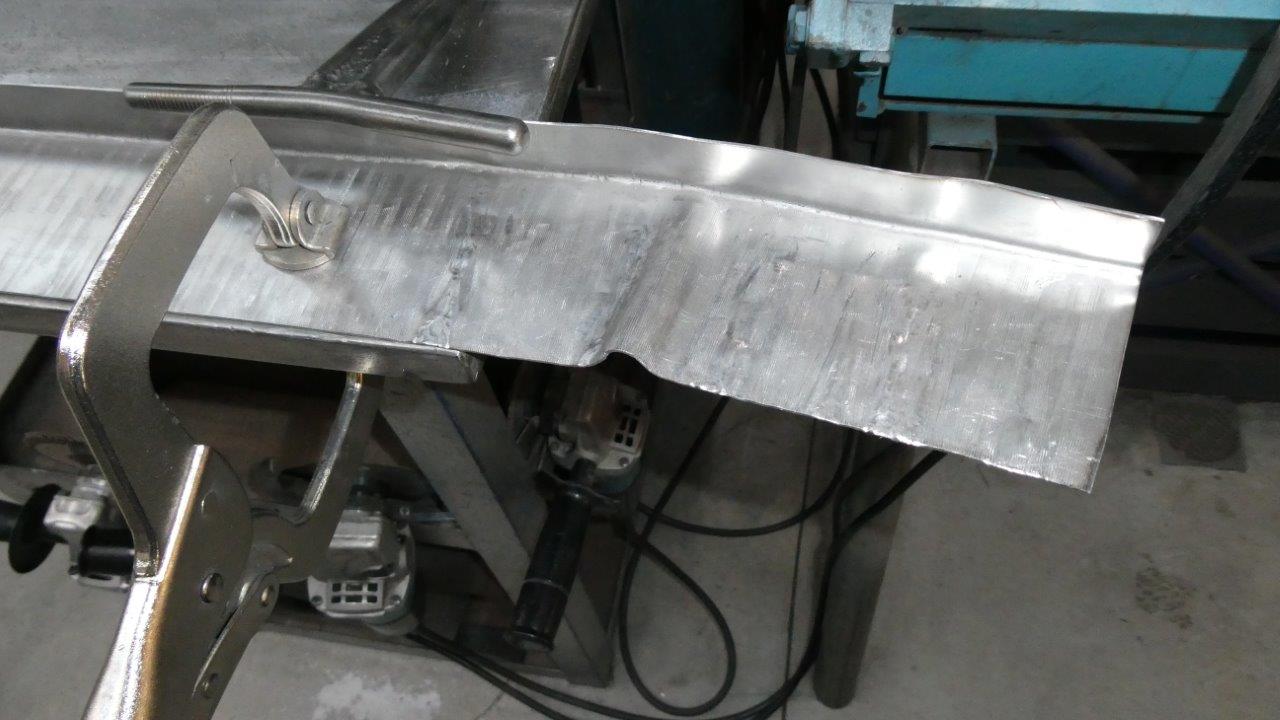
I then put it back into the deep shrinker as a way to flatten the piece out more and actually got it to shrink further by doing so. So what were the results? I got it down to 10mm-3/8" and could have kept adding more shrinks between the ones already added to get it the rest of the way.
I had actually put this in my scrap pile for a few minutes and then thought I would try one last thing to see if that would finish it off and still clean up alright. This piece had already become just a experiment of trying things out anyway. I sliced the piece in half along the steep part of the curve and bent the lower piece out of the way. Then used the shrinker some more on the flange half. It had no trouble pulling the rest of it around even though the piece was getting quite thick by now.
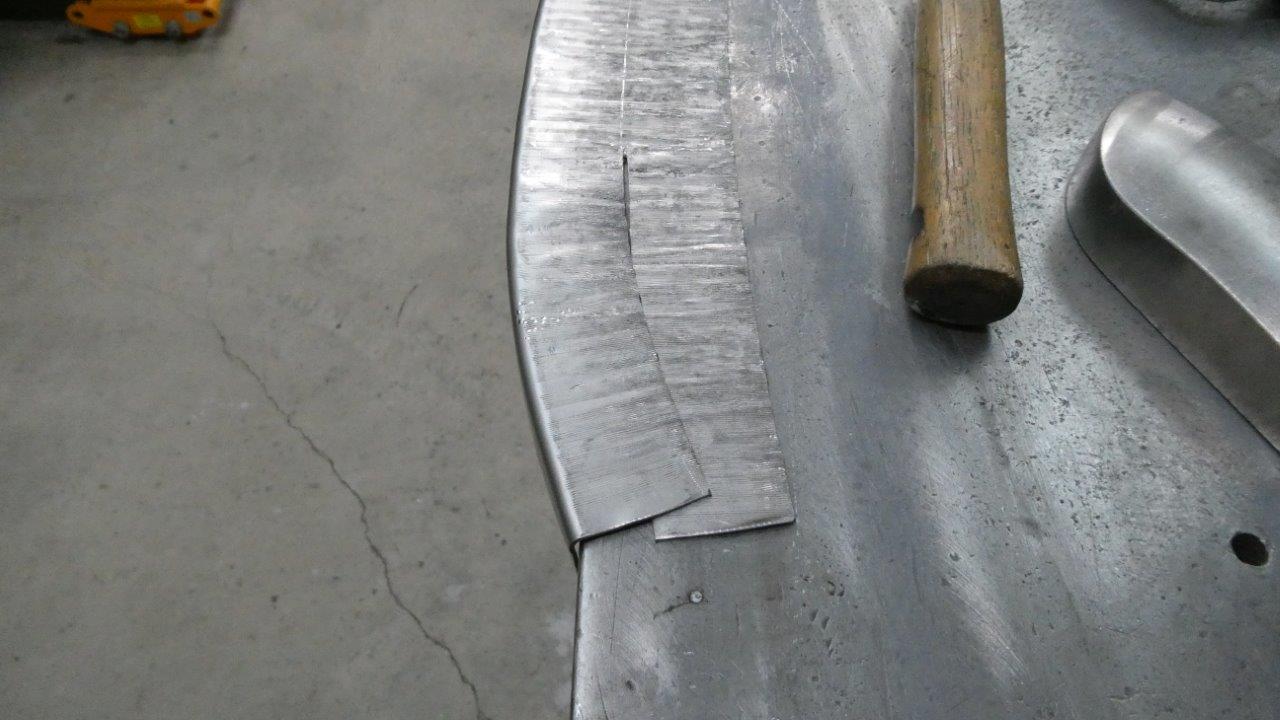
Bent the lower half back down and can see how much it now overlaps. If I didn't need the full width of the piece here I would have just scribed the lower piece along the overlap and cut it off so it could be welded back together.
But need the width so just shrunk the lower half until it matched the upper and it could be welded back together.
Having the extra thickness meant there was material that could be sanded off to improve the surface, unlike if it had been stretched.
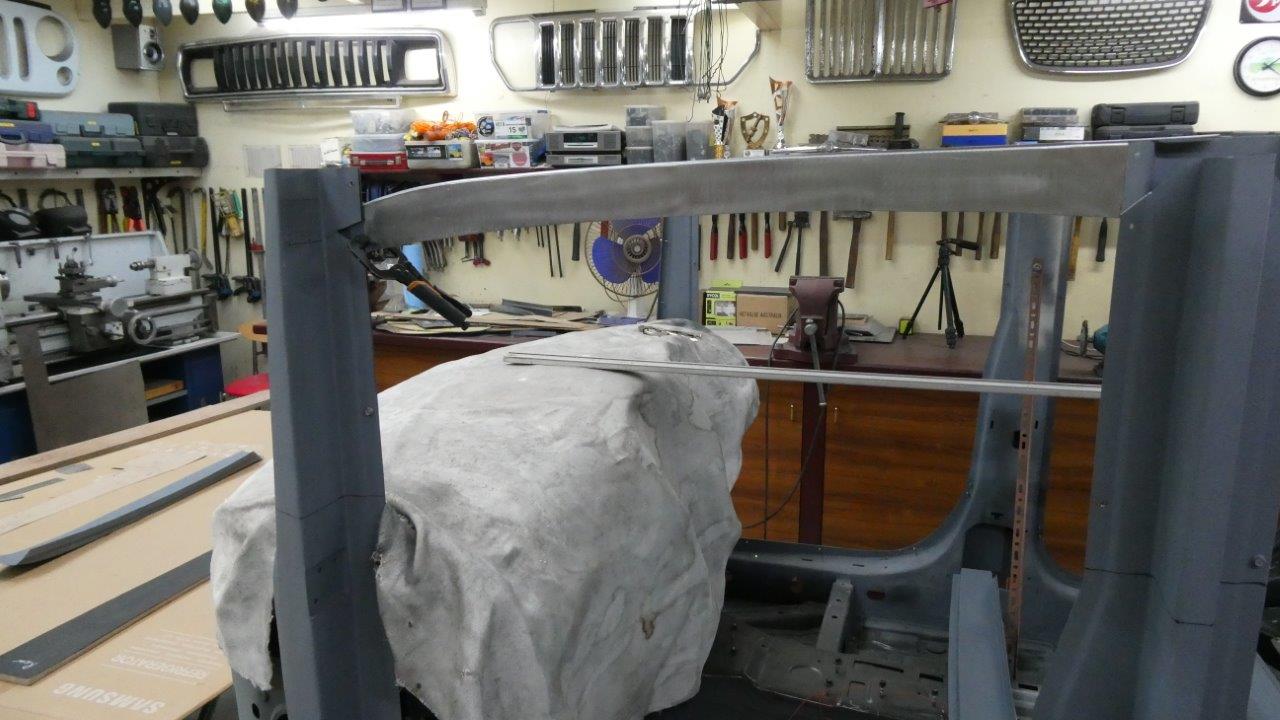
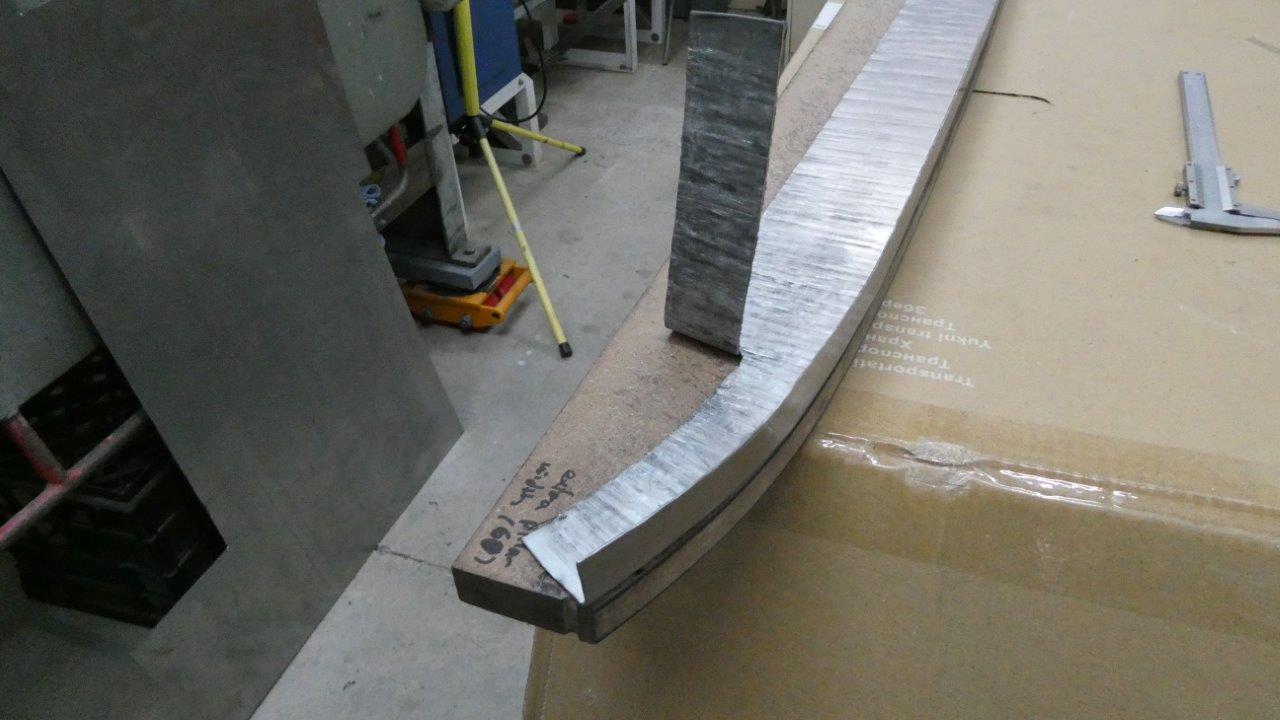
The front inner door opening frame follows the shape I wanted on the inside with the window opening curve on the bottom and the gutter line on the inside. I certainly wont be doing the other side like this though and will go back to tipping in the bead roller and correcting the curve in the shrinker/stretcher. It will be faster and not mar the surface as much, even though this will be covered on both sides once finished.
The piece is now ready for the upper section which still has to be added to this on the inside only. It will go higher to near where the roof skin will be and be braced back the the gutter on the outside to give structure across the top of the doors like modern cars have.
Showing the technique I used with the tucking fork.
The upper part of the inner upper door opening was pretty simple. I just cut to top and bottom profile to the gutter template and tipped the flange in the bead roller. Removed the distortion using the shrinker/stretcher along the flange.
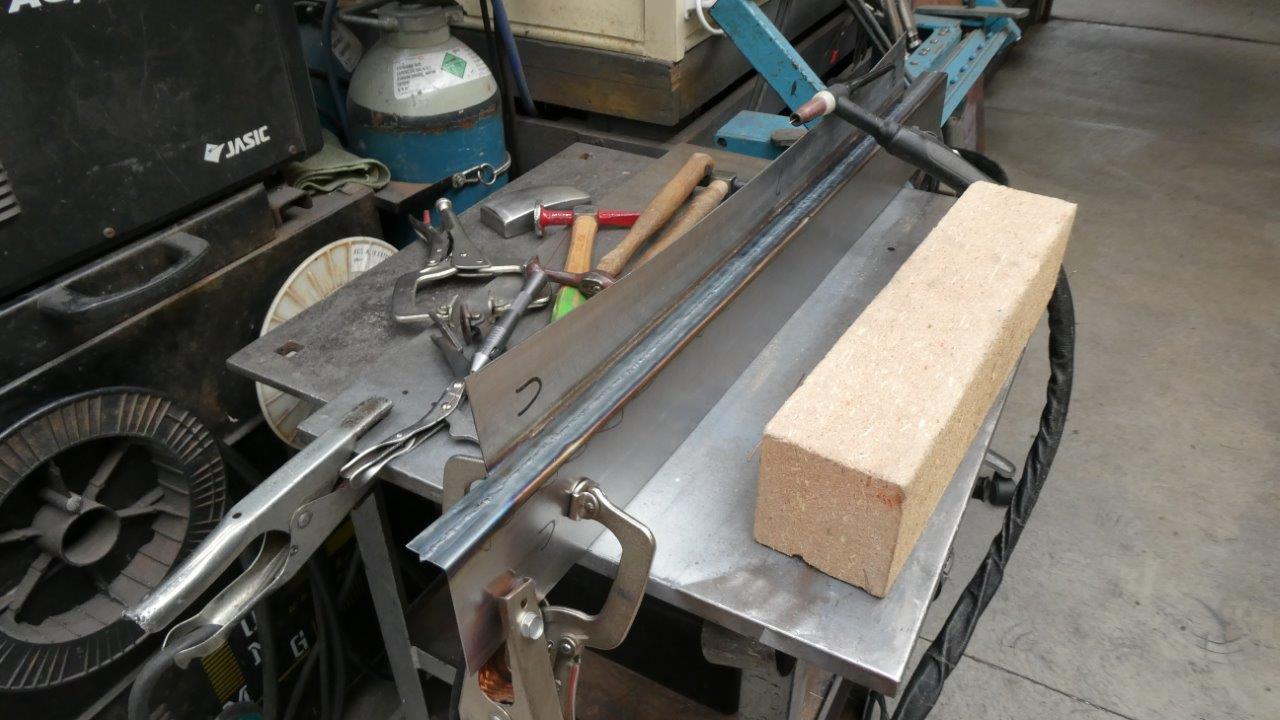
To weld it I had to prop it up and then rest my hand on the block to get as comfortable as possible, so I could do the longest passes possible without stopping.
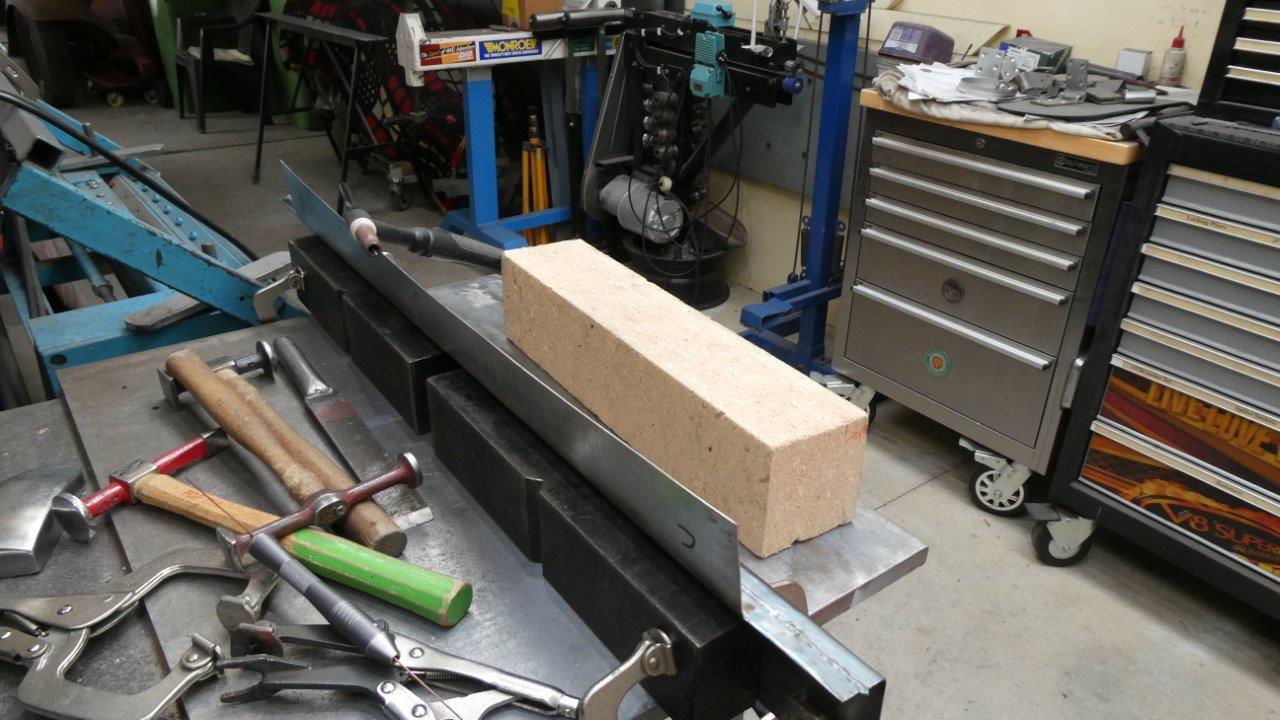
I used solid steel blocks from my 50 ton press to clamp the piece to. There was minimal distortion as the I made sure the tipped flanges were half the overall width keeping the weld in the middle. I still planished it to relieve the stresses from the weld shrinkage just the same.
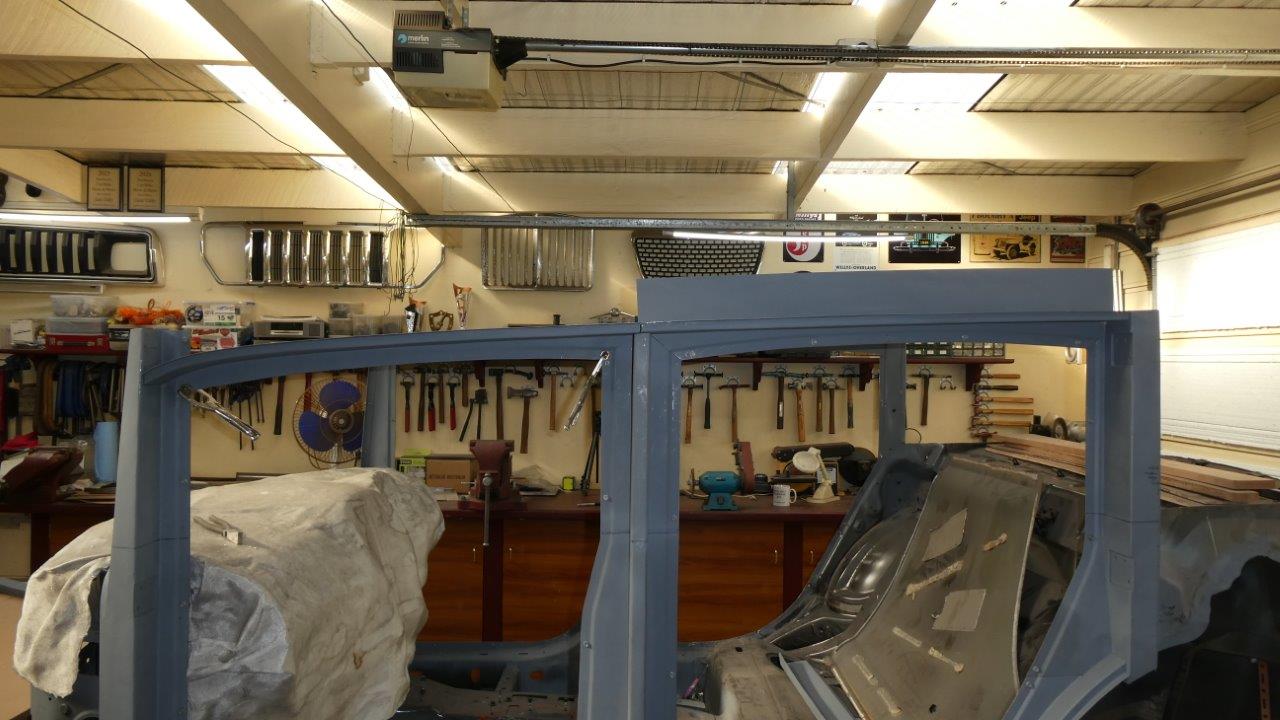
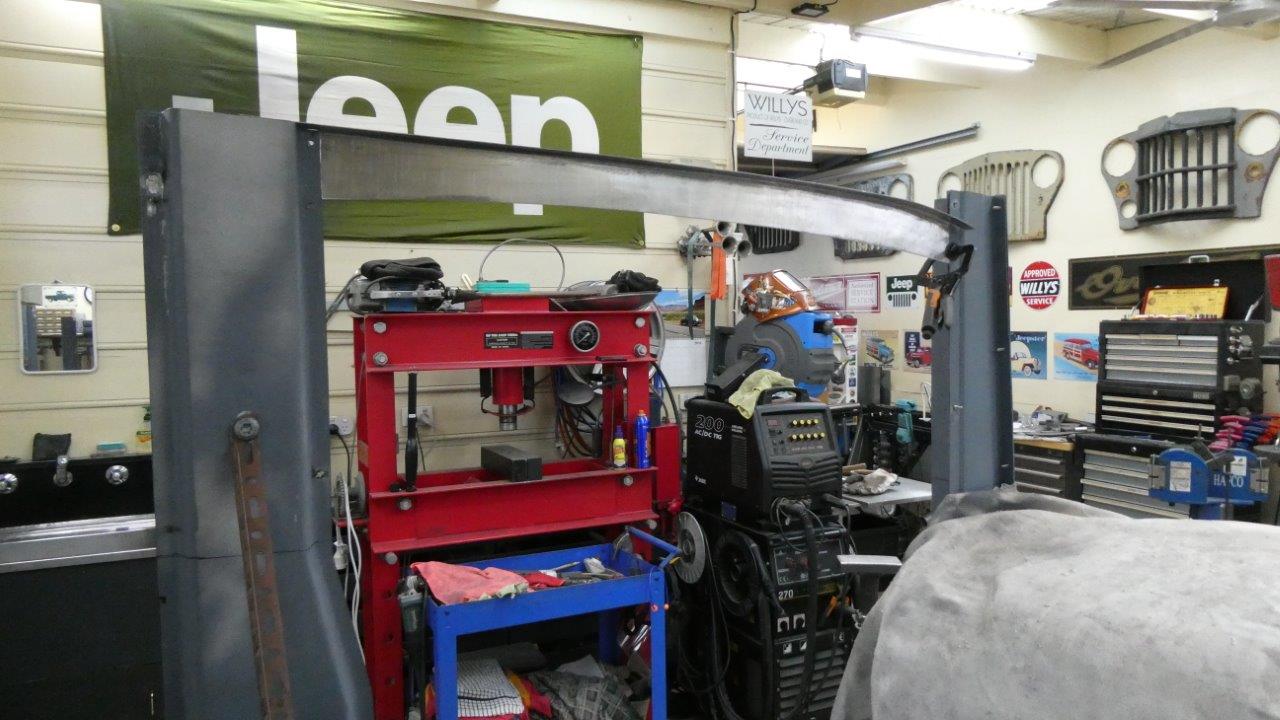
First one done and now another three to go. Looks awfully tall above the gutter line, but have checked it many times against the stock roof cap and it should still end up just under it. This angle doesn't show either how far inwards from the gutter it is and the roof skin profile gets taller towards the middle.
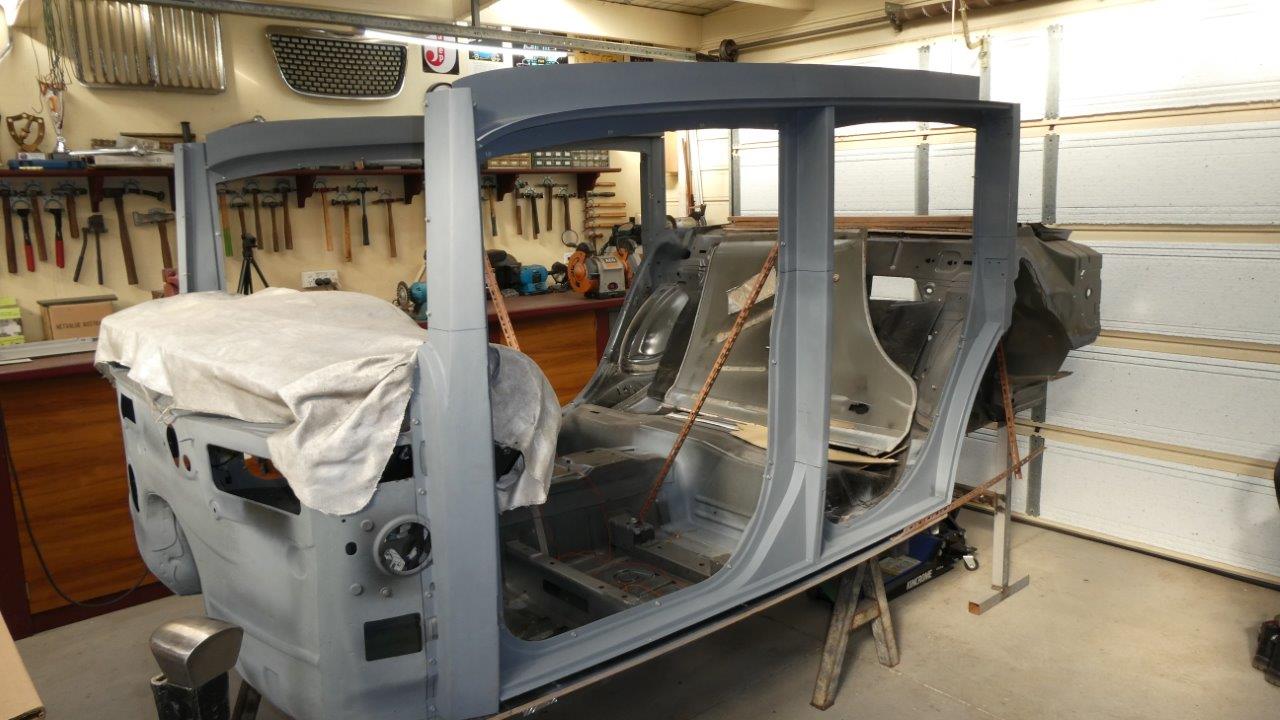
All four done with the inner pieces fully welded in. Been a while since something was welded in place. For the first time I feel you can finally see some of the 1930's shape coming out of the 2014 shell. Suddenly the vision I have in my head is taking shape and given me more hope that this will all work out in the end.
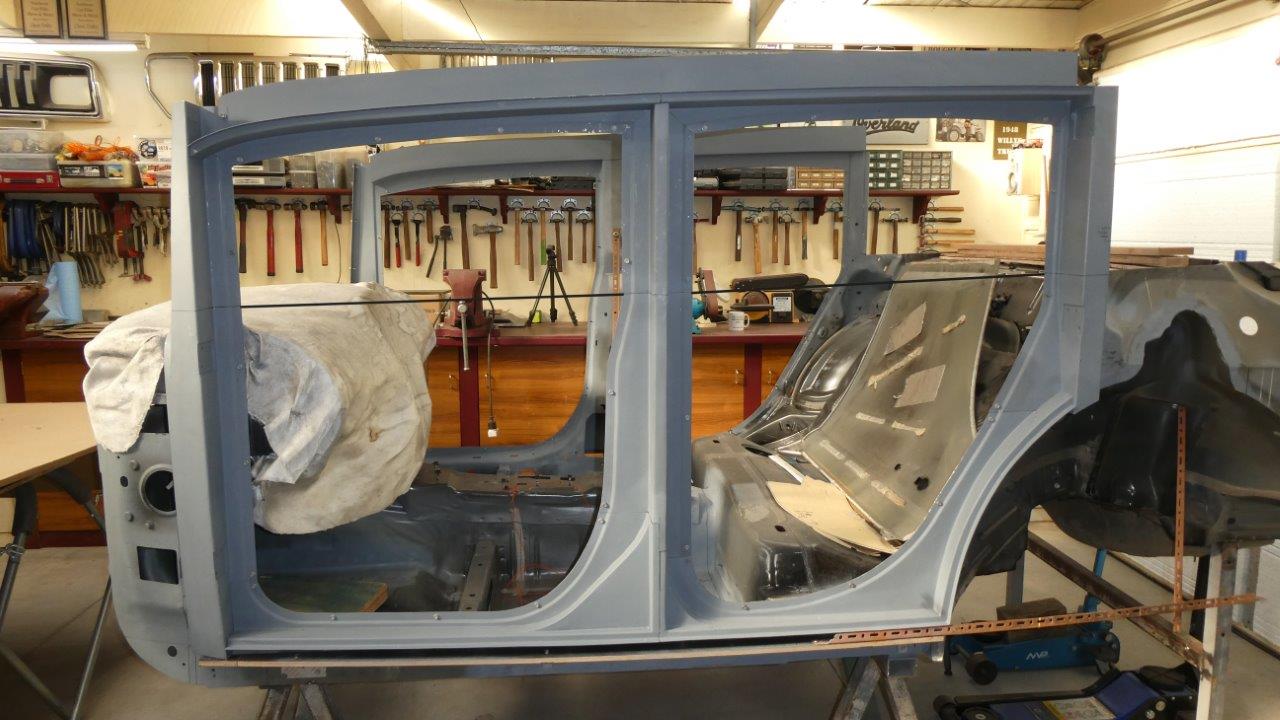
The door proportions are finally showing themselves too. You might just be able to make out the black line between the pillars which represents the window line. The glass will be from here to the lowest arch of the upper support just added.