Stretching along the bottom edge reduced the radius and it now follows the window template sitting underneath.
Also fixed the gutter line profile at the same time showing both were cut and folded correctly in relation to each other.
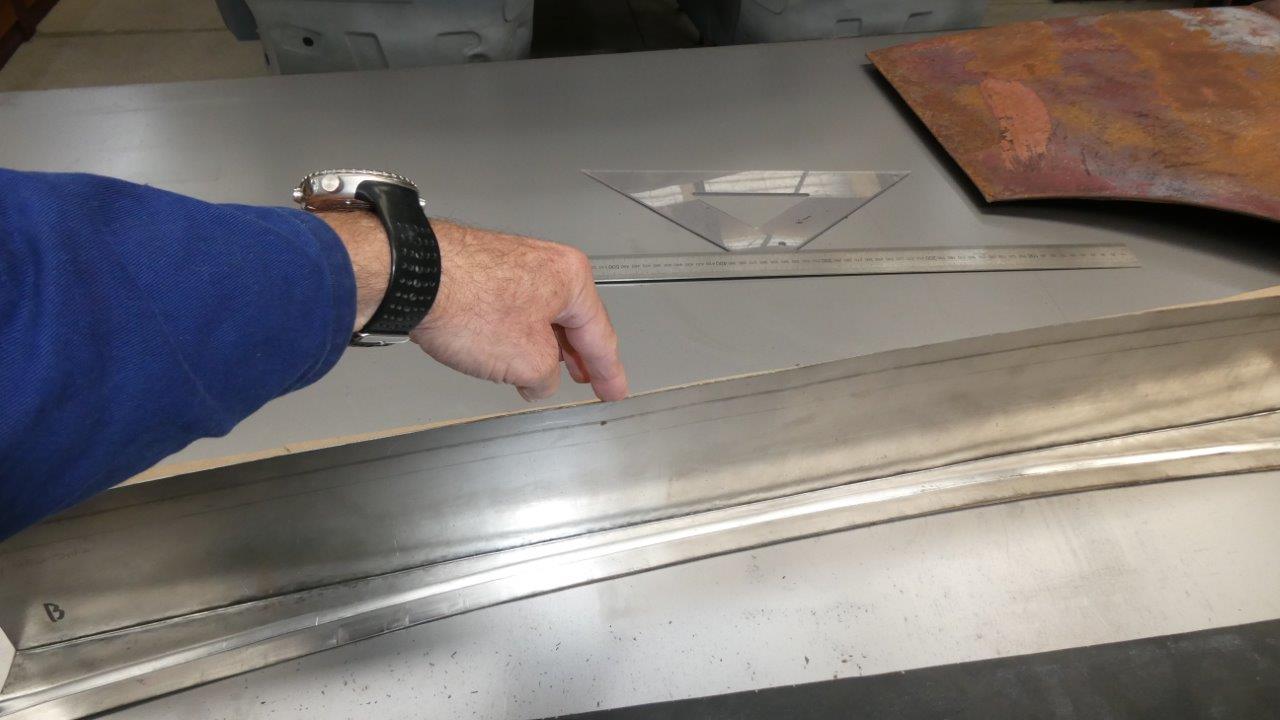
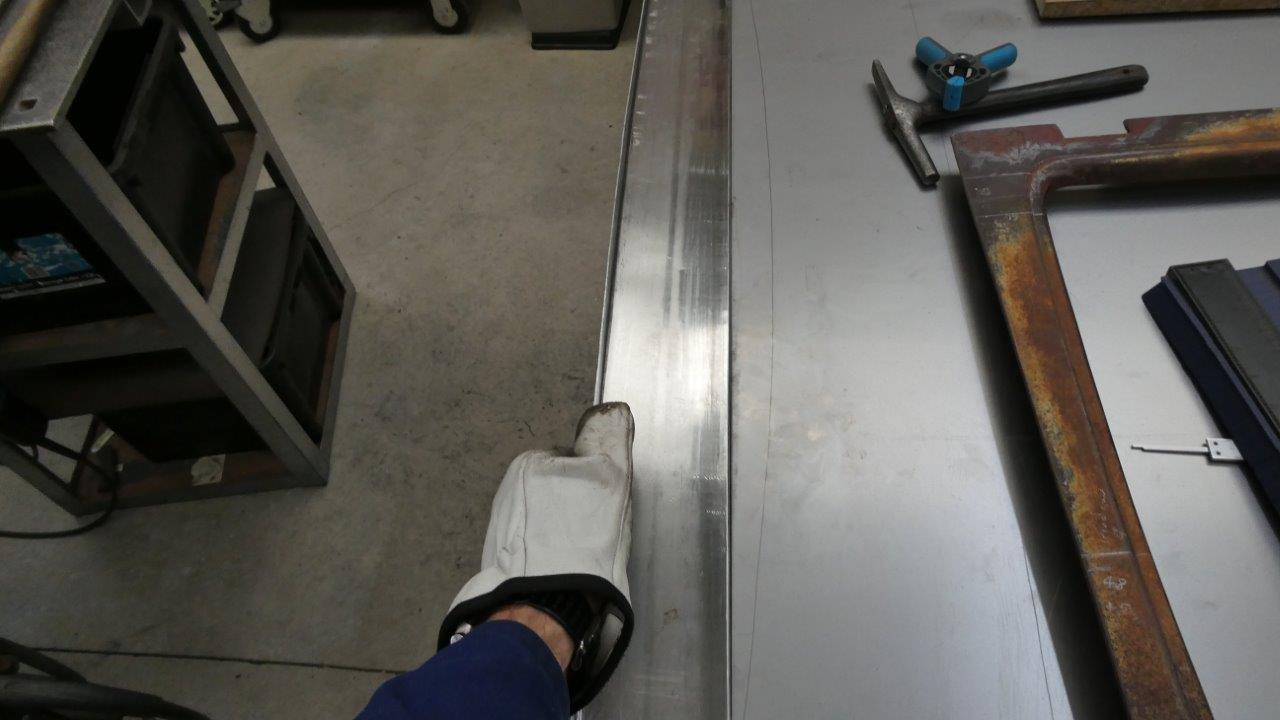
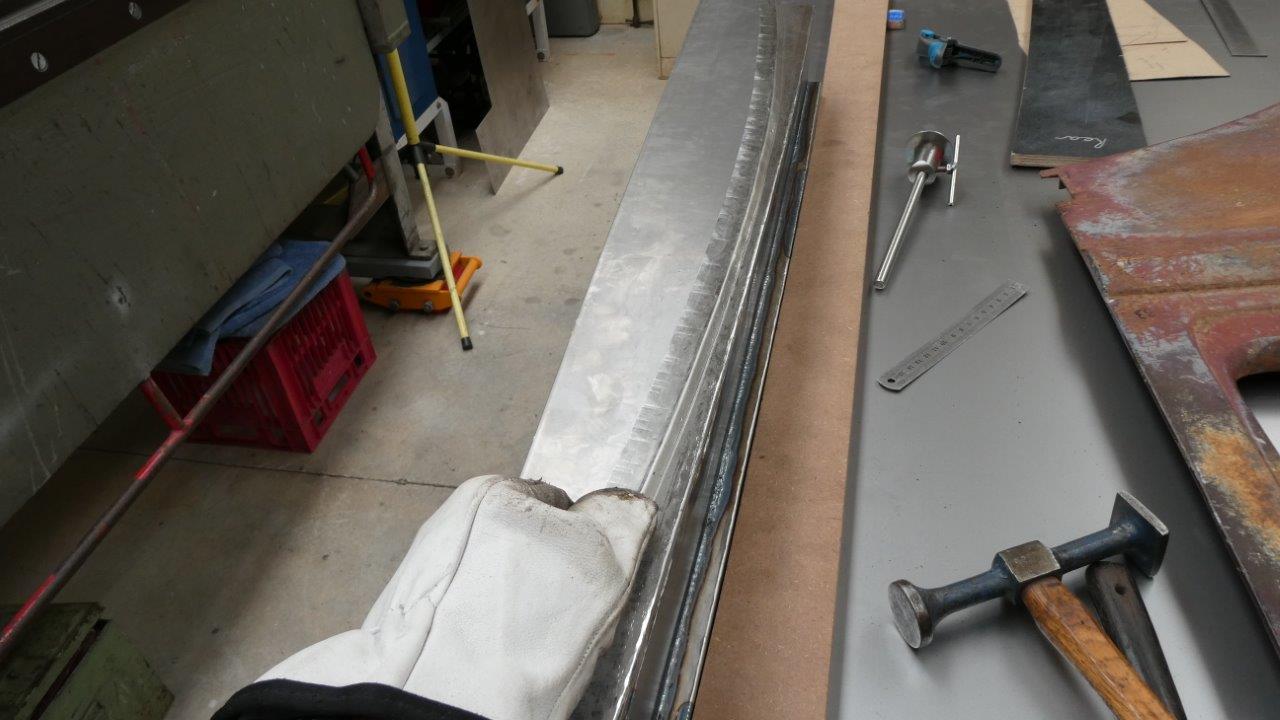
Yet one more dimension to check before moving onto the next fold. This is the only fold that is not a compound one and needs to be perfectly straight along the back of it as the inner window frame, which holds the runner for the flat glass, sits against it and inside pinch weld seal. As usual, the tipping on a curve has induced an additional curve in the other plane where didn't want one!
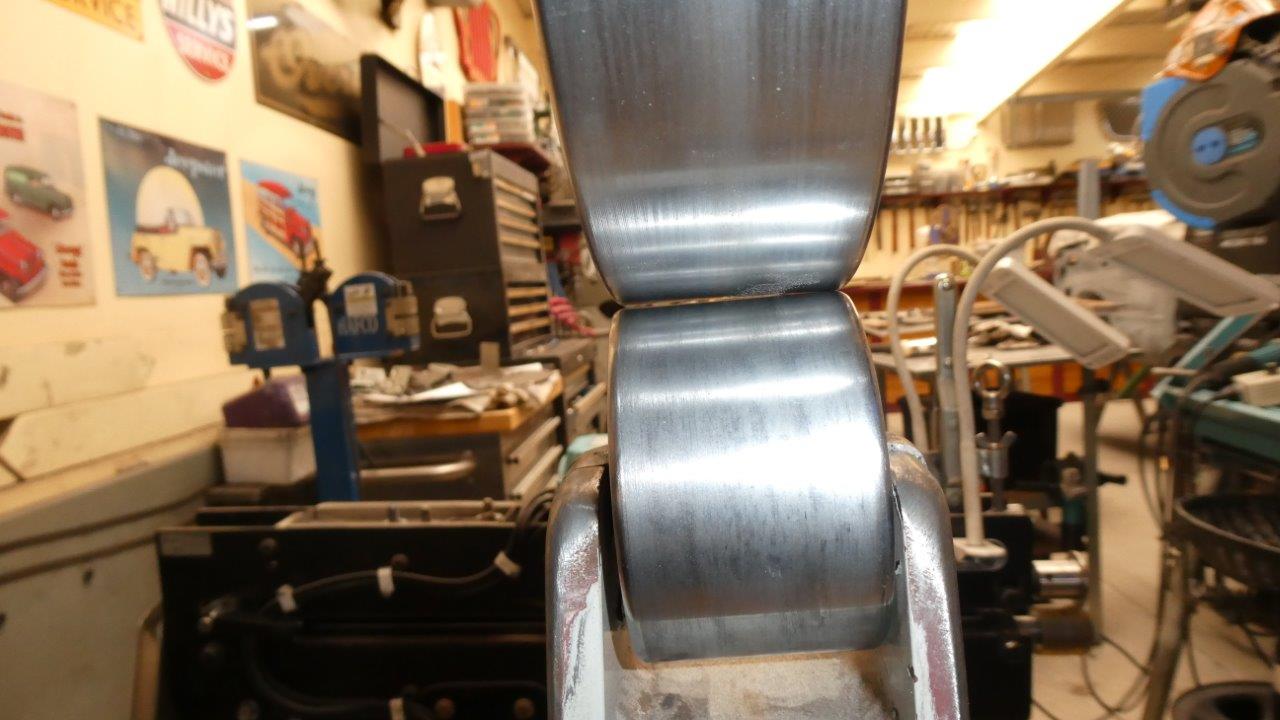
To straighten it, it has to be stretched right along the tipped fold line, well out of reach of the stretcher. Rather than trying to hammer all the way along evenly, I tilted the lower flat anvil/roller by putting a shim under one side of the axle. This will allow me to stretch right at the fold on the edge, rather than right across the whole flat surface of the anvil.
I did most of the stretching right along the fold and slowly decreased the amount of passes working away from it. It brought the piece straight again without affecting the profile of the gutter and window lines.
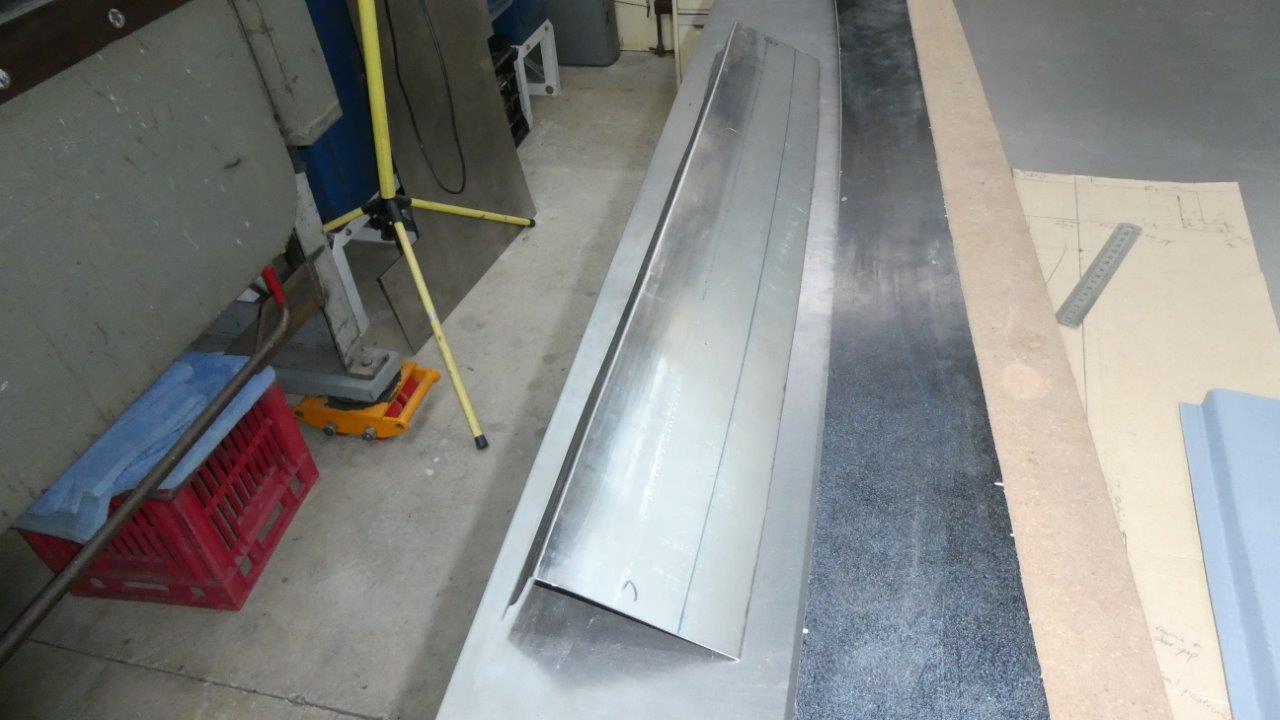
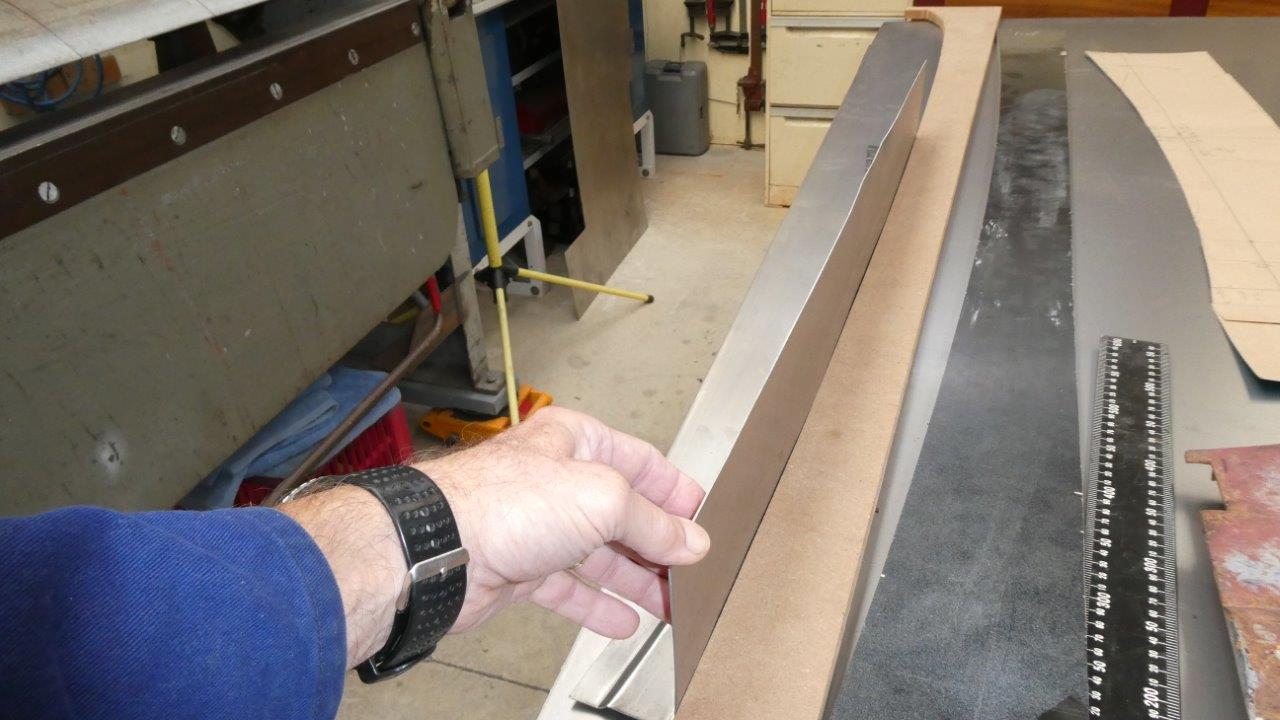
Now finally I can do the next fold which will turn the flange vertically again. This fold has to be flush at the B pillar width but 8mm-5/16" in at the C pillar, as that Hinge pillar does not have an outside seal there. This profile will follow the body template, but will need to also follow the gutter line template once tipped as well.
With the piece upside down in this shot, you can see how follows the body profile, it was then also made to follow the gutter line in the other direction, using the shrinker/stretcher.
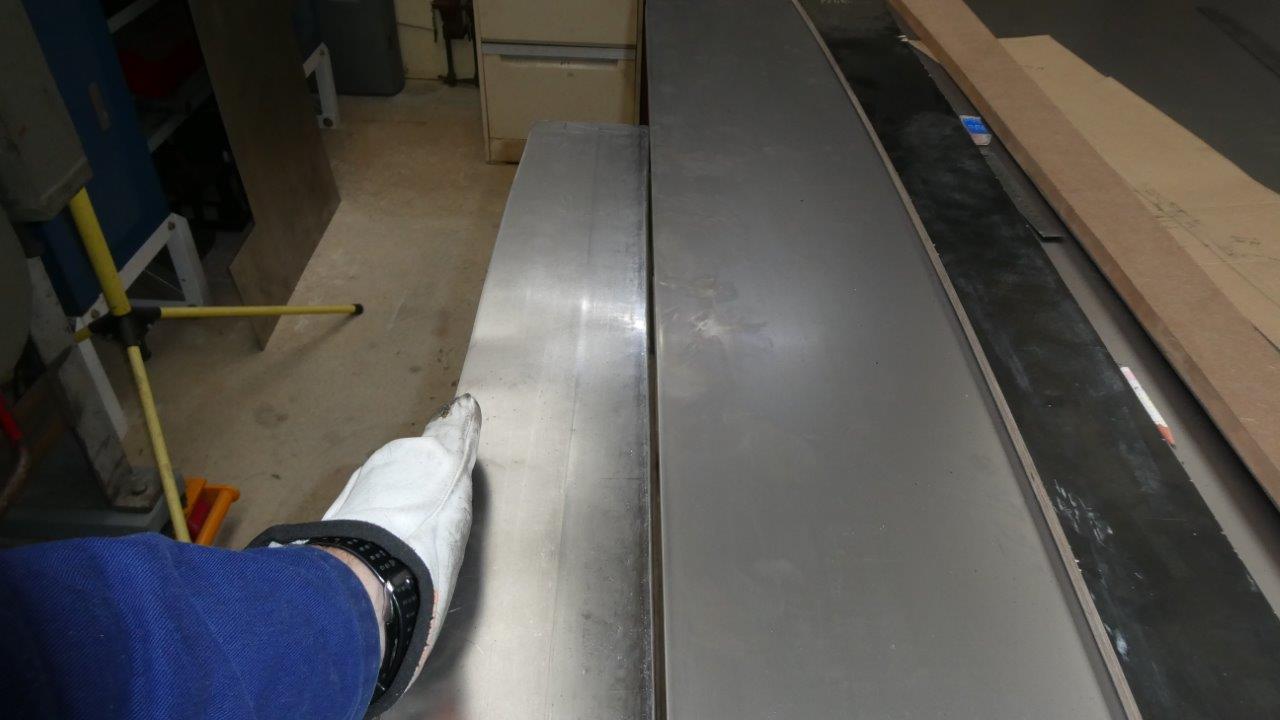
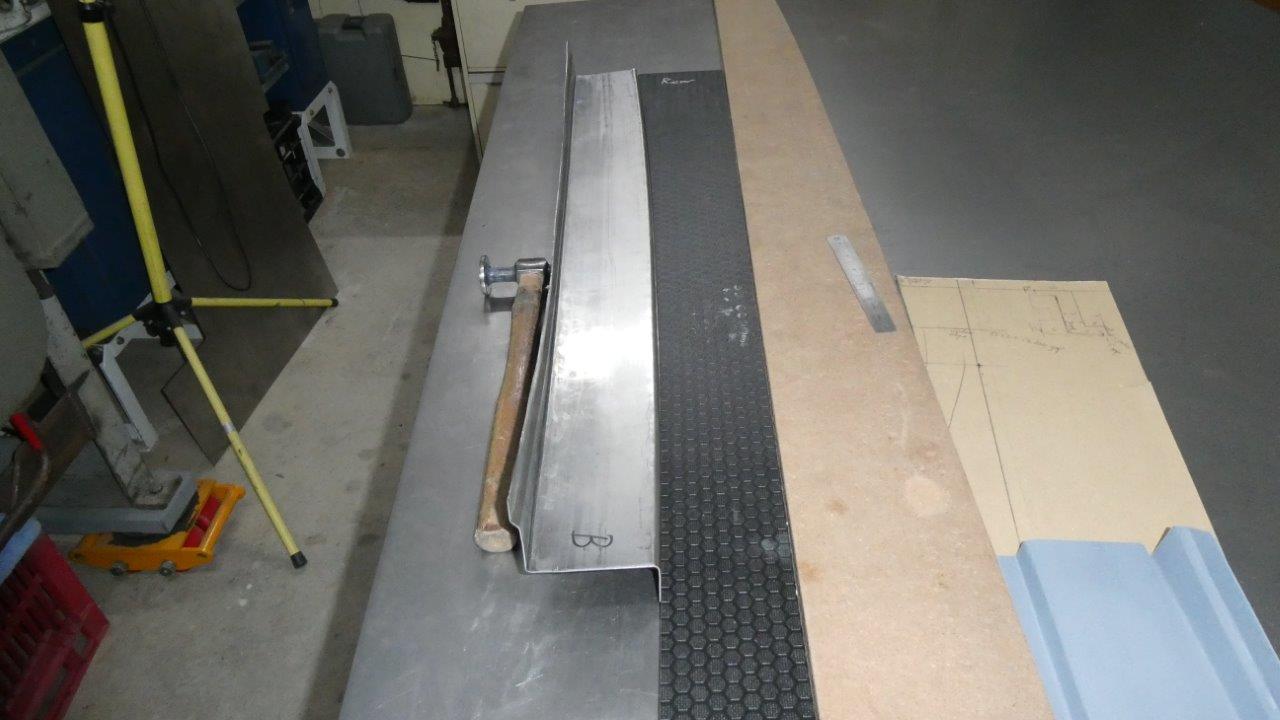
Last fold was to tip it one more time to go back over the top of the doors finally with a 5mm-5/16" gap above them! As soon as I did though it removed all the arc I had put into it to follow the gutter line after the last fold! Drew about 8mm-5/16 out in the middle. Cannot use a shrinker/stretcher to get this back either as the last fold prevents that.
So I used my trick of using the tig as a focused controlled heat source along the opposite fold which will make it shrink as it cools naturally after first expending while hot. A few places I went too slow and over shrunk it, so either stretched that heat line a bit or shrank it on the opposite side to pull it back some. Now it follows the template once again.
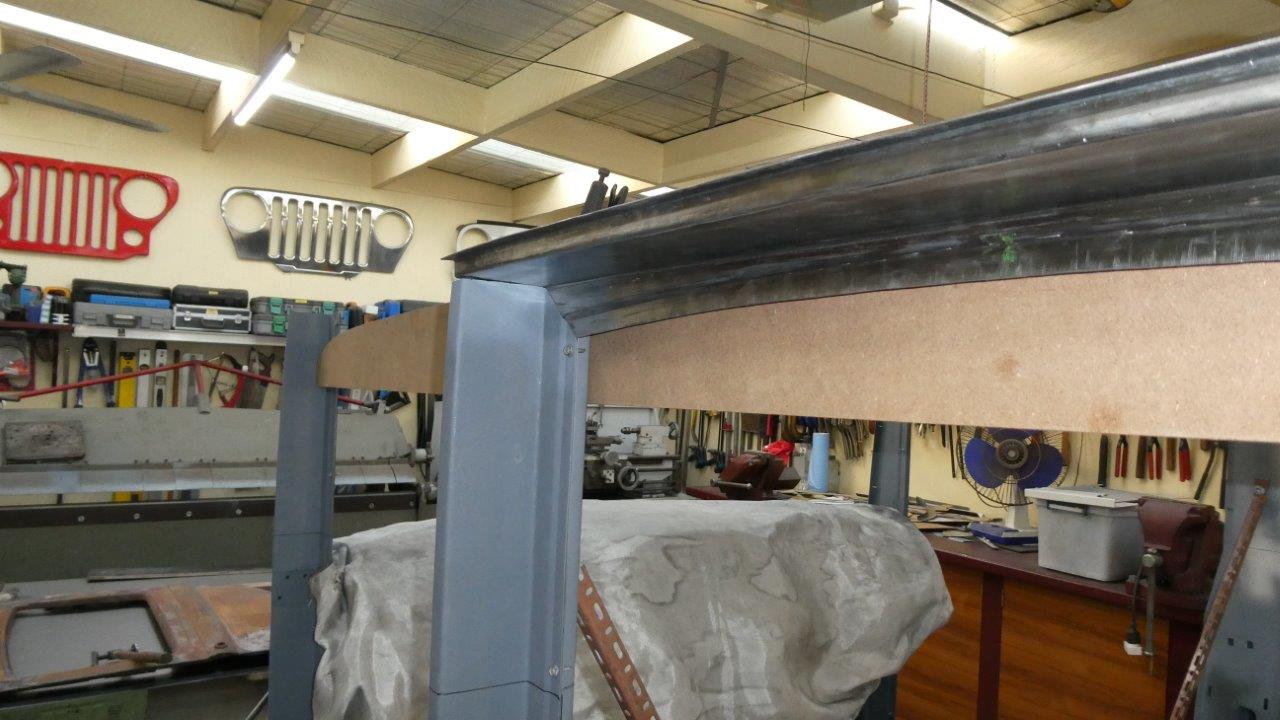
I then could mitre the corners to fit it in place for a test fit against the main gutter line template that I have clamped in position. I noticed it wasn't following the template along the top like it should though, (out of view in this shot).
Placed the two halves of the same template back against each other only to discover the thinner one that I had been doing all the corrections against, had changed shape in the moist air we been having recently!

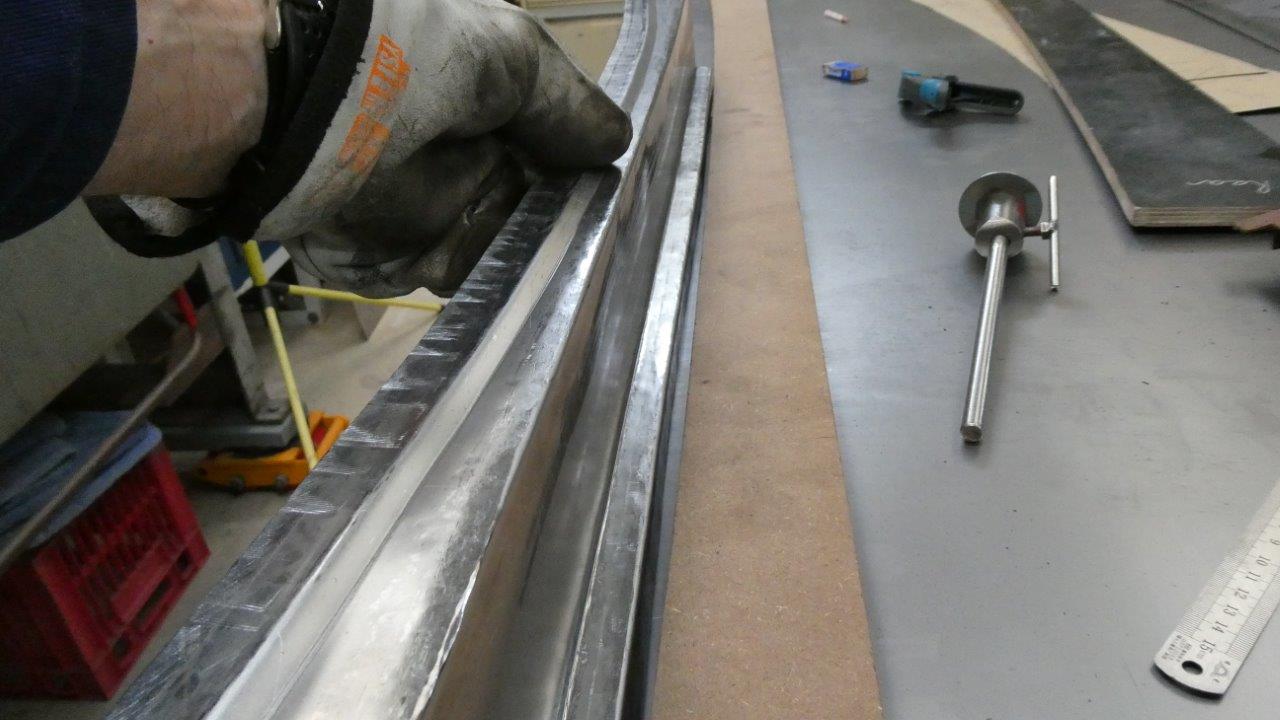
So back to heating and shrinking, or stretching over a stake with a hammer until both folds of the gutter line followed the wide template! Of coarse in doing so it often affected the curve in the other direction too, so that had to be kept in check as well. Now you can see where a simple looking piece can take so damn long, and this is only the first of eight of them, as each outer piece has an inner one that backs against it above each door as well.
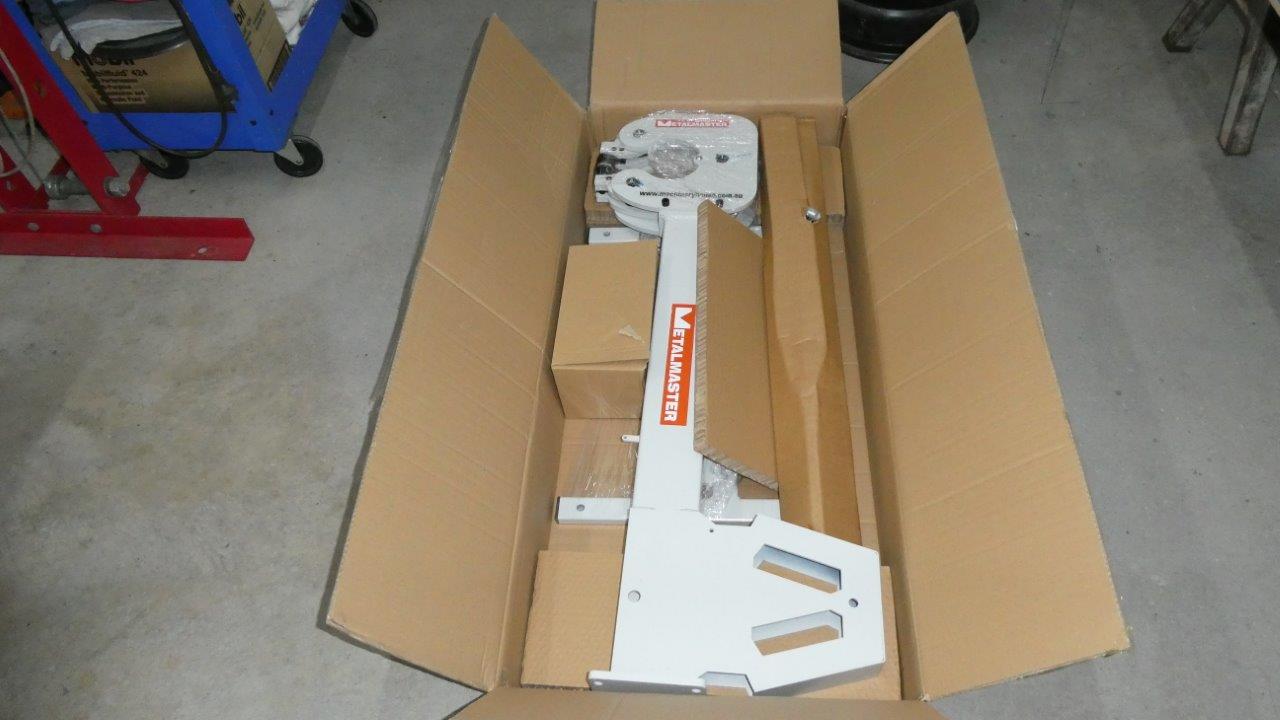
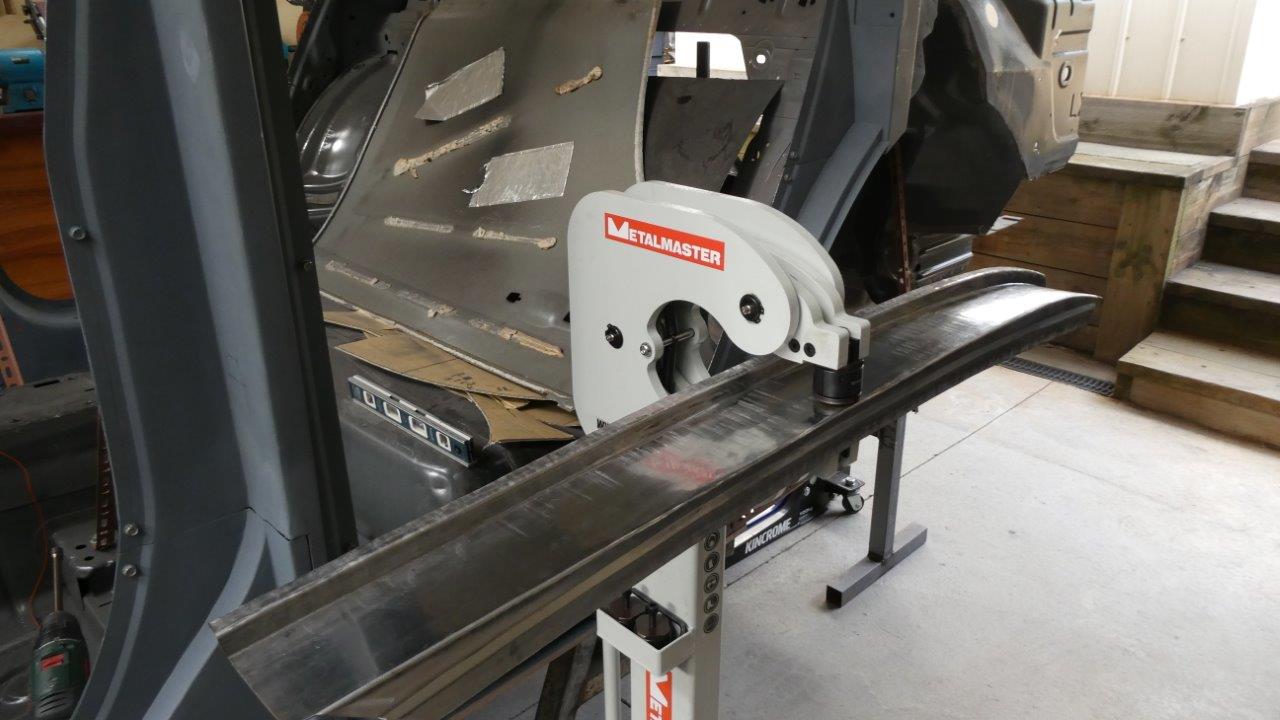
Got myself a new tool! I had been waiting for a while for this to come on special at Hare & Forbes. It is another shrinker/stretcher and comes with no assembly or setup instructions! But really, if you are using a professional tool like this, you should know how to put one together.
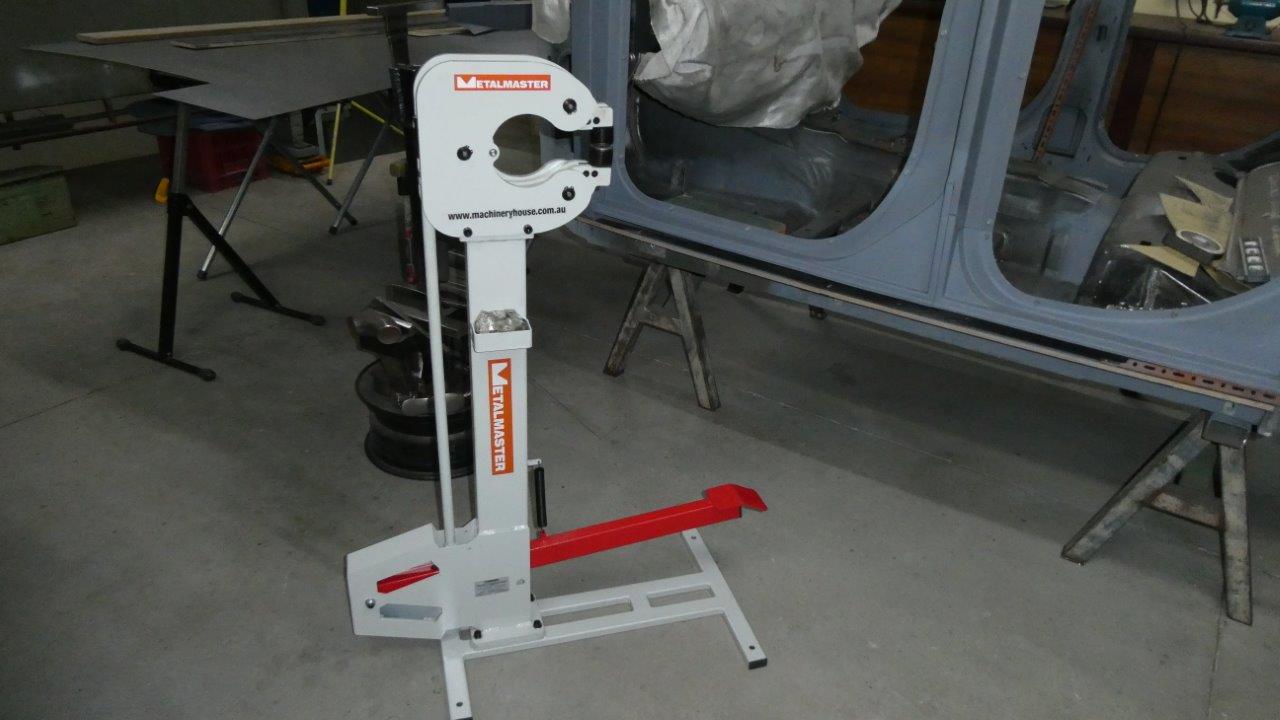
All put together without problems. What this one does differently is that can be used on curved surfaces, without it flattening out, and you can pass metal past the jaws. My other one can only go in the depth of the jaws at 25mm-1" and has a capacity of 1.2mm-18ga steel. This one can go as deep as 165mm-6.5" and 1.6mm-16ga steel. The open area behind the jaws also lets you fit a lot of things that already have a flange etc folded. It should help speed up a lot of tasks.

No concrete workshop floor is perfectly flat and mine is no exception. It rocked around quite a bit as the base frame also had some distortion from the base plate been welded on during manufacture.
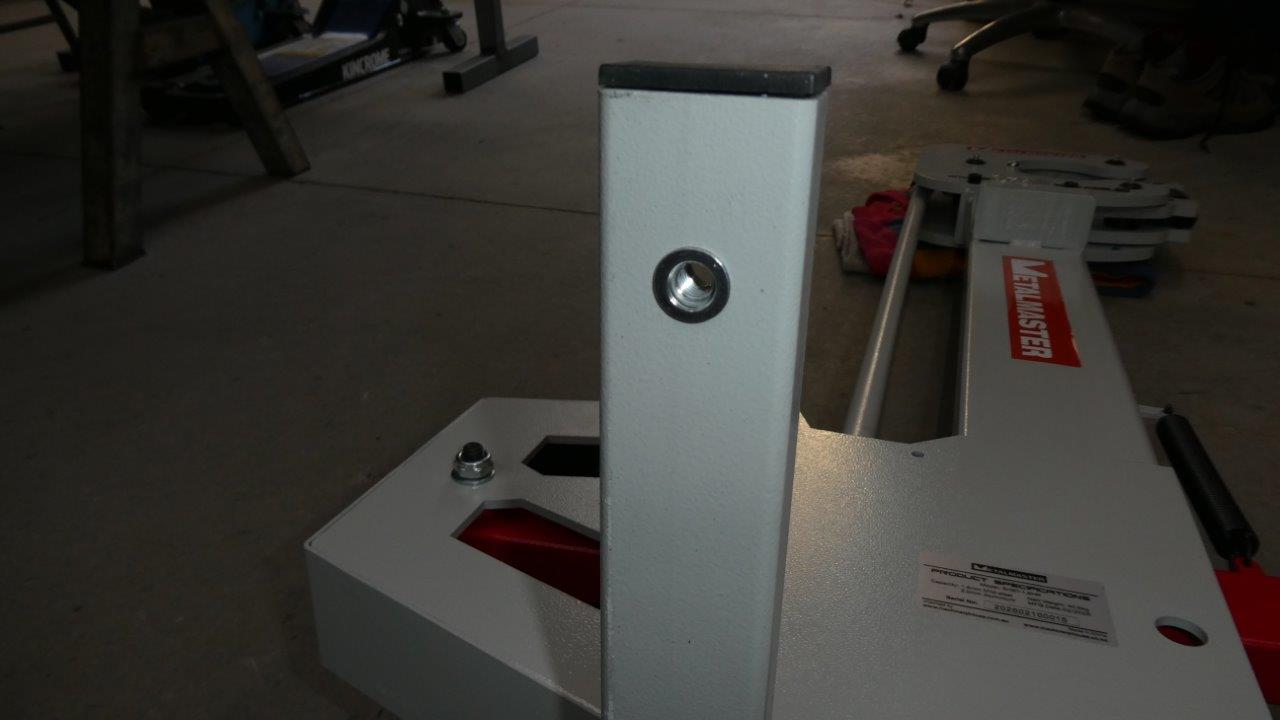
I just put in some threaded rivets and screwed an adjustable foot on each leg.
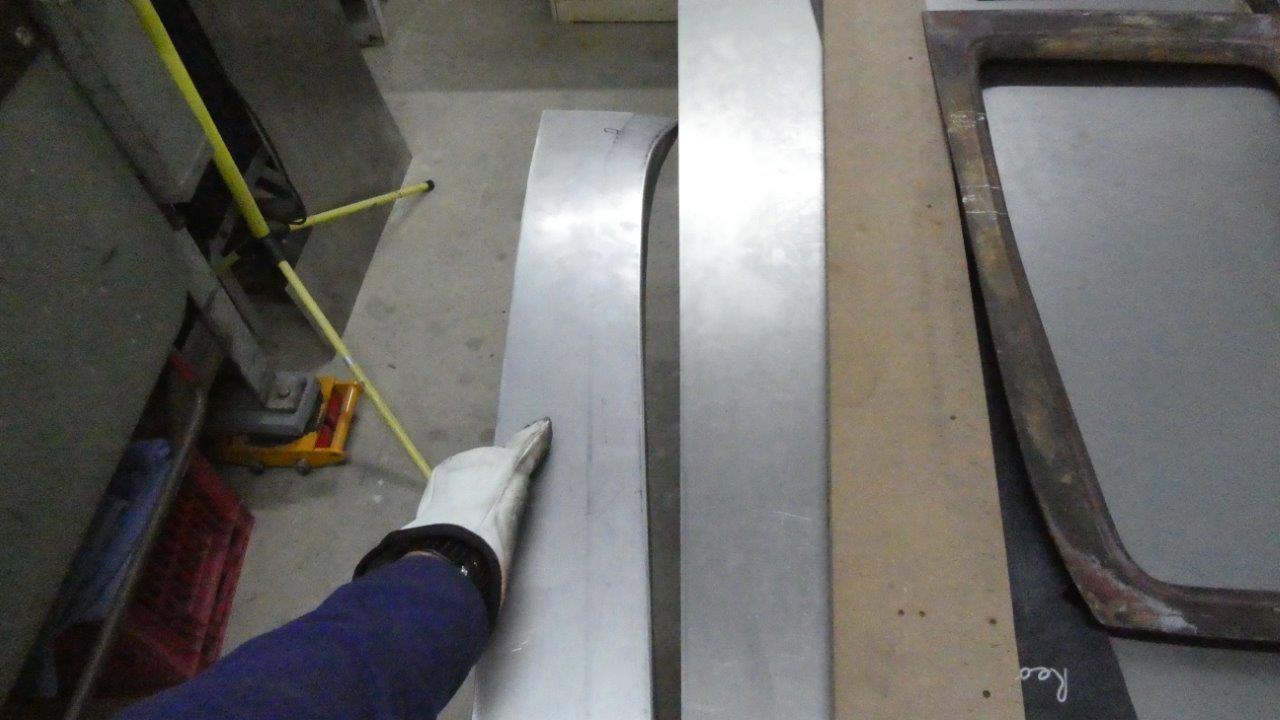
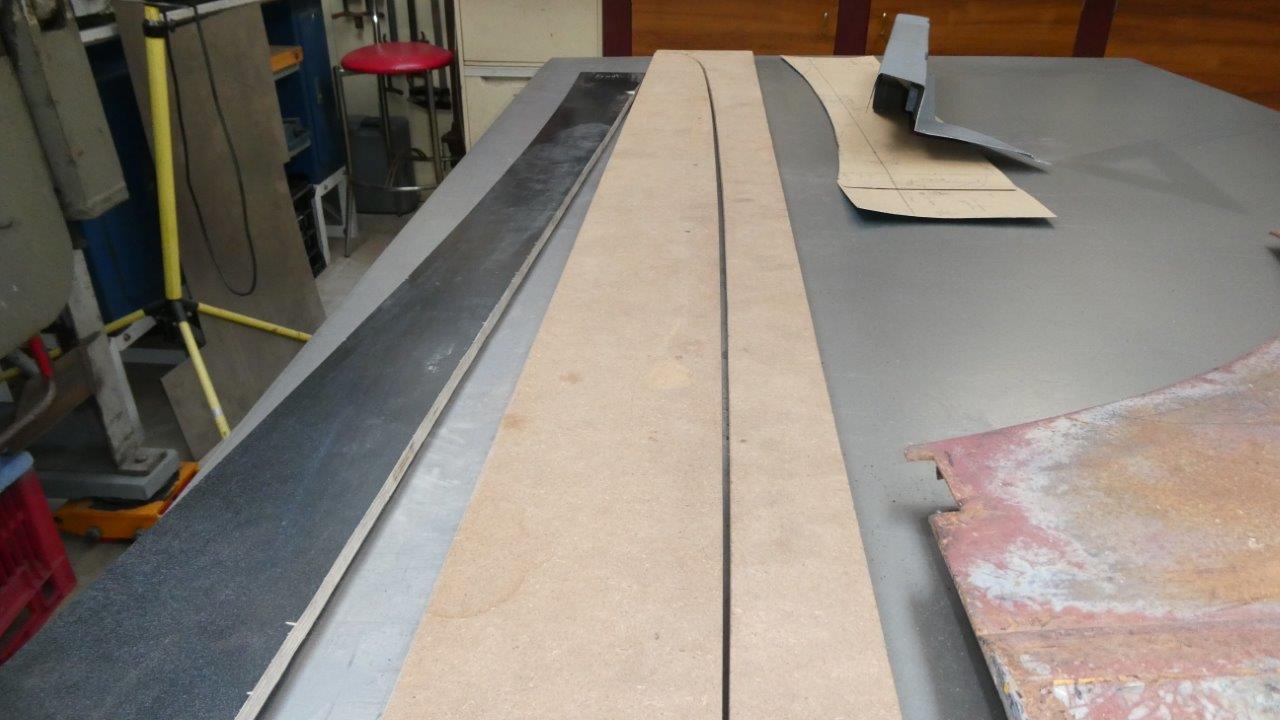
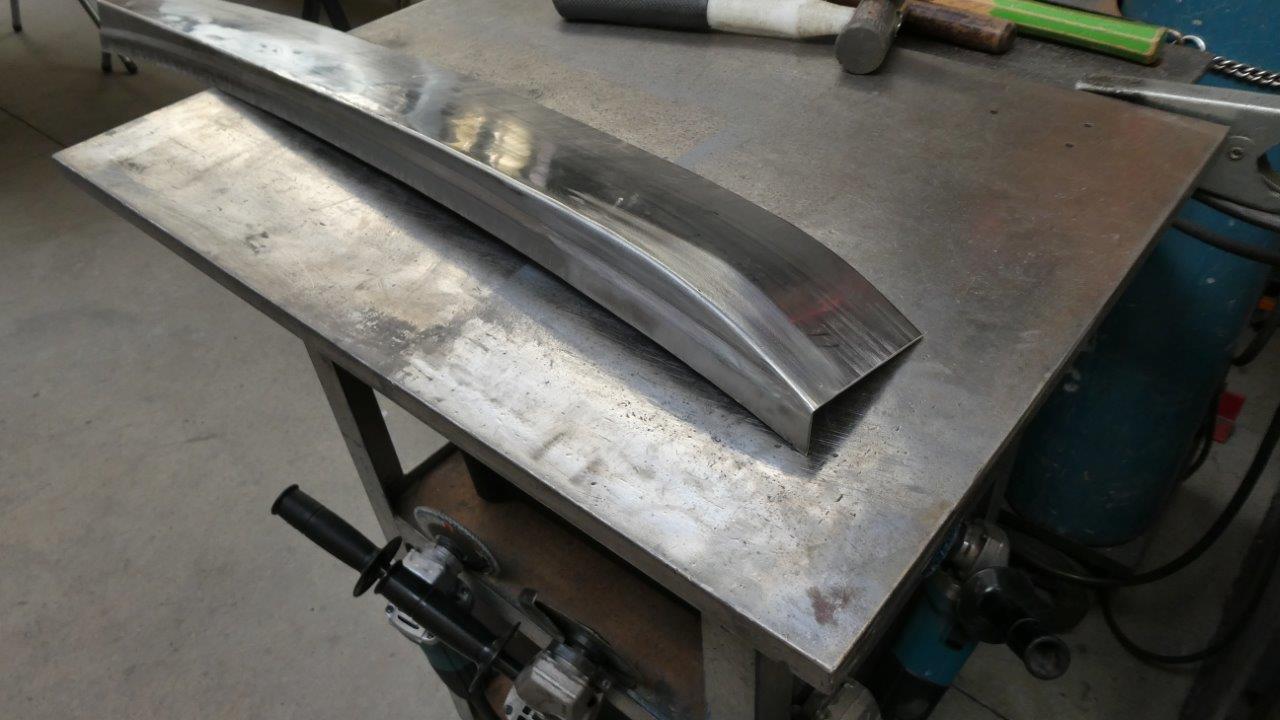
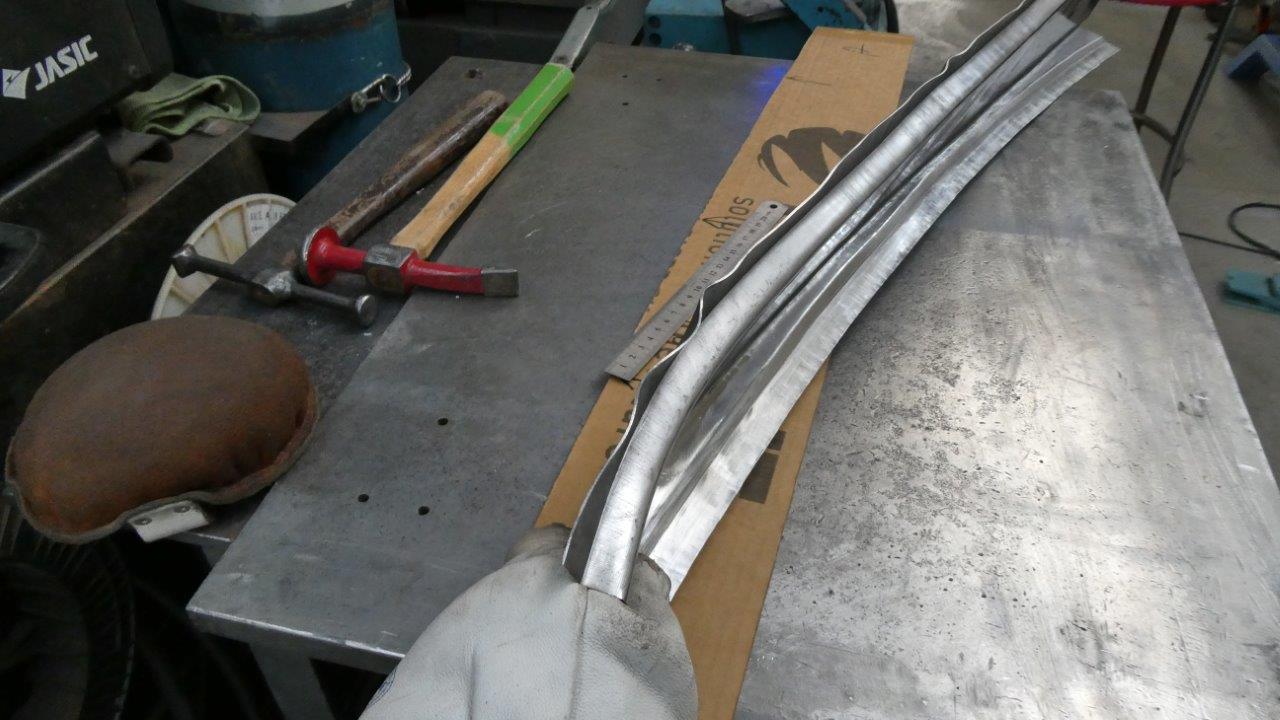
The front door upper outside door openings were much the same routine as the rears. The main difference is how much it curves down more near the A pillar end. This sharper curve created a lot more distortion than the rest of the piece. There is supposed to be no gap at all along the folded edge!
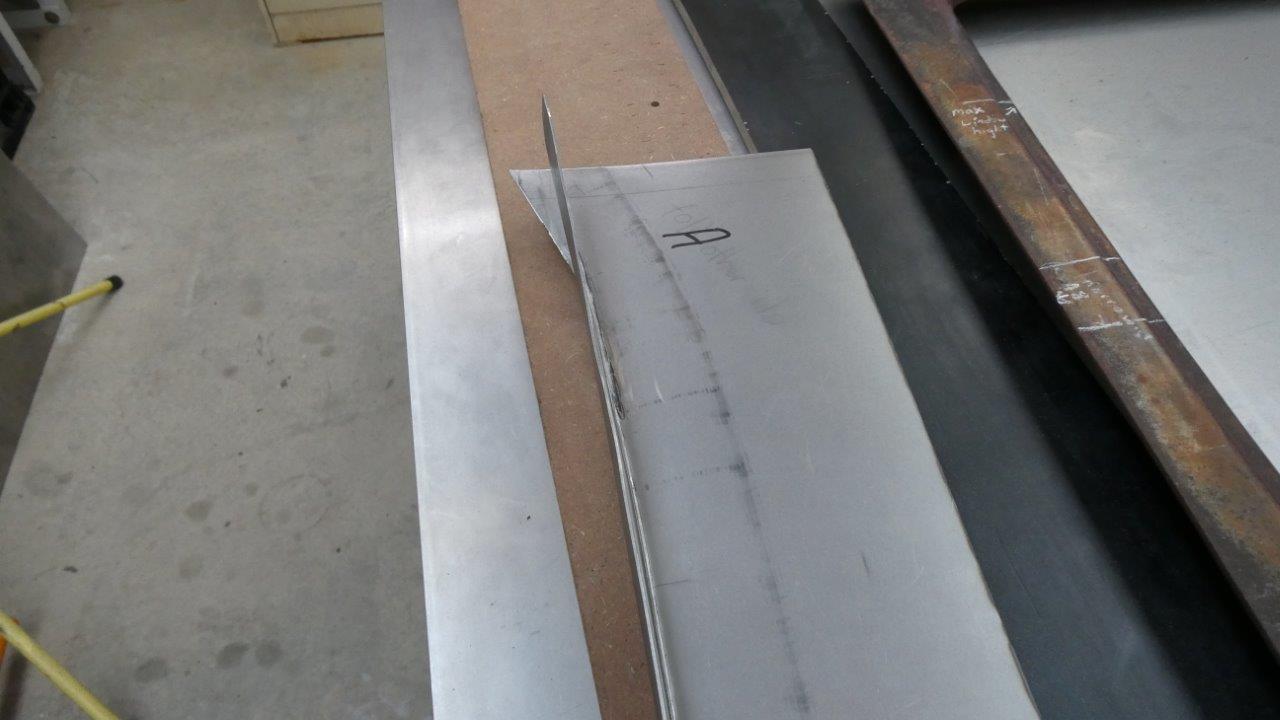
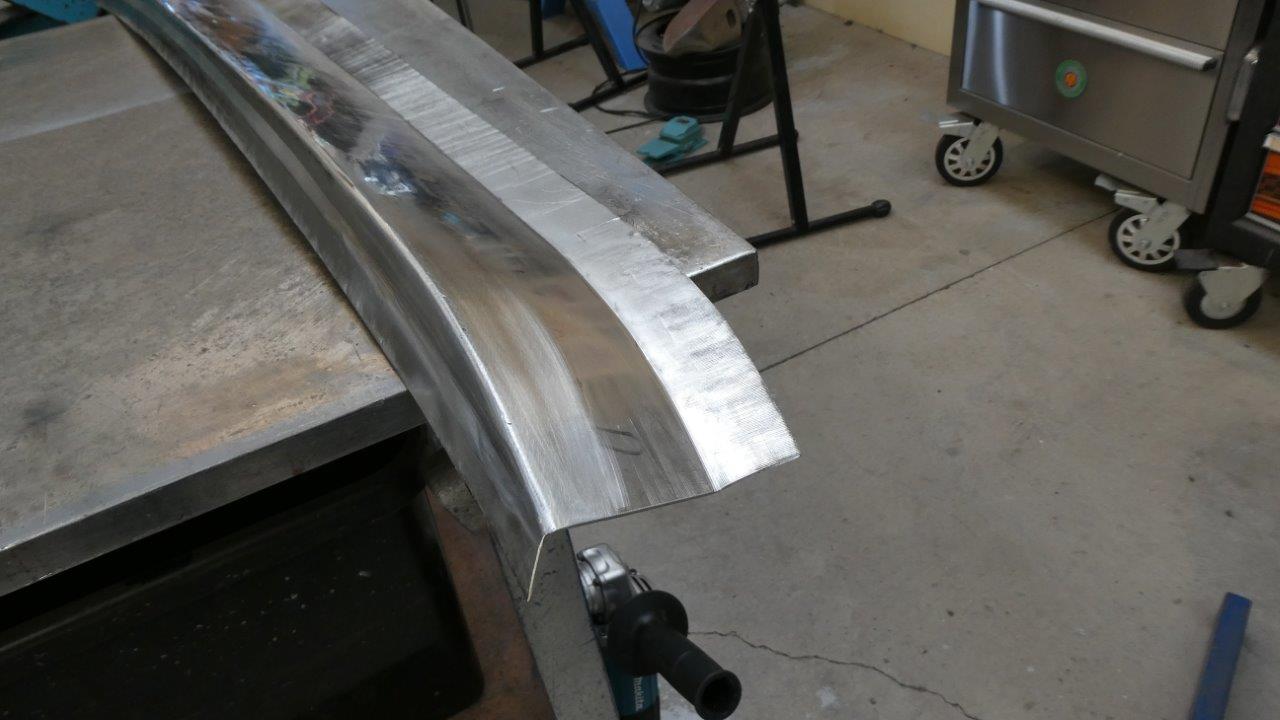
There was no way you could stretch that much material straight and have decent thickness left. So I just cut along the fold where it had the tighter curve. Look how much material is left off to the side once the flange was made straight again.
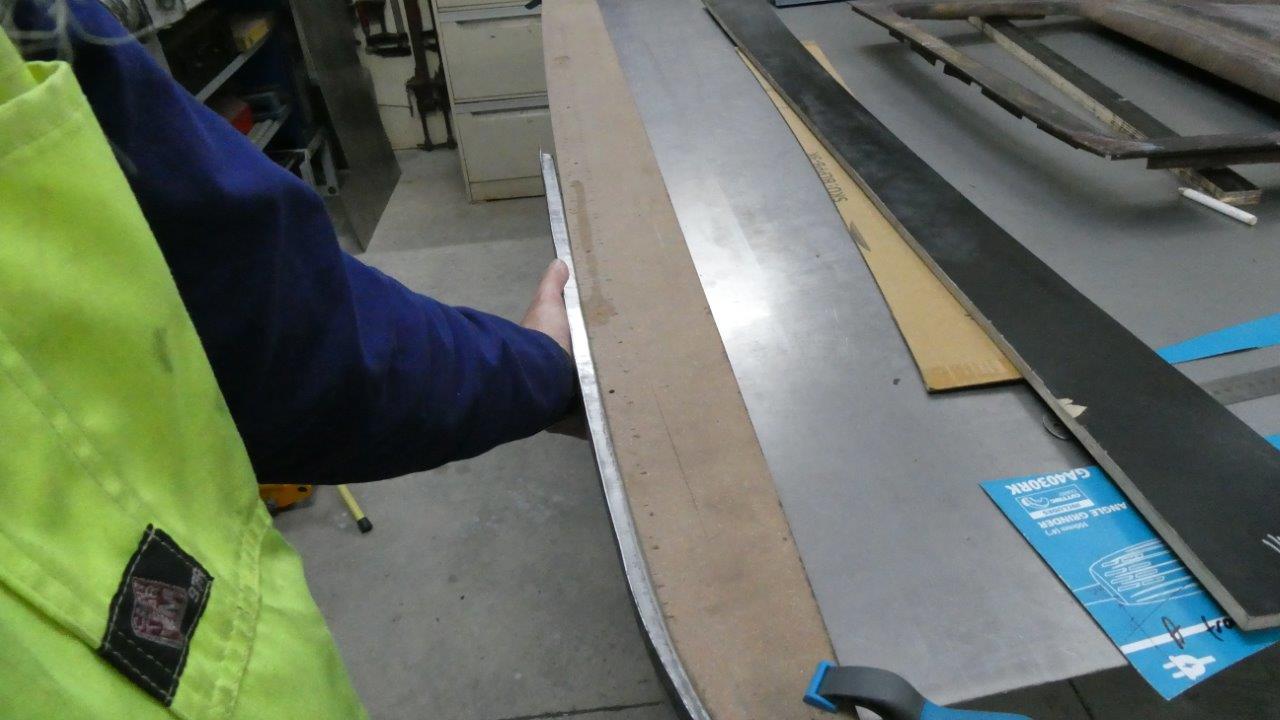
Before cutting away the excess material, I ran the piece through the tilted lower anvil on the English Wheel to straighten out the rest of the flange. After that I knew exactly how much to cut away and could weld it back together.
Inside of the welded flange hides the evidence fairly well.
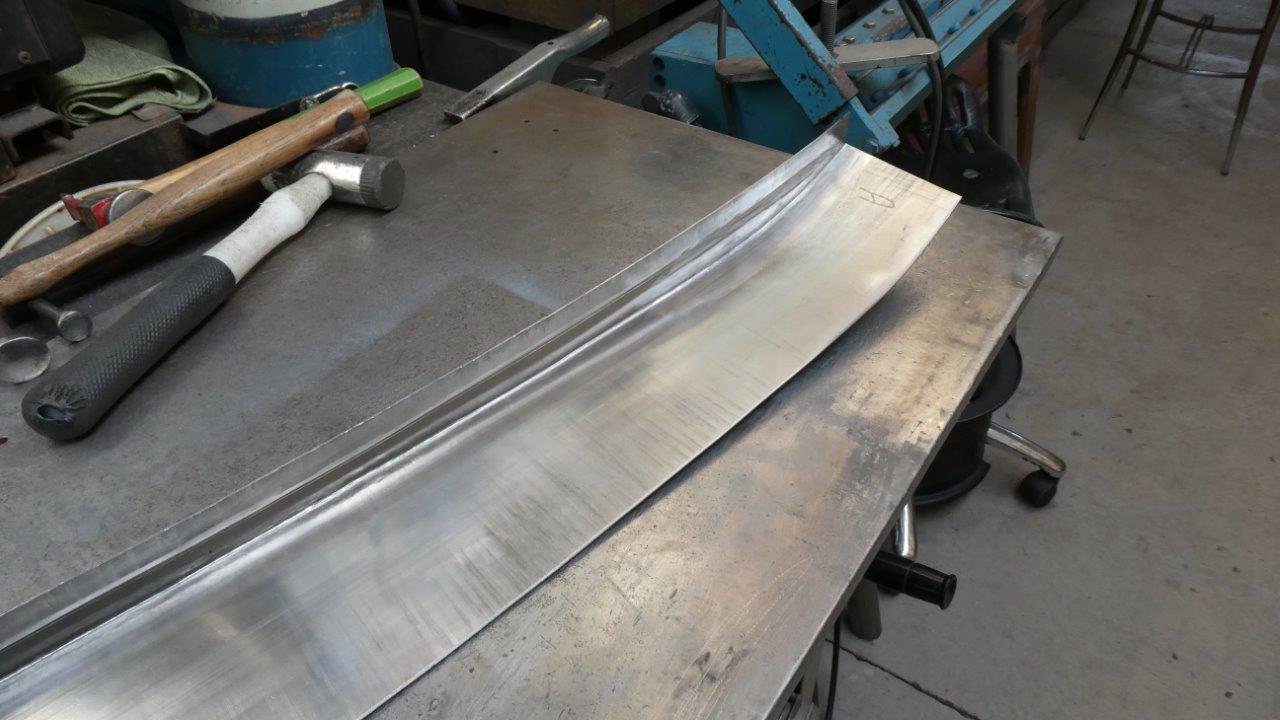
Now time to tip the next flange. Knowing that the flange would need to be stretched as it went around the curve, I stretched it a bit more after every pass on the tipping wheel so I wasn't fighting it.
With that flange now a 90°, I put a bit more curve in it than the template showed it needed. Having learned from the rear door pieces that it looses curve when the next fold is done, I hoped it would make it easier to correct later.
Putting more stretch in it also means that after the last fold is tipped, the folded over area now needed to be shrunk more, as there is too much material on the edge. Least this is simple to do in the shrinker/stretcher.
Not a bad educated guess as only near the end did it need a little heat shrink on the previous fold using the TIG welder to correct the shape.
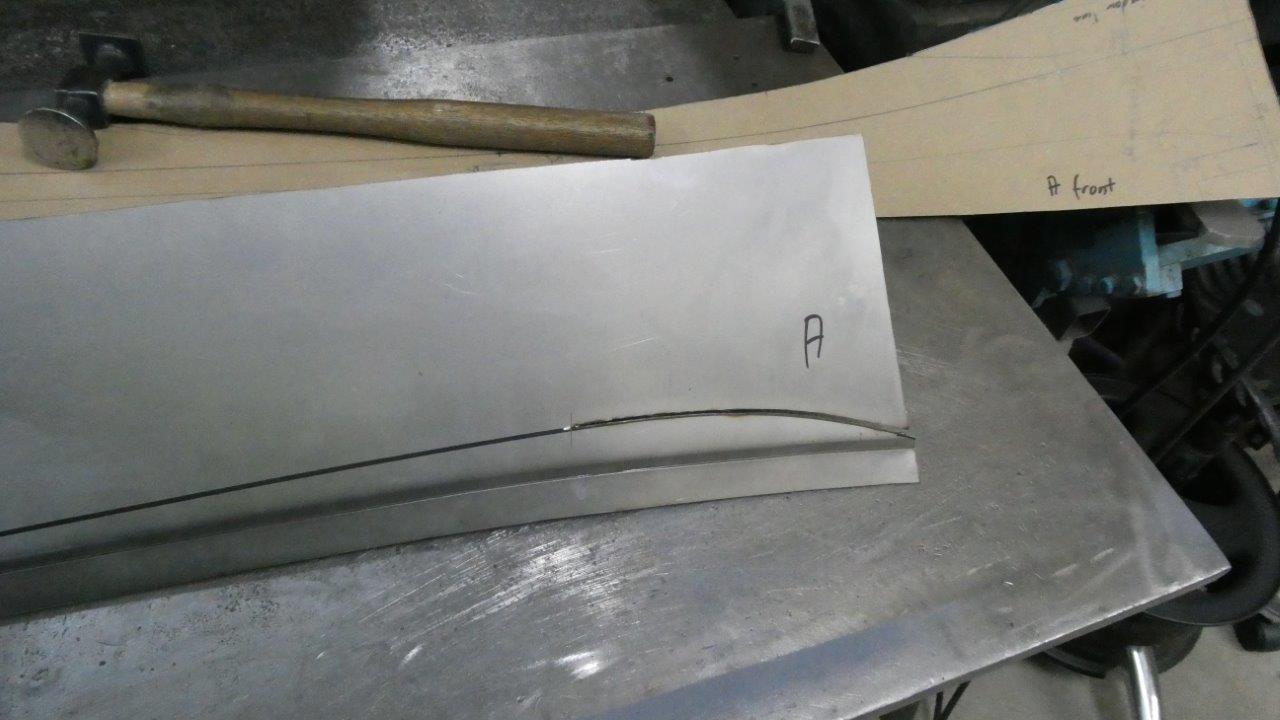
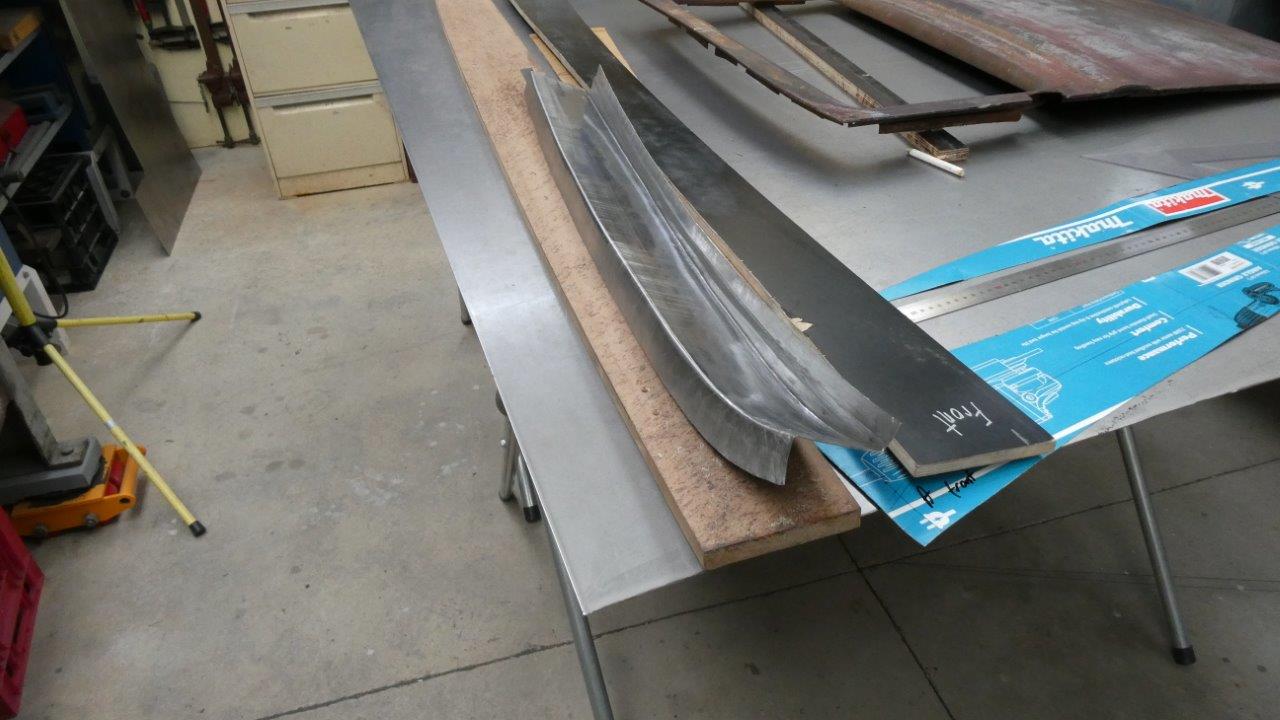
On the other side I decided to cut the most curved part of the line where it will be folded. This should making tipping a lot easier as there will be less tension on the panel.

I was surprised to see how much the panel was now too short and had to add 10mm-3/8" to one side of the piece. No wonder it curved so much when I tipped that steeper curve on the first side.
This is a good example of how this new shrinker/stretcher is going to be used. Normally when I have areas that are dipping down or up in the middle of a panel, you move them up to the right plane with the surrounding metal to smooth it out. Problem I find is that the distortion that was there was actually keeping the shape around it correct, and now that it is gone, so is the shape you wanted outside that area. So much time was spent heat shrinking it to fix the problem. Now I could just feed the piece in and remove the excess material with the shrinking jaws without effecting the shape around it. It saves a lot of time and effort and is more controlled. I do find though that this shrinker is not as aggressive as the other type, so still use it where a lot of material has to be moved on the edge. This machine is certainly not a replacement for a $10,000 power hammer either!
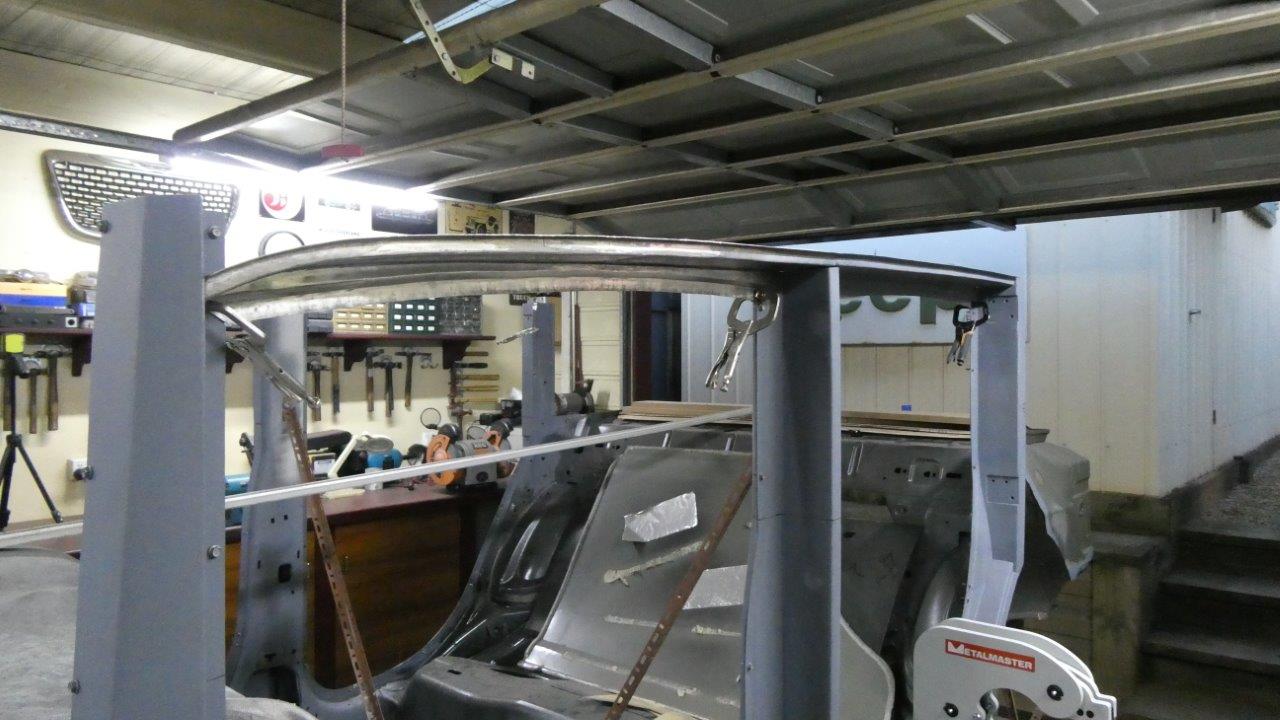
So there you have it! The outside upper door supports done and now you can better see the shape the top of the doors and gutter line will look like. It checkout out perfectly too to the full sized templates in horizontal and vertical planes.
Video update.