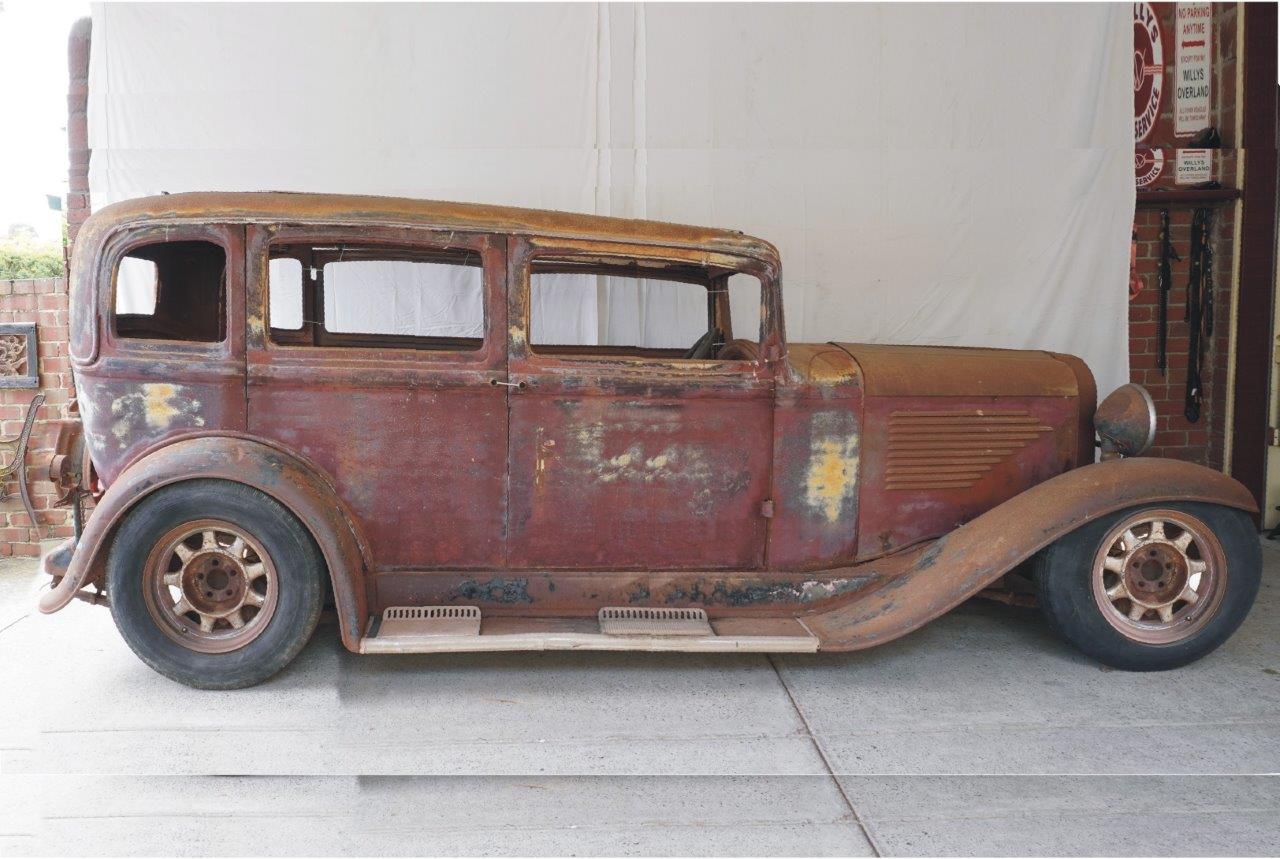
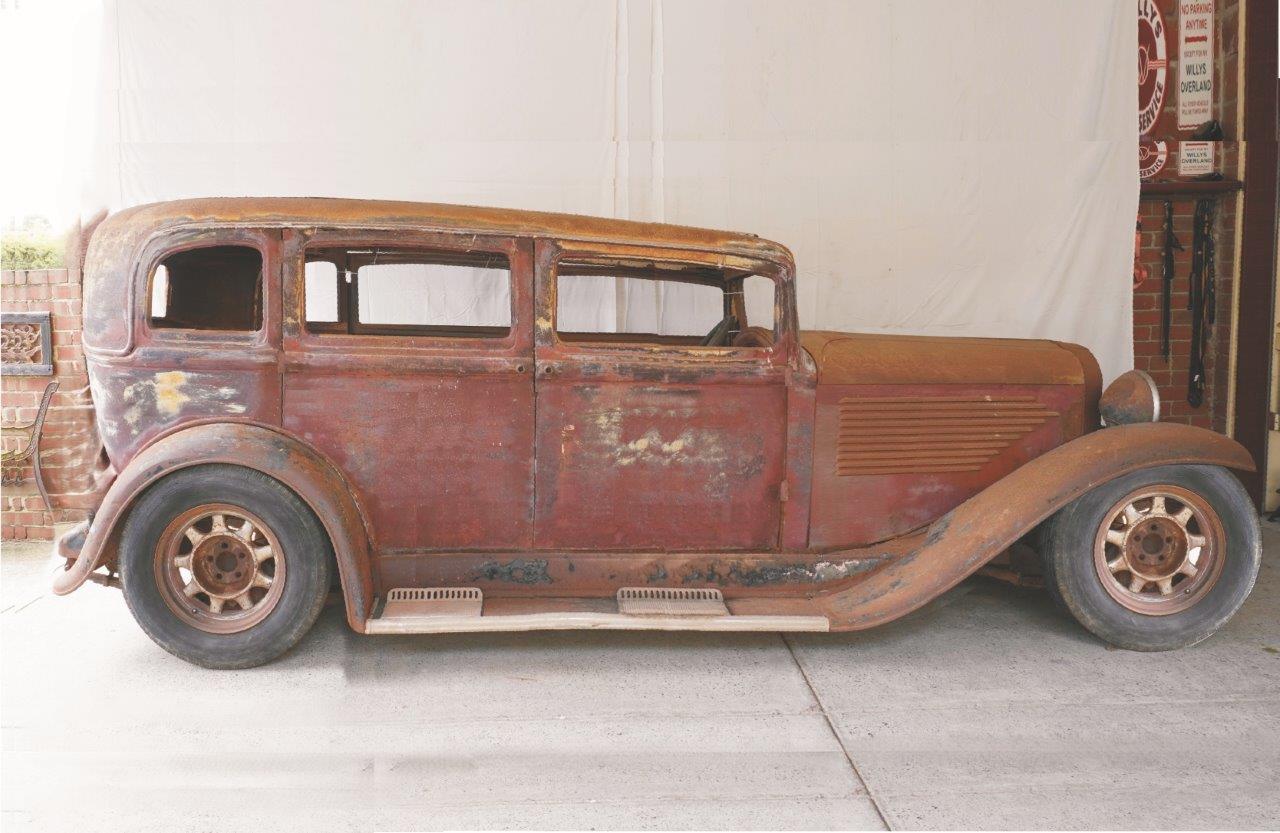
I felt I kept control of the image better by doing as much as possible using no AI until the very end. I just didn't trust what I was seeing in the side view renderings after it took over. Was happy with the way the front view turned out, so I revisited the side view again. This was what we were up to before using AI last time with all the body modifications except for the extra wheelbase the donor shell has in the rear wheel arch area.
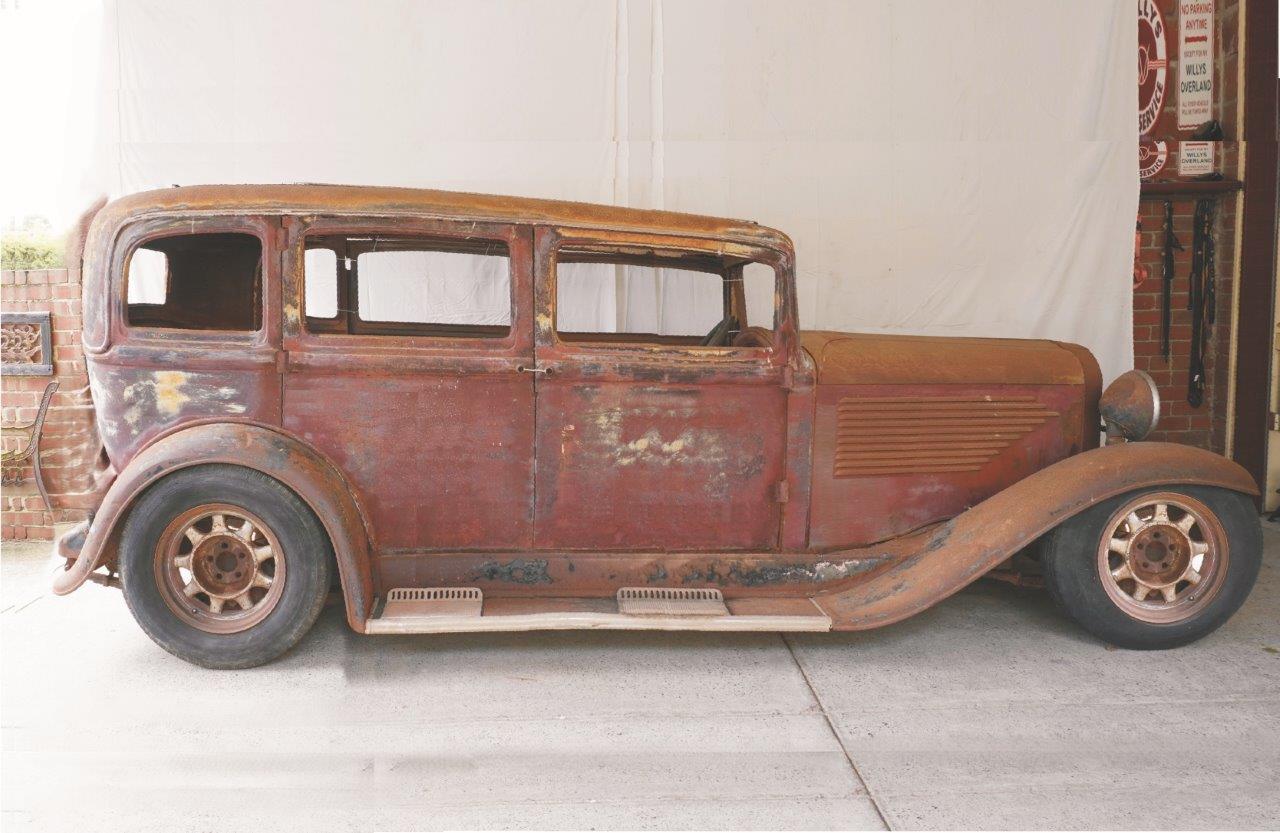
I doubled checked everything and then added the extra 200mm-8" over the back wheel area pushing the wheelbase back to match the shortened donor shell, while leaving the door widths the same at the 110mm-4.25" extra that I had already done. Dimensions now match the new door pillar spacing on the donor shell. Can't say I like it very much with the big rear most window though.
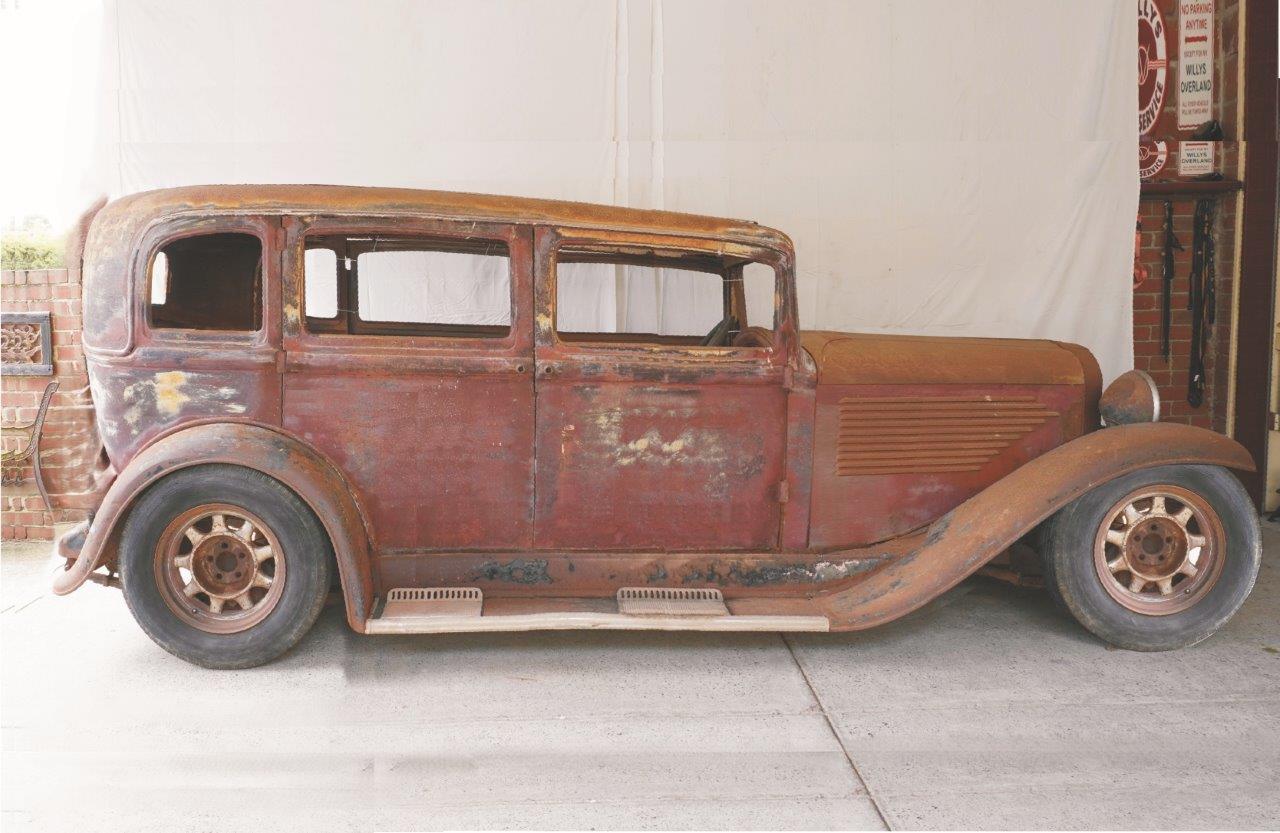
Leaving everything else the same, I just widened D pillar rather than the window opening, bringing that back to stock length. Looks so much better and always felt the D pillar was a bit too narrow before anyway. Another thing I did too was rotate the front guard/fender/wing upwards to raise it, pivoting where it joins to the running board. This has to be done to make sure I can run a low stance and still get enough up travel. You can see how much more of the top of the tyre is exposed. I actually cut out the rear tyre, flipped and rotated it to fill the gap left at the front. That would make it a much easier way to get the clearance needed than rebuilding a lot of the guard too when the time comes.
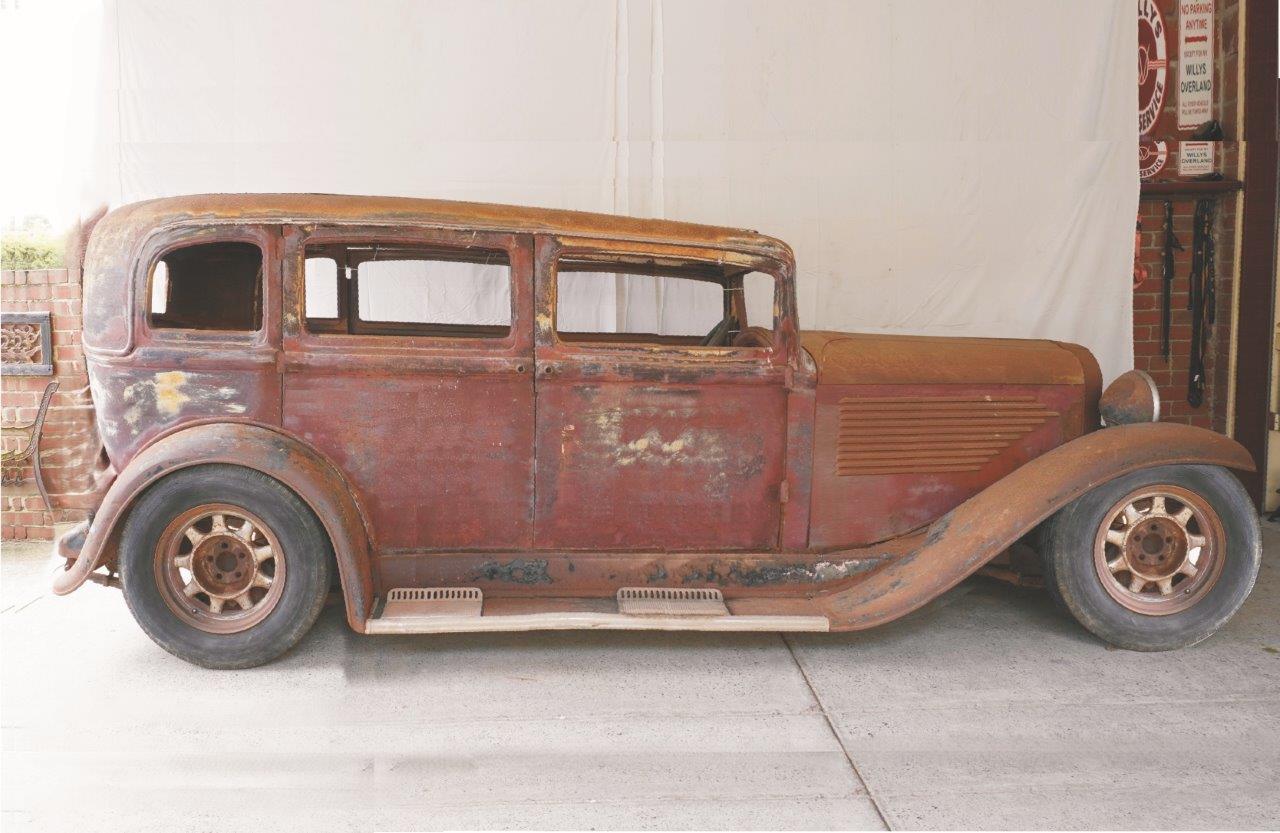
Knowing the profile of the very chopped looking widened front windscreen, I felt the the roof needed to come down to match its profile. I had that extra 25mm/1" in the header panel pinch weld above the windscreen, so chopped the roof that much. That way I have lost none of the windscreen height if i just trim the pinch weld flange the extra inch after lowering. So how do I know I dropped it an inch? What I do is measure something on the car that matches the size I am after. I blow the high resolution shot I have to 300-400% and measure what that same thing is on the photo. In this case one inch was the distance between the top of the main beltline and the next step above it in the doors. I then cut the photo through the window openings, copy and paste it back over the top and then overlap the photo until the window opening shortens by the width of that step measurement. Now it looking much better don't you think?
Mmmmm, so if one inch looked good, would an extra 13mm-1/2" be noticeable? So down it came a total of 38mm-1.5". You can actually see it and went from cool to gangster looking! The windscreen header panel would have to drop the 1/2" as well, but proportionally it wouldn't be as great a difference visually I feel. When I showed Lisa the different stock to 1" to 1.5" chopped versions, I was not sure which one she would like as had been anti chop from the start. Well wouldn't you know it, she chose the 1.5" chop as it matched the windscreen profile the best! Unfortunately you don't see the effect as much as we did in the full resolution shots to what is posted here, as it has been all scaled down to the same smaller resolution, which alters the ratio a bit. Should show up better when I make the video though.
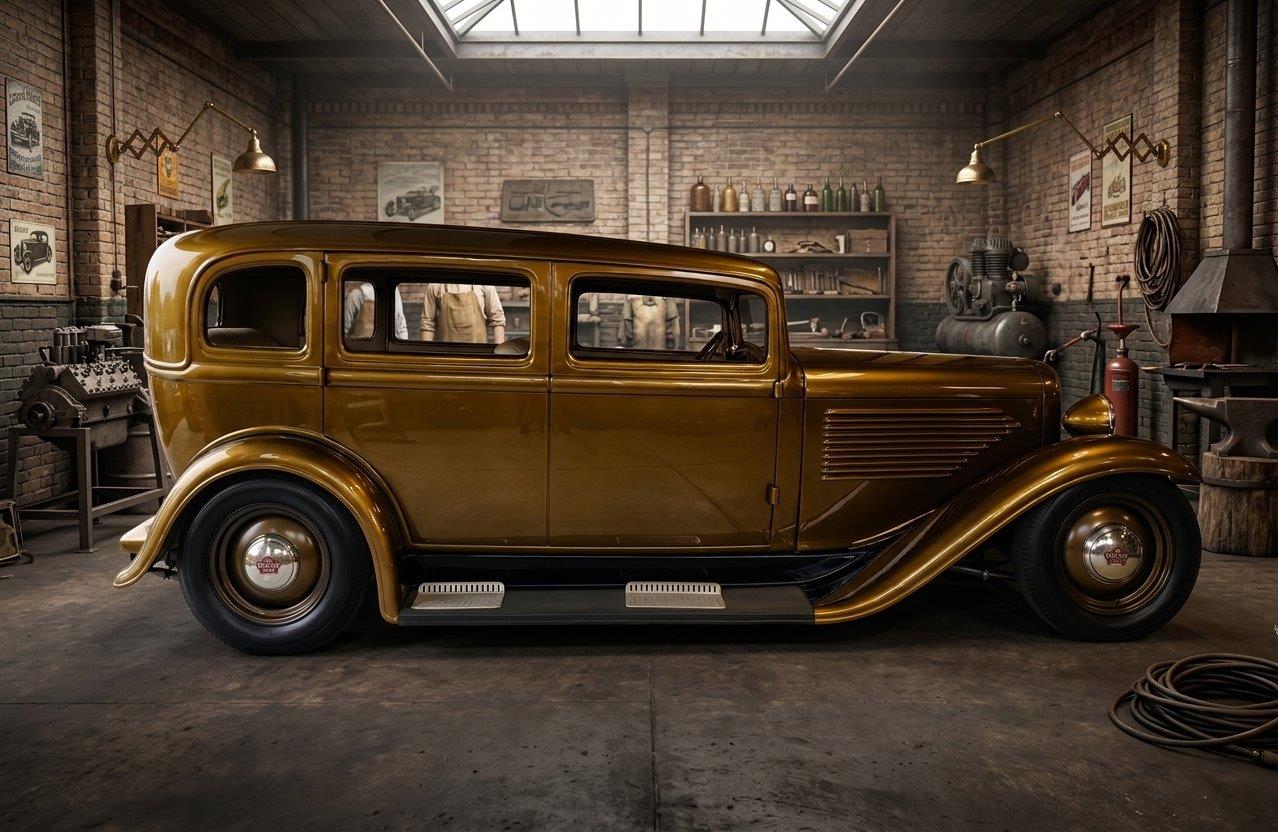
So time to see if I can control Gemini AI well enough not to muck my hard work up. Funny thing is you can use Gemini Nano, which is Google AI assistant found in the Chrome browser, to give you the wording needed to get its main AI to do what you want! So got it to restore the paint and even changed the wheels to smoothies and I even uploaded a photo of my Willys 8 hubcaps to fit to them! They are actually flatter and smaller than that, but hey, gives you an idea anyway.
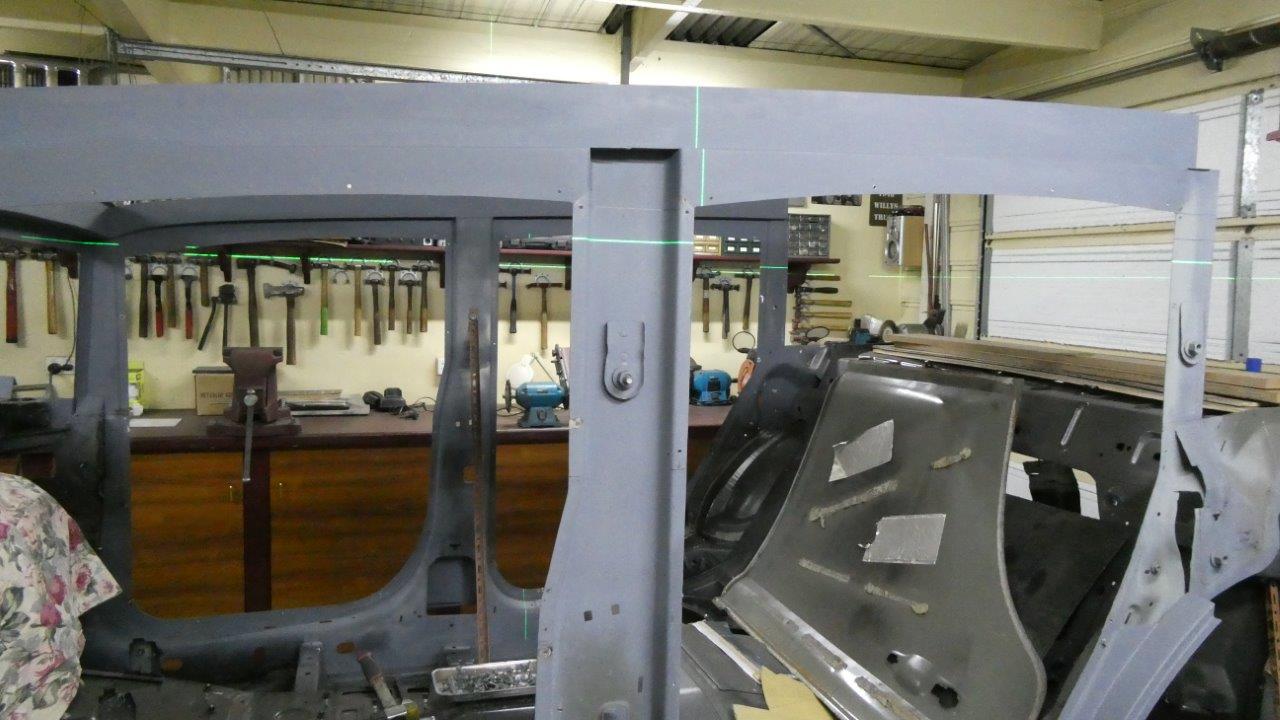
So would I really go cutting off the whole upper roof structure that I just finished to get that look? You bet ya! Fortunately this is the easiest roof chop ever as all the outer structure is still just tek screwed into place so took them all off first. Then set the laser up to just get more accurate cut lines at each pillar.
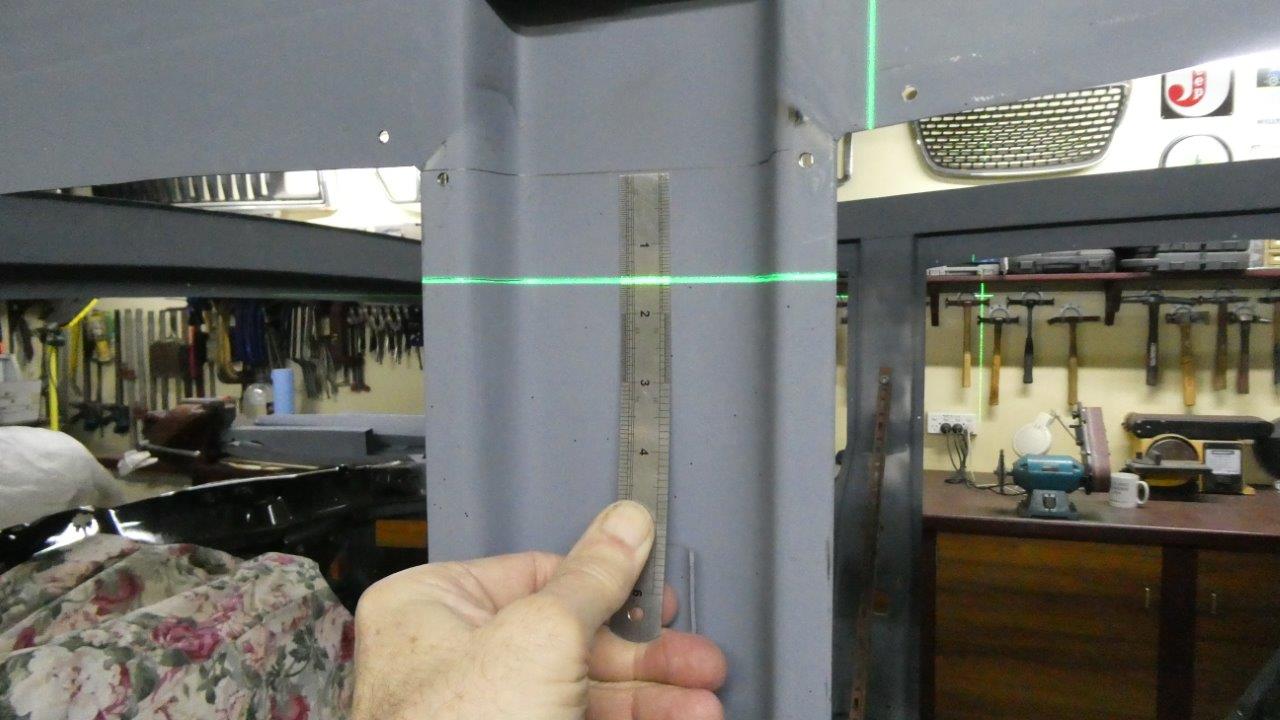
Put the lines exactly 1.5" apart. I did this right at the top of every pillar. I just kept them level rather than the 2° tilt the upper angle has.
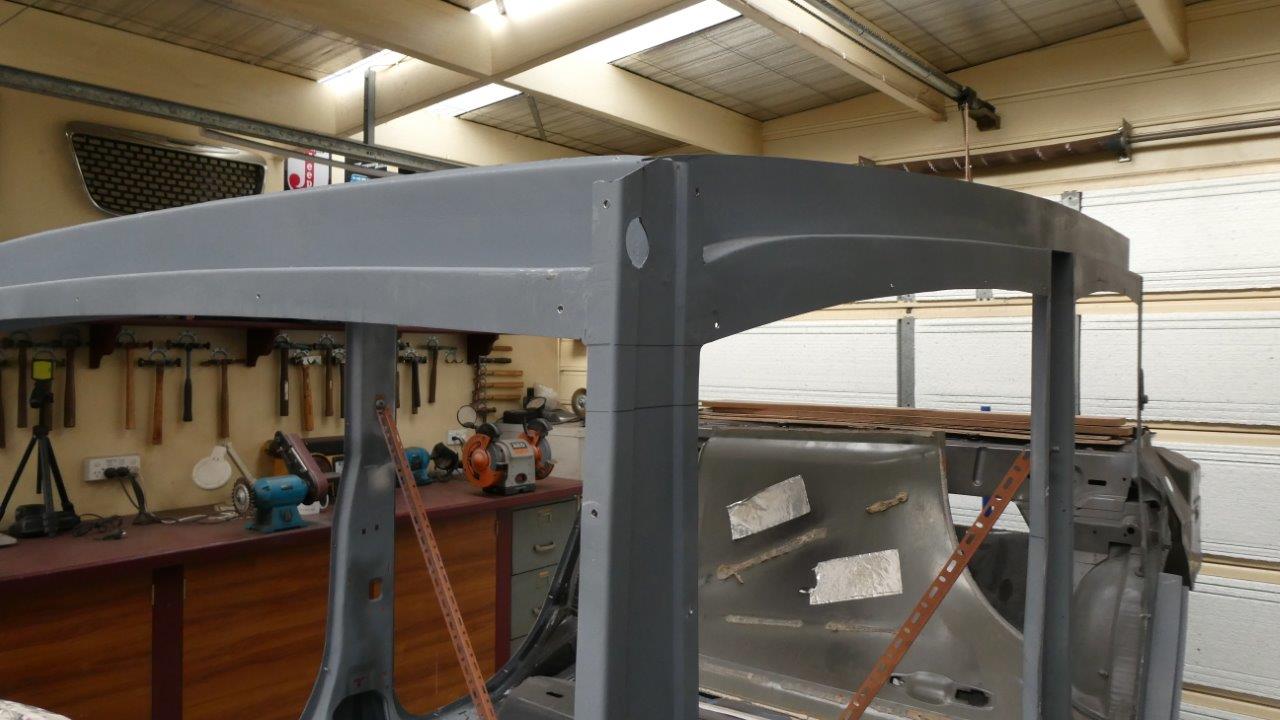
The B and C pillars are all vertical and even the door jam side of the A pillar is. The only angle I will have to deal with is the 3° lay back of the windscreen. Notice also I had drilled a access hole into the header cavity for the wiring and cable from the wiper motor to run through. I do this throughout the build and even drill small drain holes to let any condensation out of otherwise sealed members.
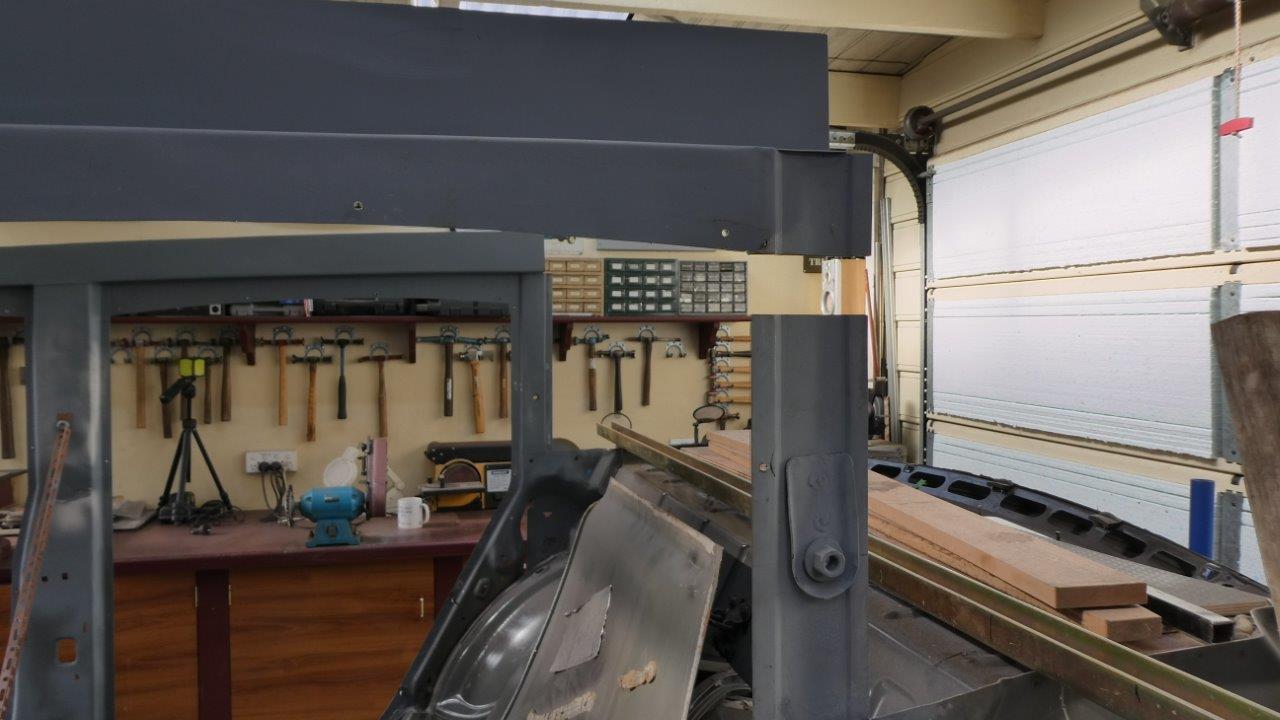
I had to put my thinking cap on to work out how I could do this chop on my own and not have the whole roof structure twist and fall once cut free! Thought I would start by cutting through the C pillars first while the rest of the roof structure is still supported by the A and B pillars. Then my plan was to fit a board 1.5" thick spanning between them to rest the roof structure on once I had cut it free.
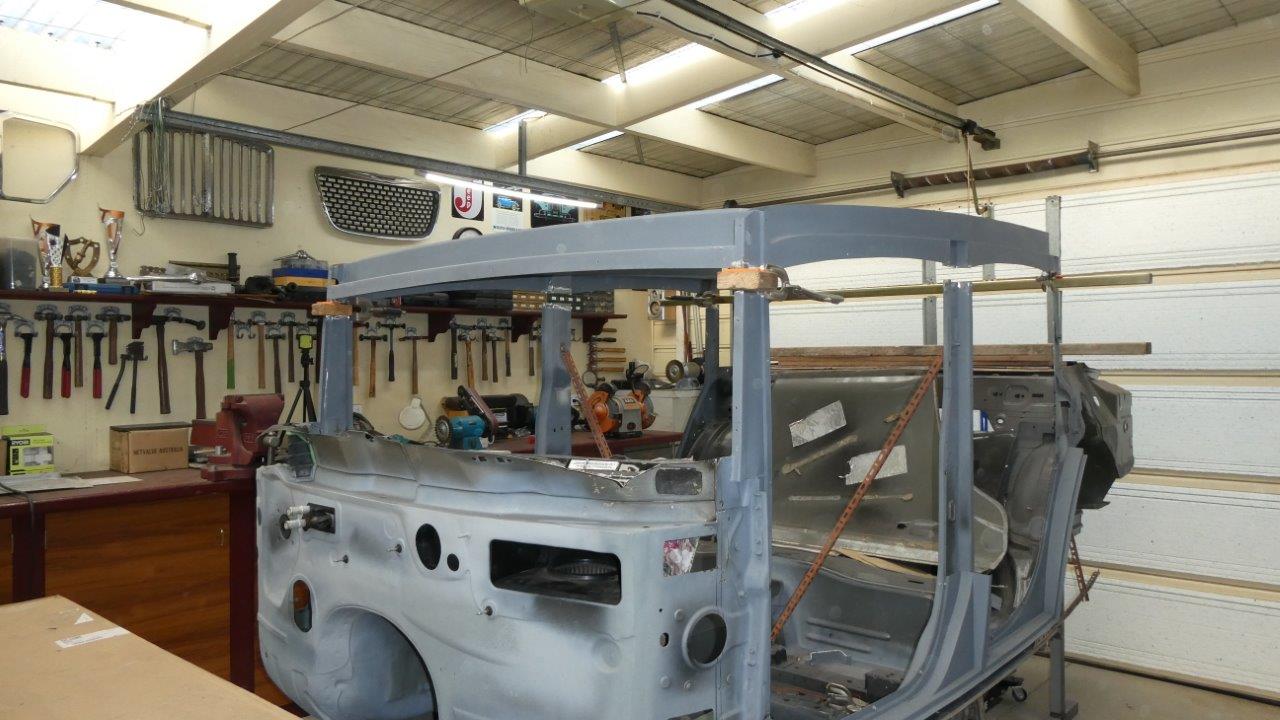
Then I cut the A pillar sections out and placed them on blocks and supported by clamps while I cut the B pillar pieces out. So far so good!
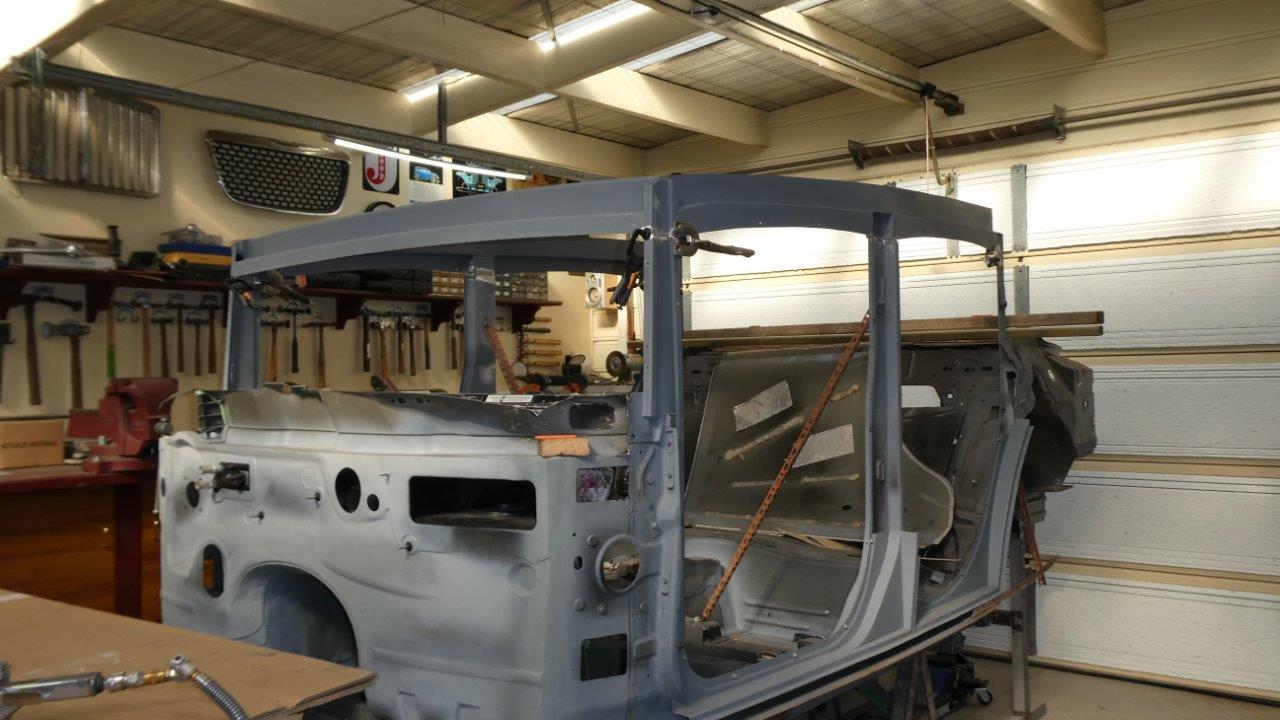
To get the roof down I took out the A pillar blocks and released the clamps. I was able to reach across and do both sides and then pivoted it down leaving the rear plank support in place. Clamped the front and pulled the rear plank out and lowered that end too. All the pillars lined up exactly and only the front of the A pillar needed a little reforming with a hammer as was only about 2mm-1/16" different.
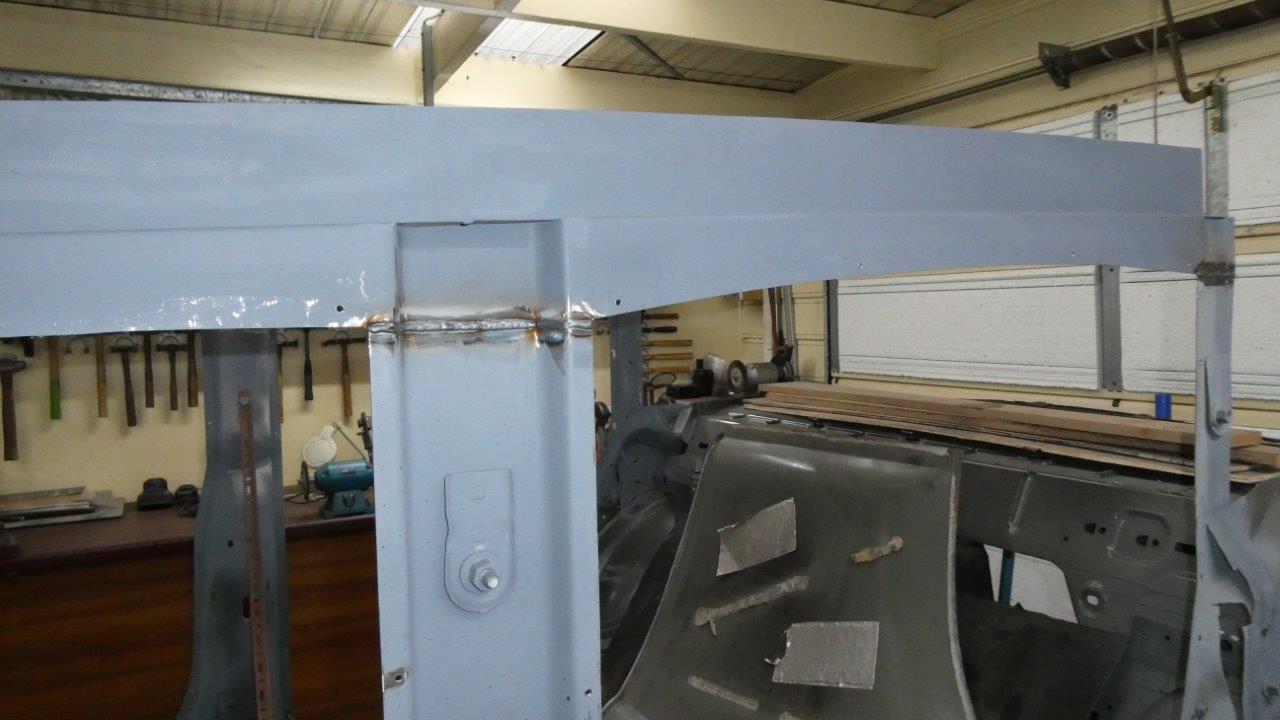
I MIG welded everything in with the amps turned up.
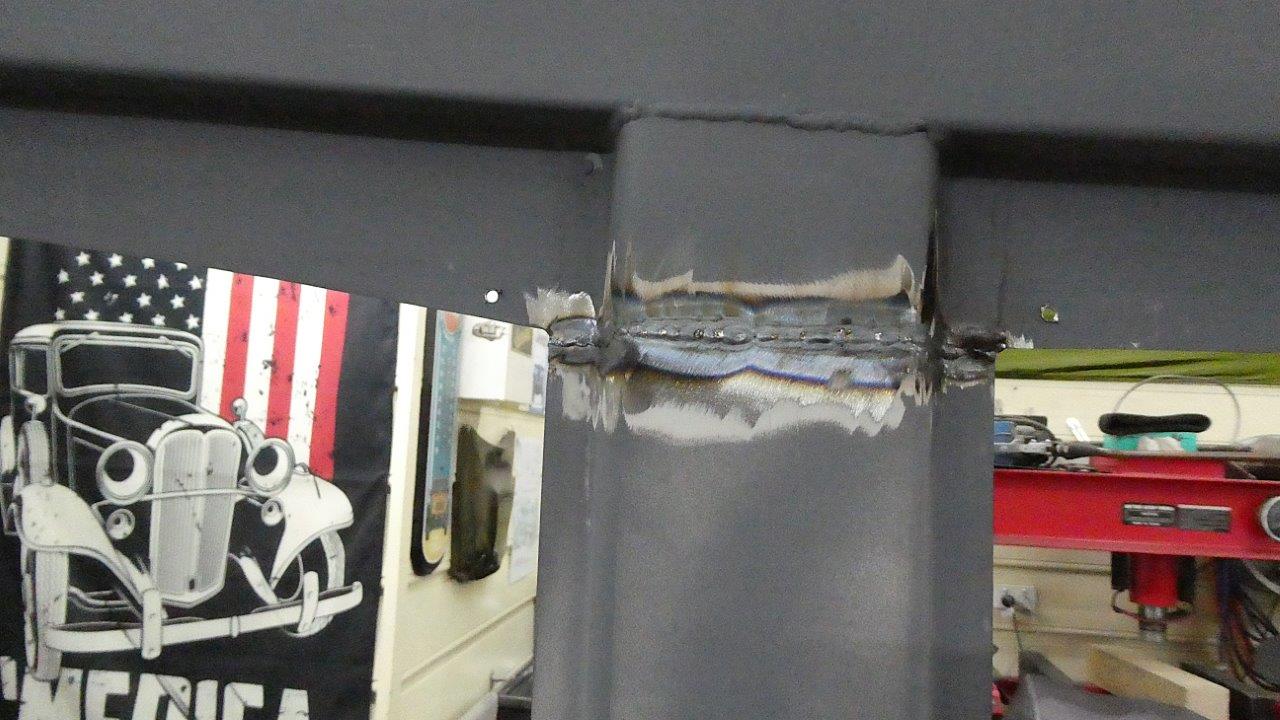
This is the amount of penetration that I am getting on the backside of the same weld through 1.35mm-17ga steel.
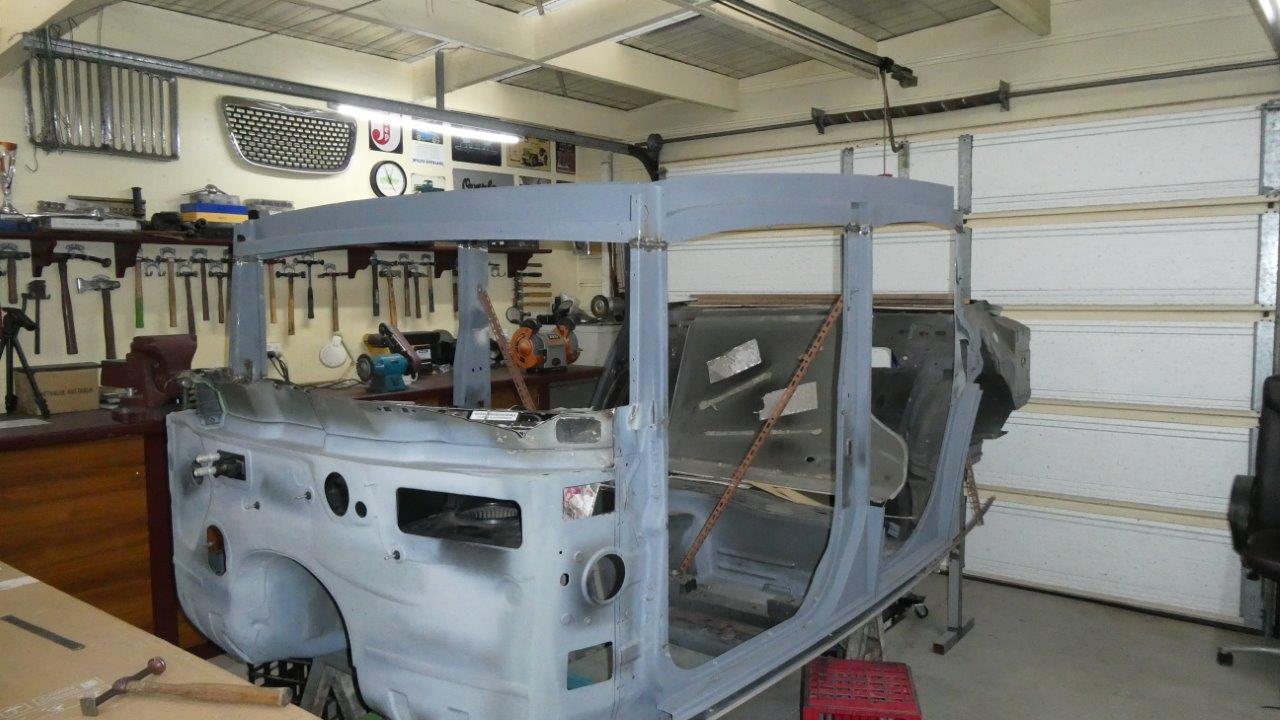
I got every pillar fully welded and the top of the front side of the A pillar just needed a little more twist to line up. The only difference is 0.5° more angle inwards of the windscreen frame giving slightly more than I had already put in where the length across the top of the screen is less than the bottom. The back of the A pillar door jam remains vertical.
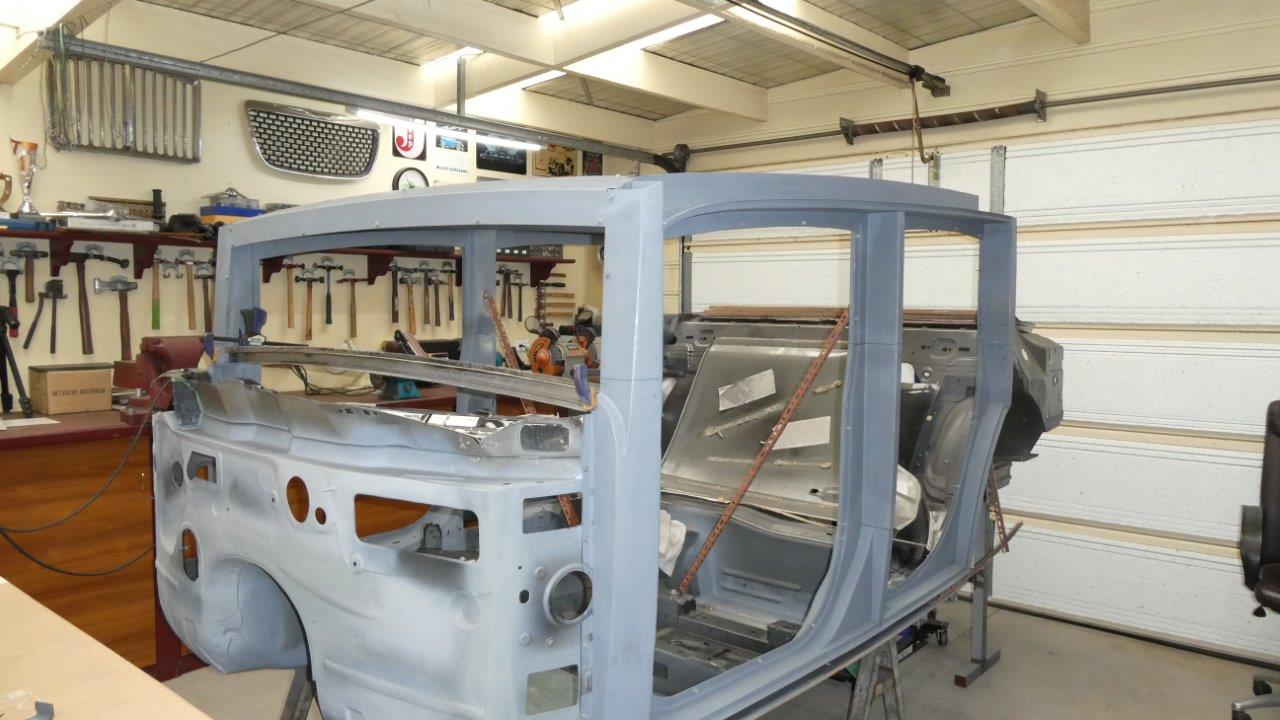
So here is all the outer structural pieces with the tops just trimmed down 38mm-1.5". Largely it was just a matter of transferring the top profile 1.5" further down and screwing them back into place. These outside pieces are where all the depth of section is, hence the strength of the pillars. The extra 25mm-1" was trimmed away from the header lower pinch weld too compared to the last photo, so the overall height of the windscreen is only 1/2" lower than before. Looks much less bulky across the top now. You might just be able to make out the black lines around the pillars marking where the window sill level is, inline with the lower windscreen support.
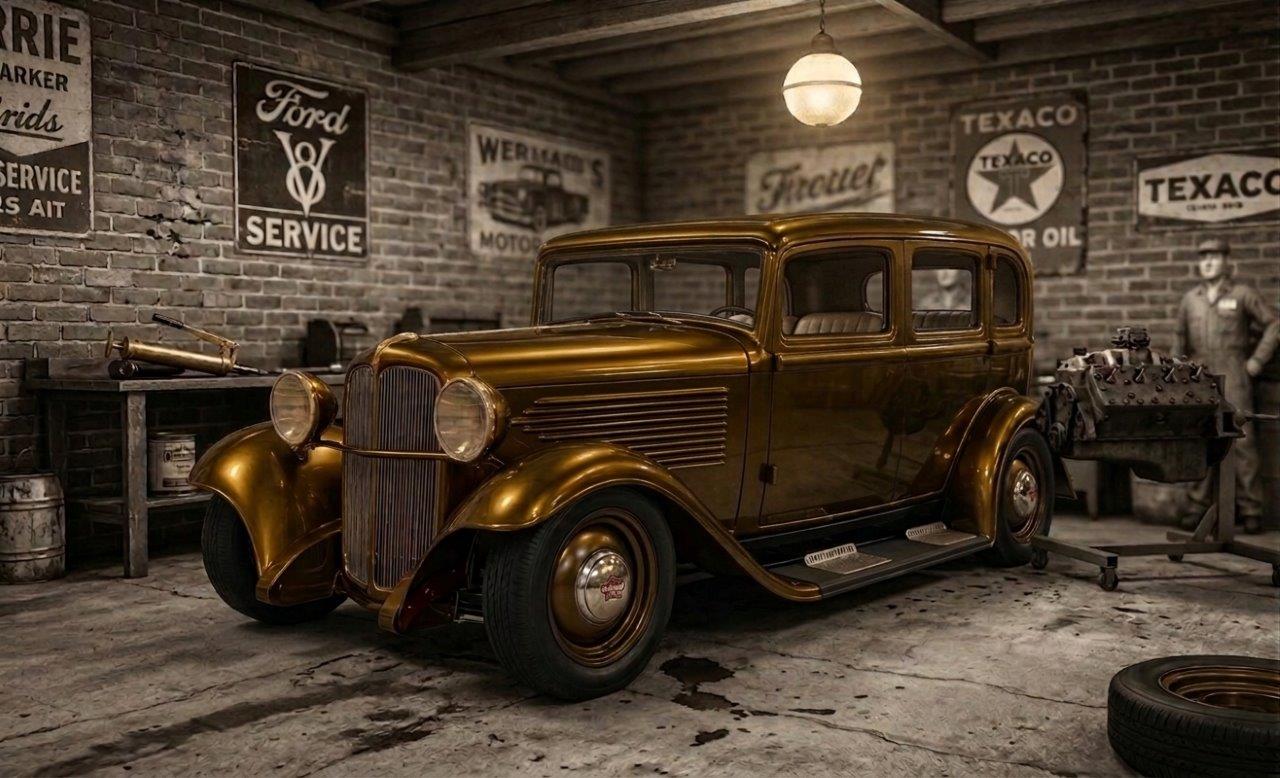
So thought I would take on AI again and see if I could combine the front and sides views. I pretty impressed as got it to do this on only the second try. Had to use the wording, please combine the front and sides views of this custom 1932 Willys Overland 8-88. Only thing was it un-chopped it!
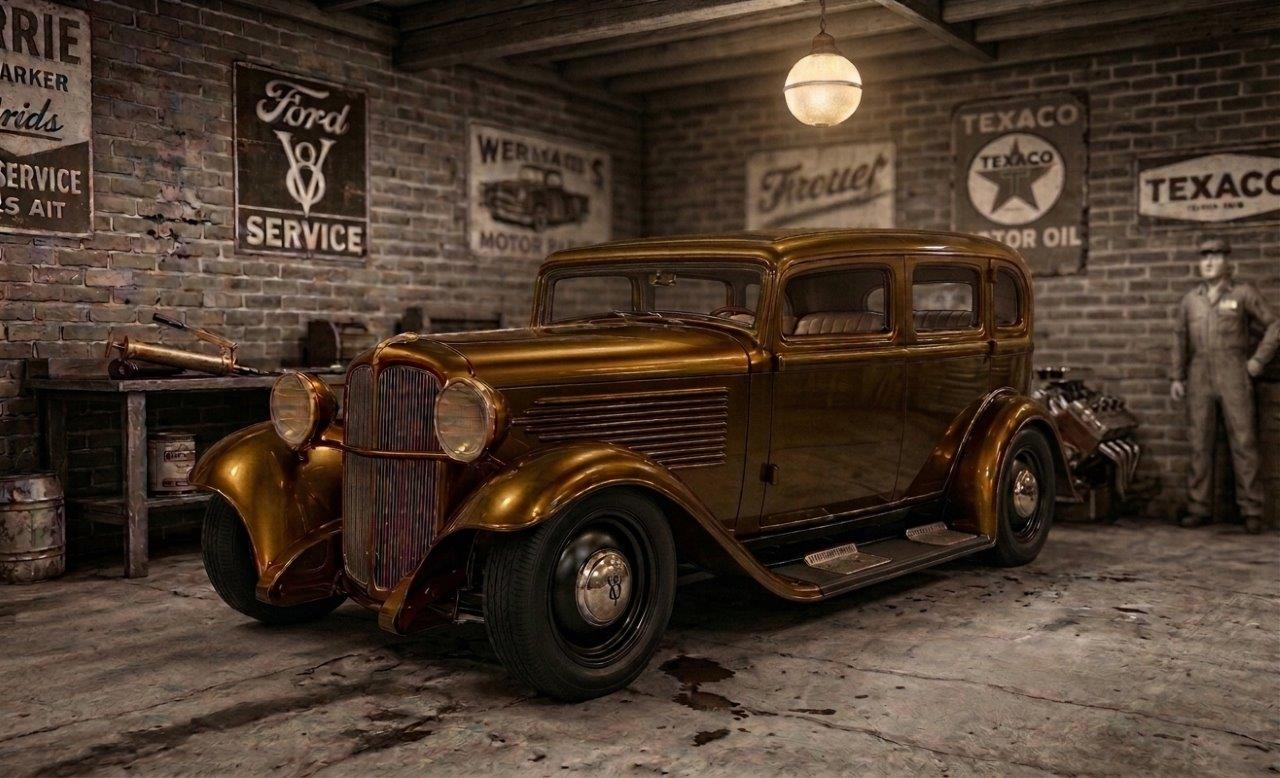
Then told it to lower the roof back down as per the photo, and a minute later got this result. Much better. I also asked to change the body coloured smoothies to satin black to compare the looks. For some reason it change the hubcaps to the V8 early Ford logo as well. We wont being using any chrome and were looking at dark bronze on headlight rings, mascot, hubcaps and door handles etc. so black wheels might give the right look and make the profile of the tyres look more old school too.
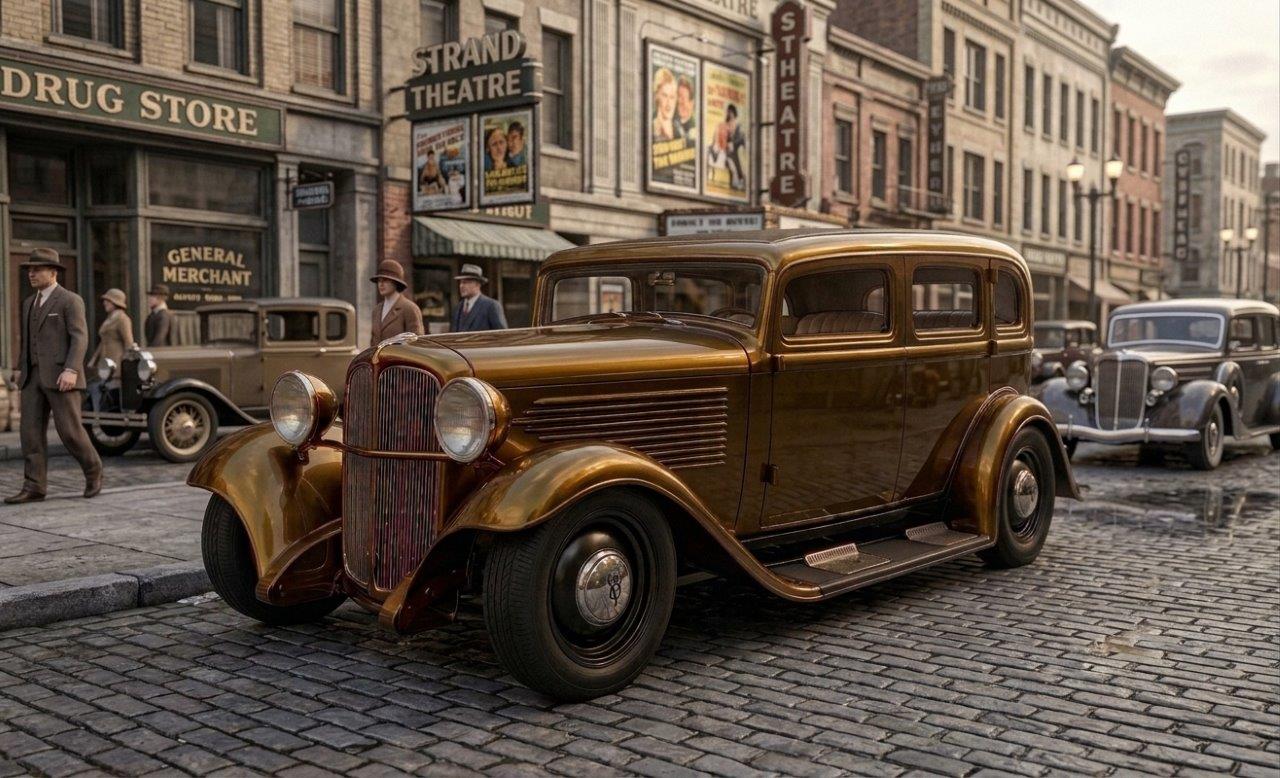
Back in my 1930's street scene and it is looking good in our eyes. :)
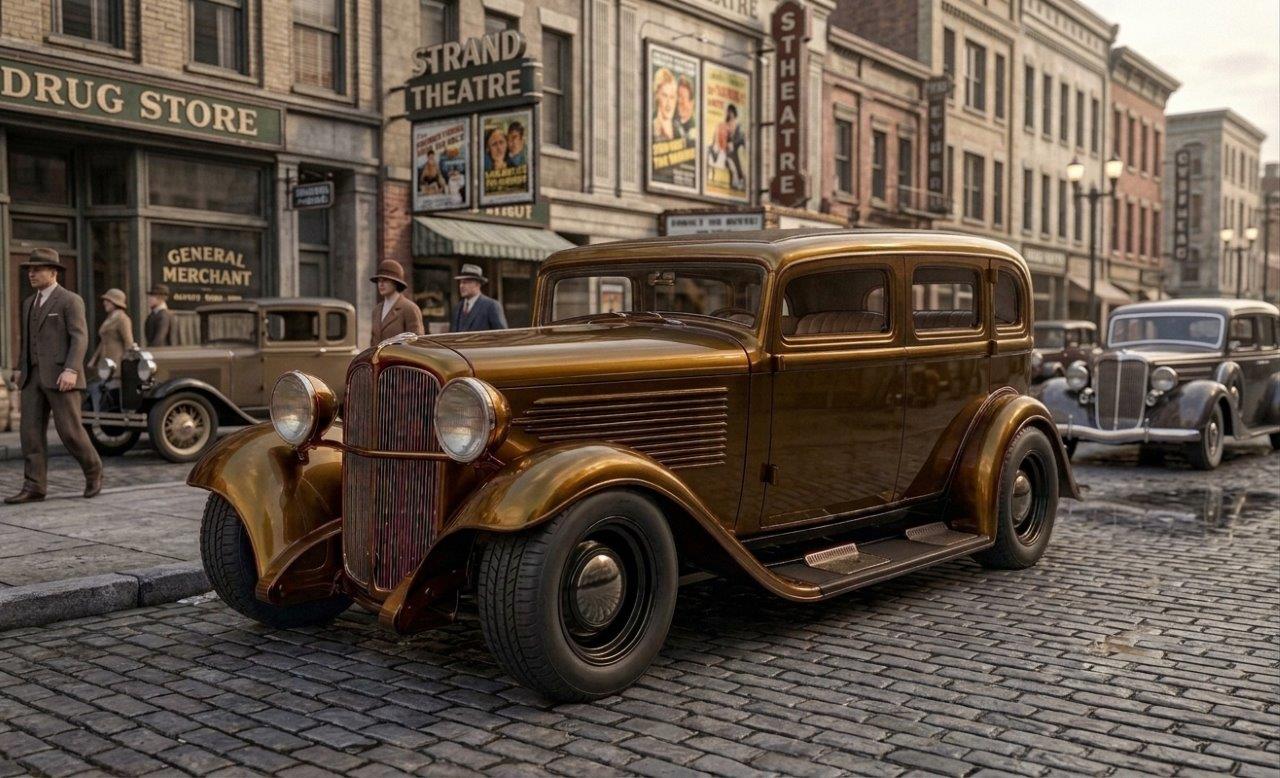
Actually got AI to add the 255/60R18 BFGoodrich Advantage Control tyres we are looking at running on this. Loving the look even though it is not the traditional big and little setup.