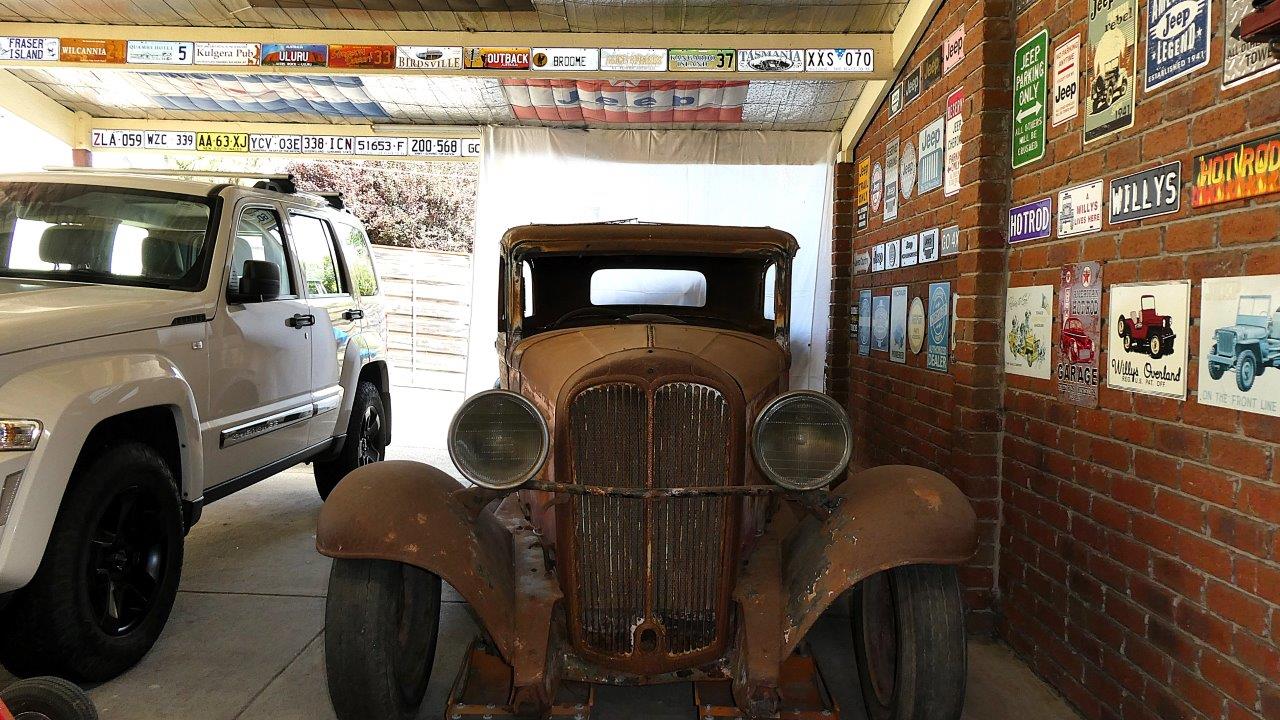
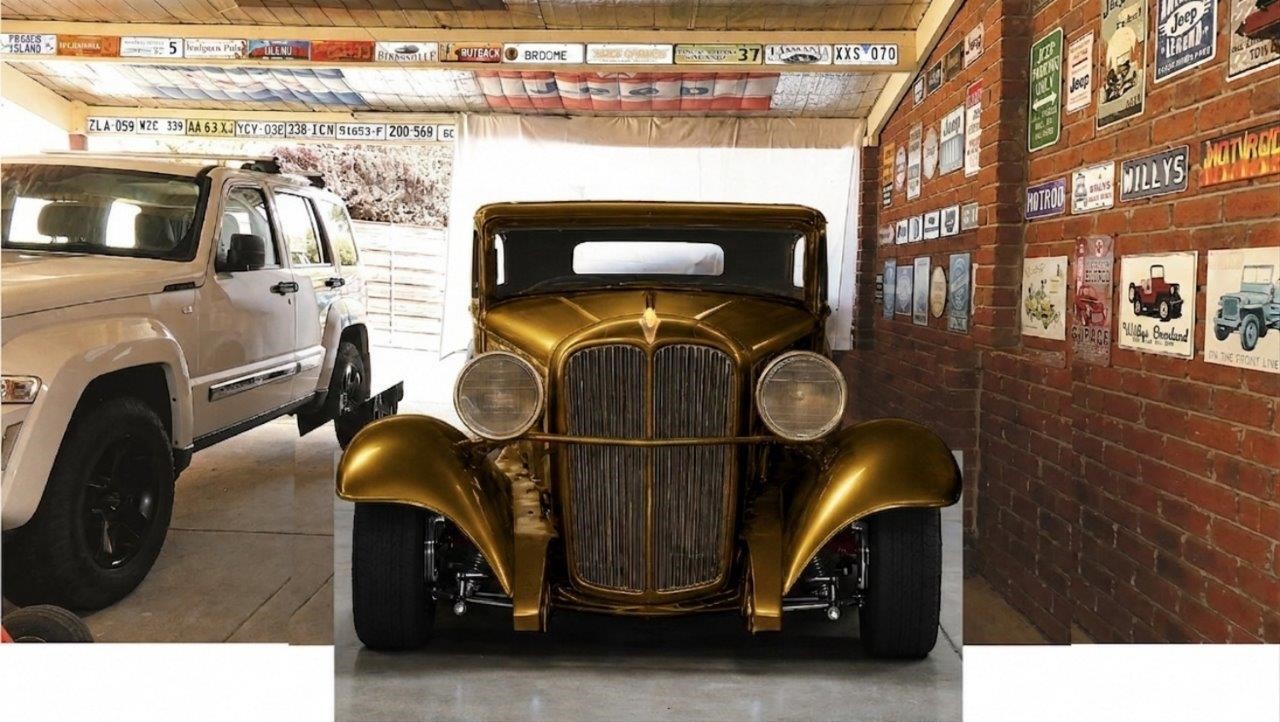
So this is the original un-doctored photo I'm starting with as it currently sits under the carport. Notice how tiny it looks compared to our Jeep daily which is considered a small to medium SUV!
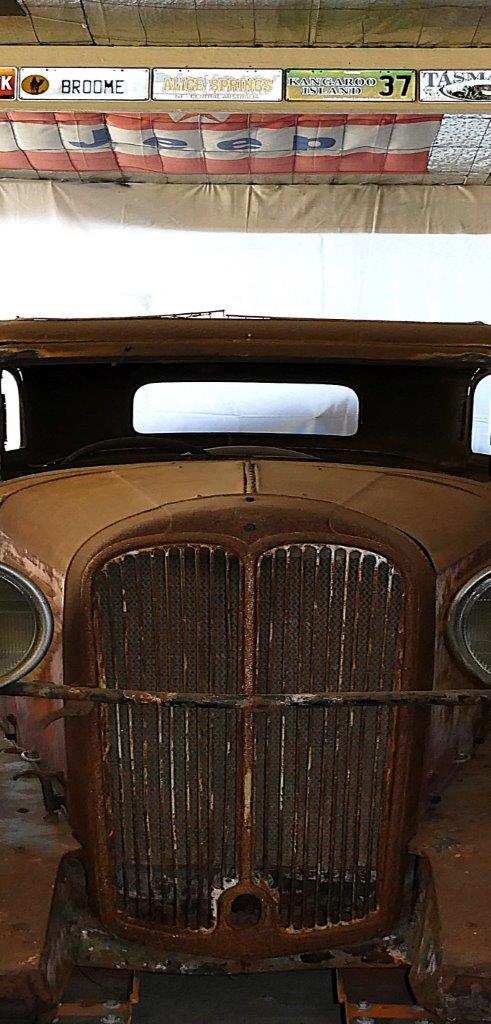
I'd been thinking about how to show what the new proportions are going to be like as the windscreen width is going to increase far more than the grille width and the width of the front guards etc. First thing I did was compare the width of the stock windscreen opening to the new one. It is a staggering 46% wider, or 448mm-17.6"! So I just cut the photo each side of the windscreen opening and used Corel9 Photo-Paint to make the photo 46% wider only. It has made the grille that much bigger too, but will correct that later.
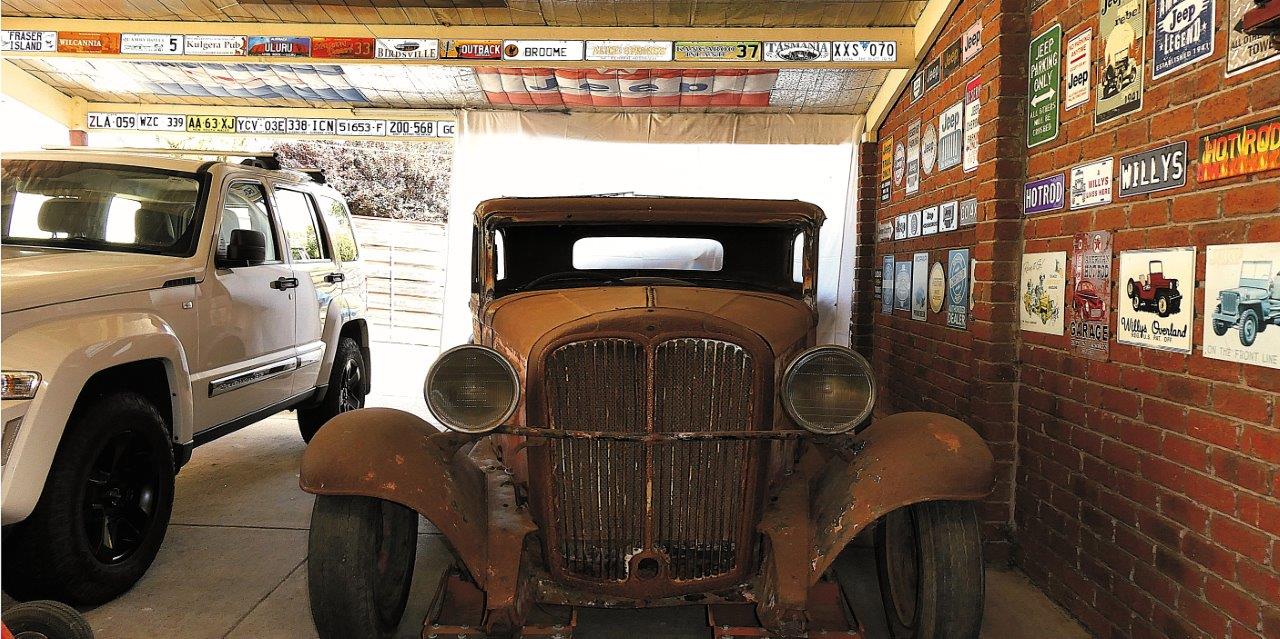
Then I rejoined the outer sides of the body from the edge of the grille outwards, so they have not been widened. I just overlapped the photos until the dimension matched the windscreen width of the widened photo. The height of the windscreen is still completely stock but looks chopped now.
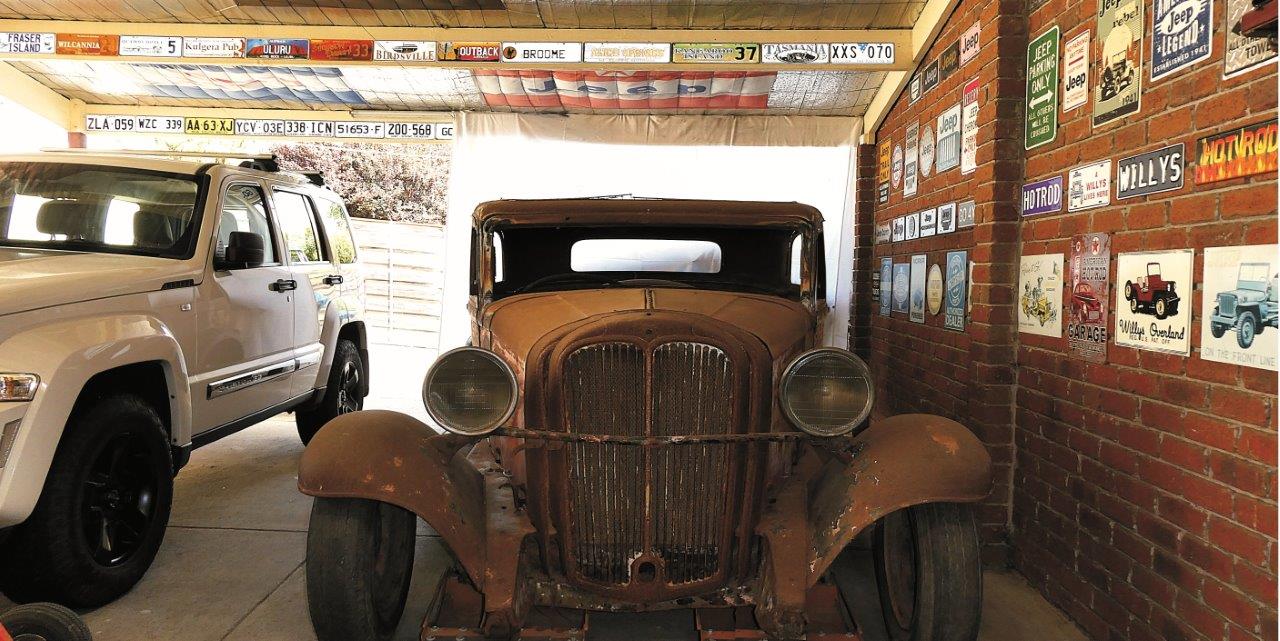
Next was working out how much wider the grille is going to be which also pushes out the overall width of the front track as well. I had previously worked out that I need to add two extra grille slots each side for a total of 88mm-3.5" to fit the donor radiator in once turned 90°. That was also the widest the grille still looked good proportionally as well, as you can see by the 46% larger one in the last shot, it just looks too square otherwise. Rather than add the extra slots for this exercise, I just widened the whole grille 19% instead to get the same dimension. See how much smaller it is than the 46% wider grille behind it.
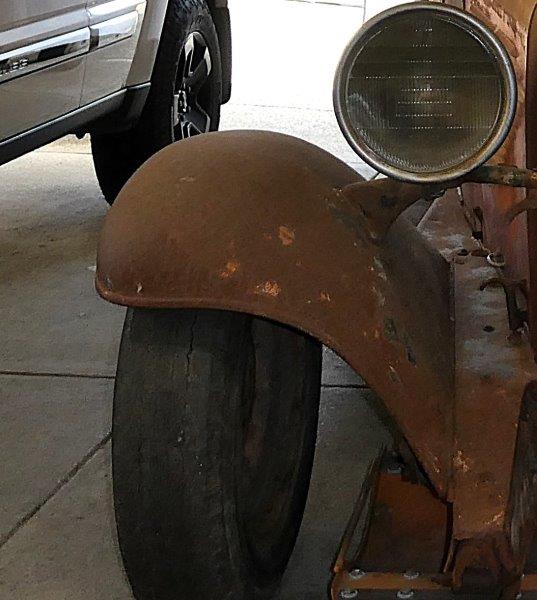
So now I had to get rid of the 46% wider grille in the image behind the 19% wider one. So crudely started but cutting out a right side guard from the original picture.
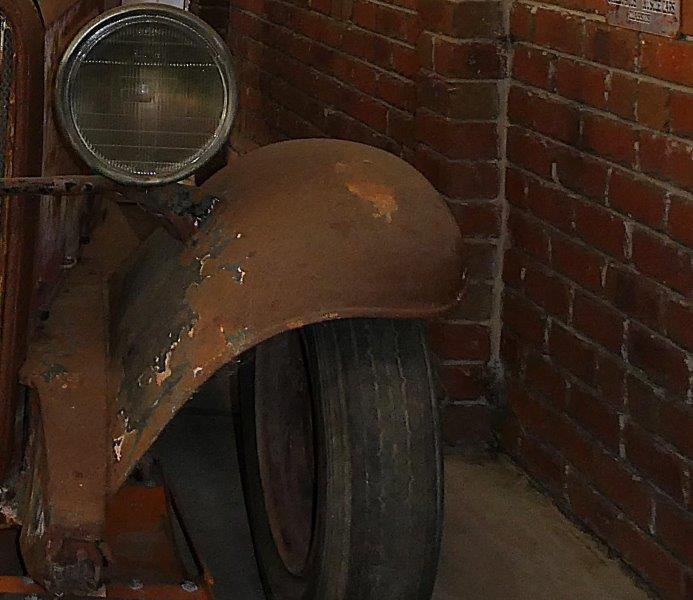
Followed by the left side guard from the stock photo.
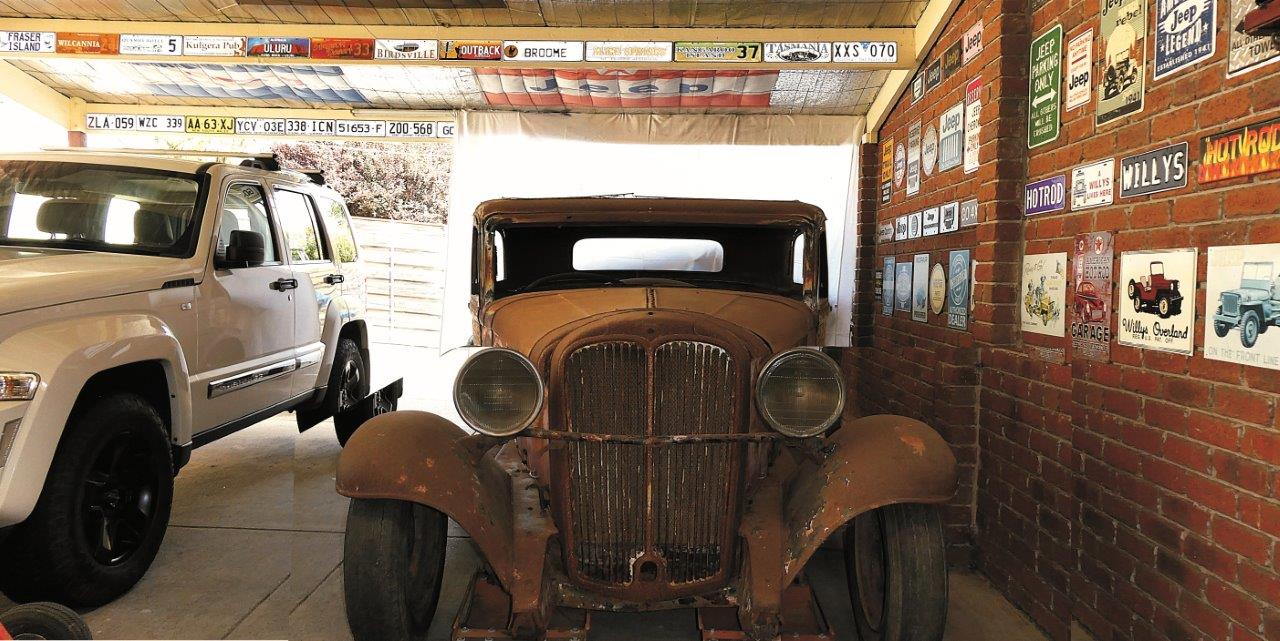
Placed the left and right guards over the photo until the sides of the grille matched in. You can still see bits of the widened grille behind it near the top, but I knew I had to change the angle of the sides of the car and bonnet anyway. Notice in the previous photo that I added the left door as well, that is missing from the original photo as been using them in the workshop. I just cut out the right door, flipped the image and tinted it to be darker and then pasted it in the other side.
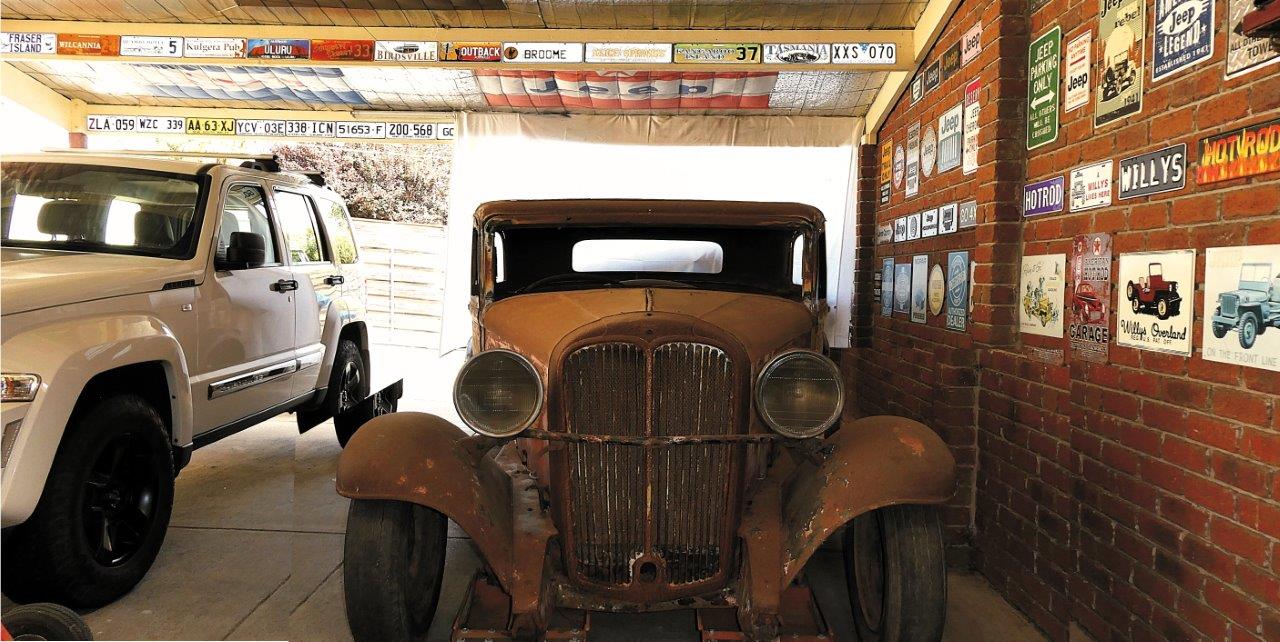
I then spent a lot of time cutting pieces of bonnet and panel sides, stretching and rotating them and then pasting them in to show the new taper from the 46% wider windscreen to the 19% wider grille. I found overlapping the top of the grille was the easiest way to do it and then lastly overlaying the part of the grille back over them which trimmed the ends of the added sections.
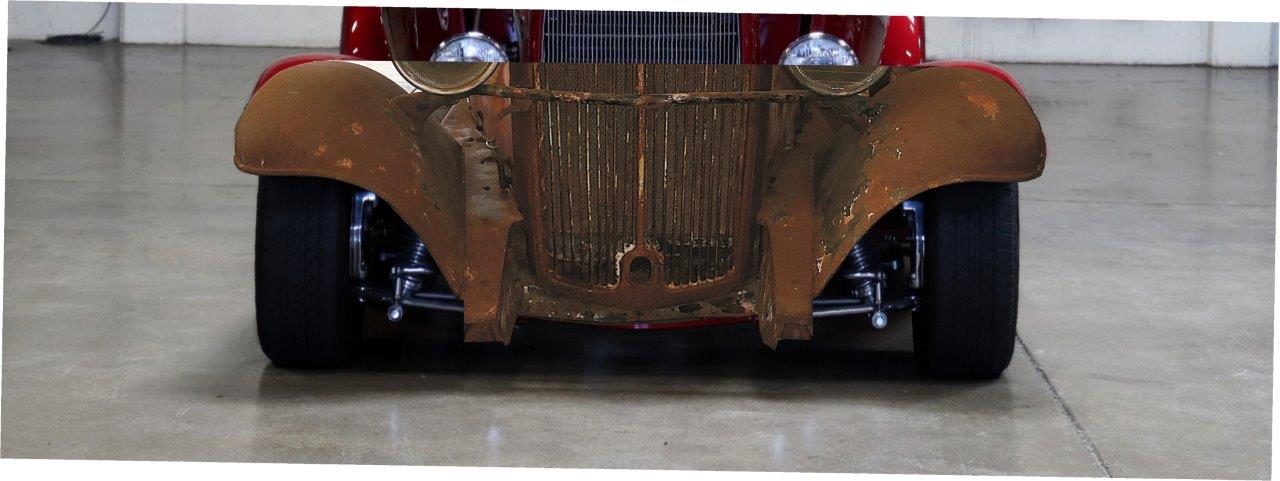
Now rather than having tyres connecting to nothing, thought I would add some IFS to fit in there. Hunted around until I found a perfect match to the front on view and with the same amount of exposed tyre below the guards. Happened to be a 1932 Ford. I carefully cut around my guards and around the chassis etc and pasted it on top of the photo once it was scaled to match.
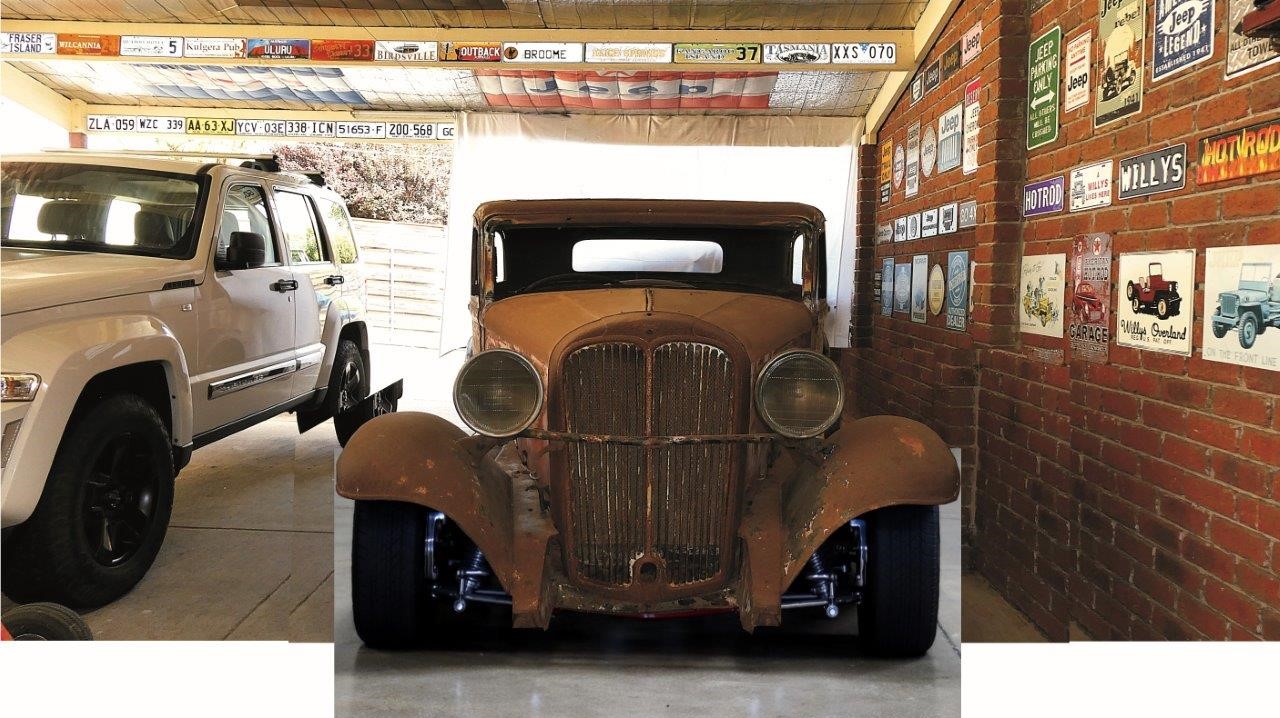
Pasted it back into the picture and now we have the bottom of the tyres too! I'm not worried about the cut up background at this stage as will be changing that later anyway.
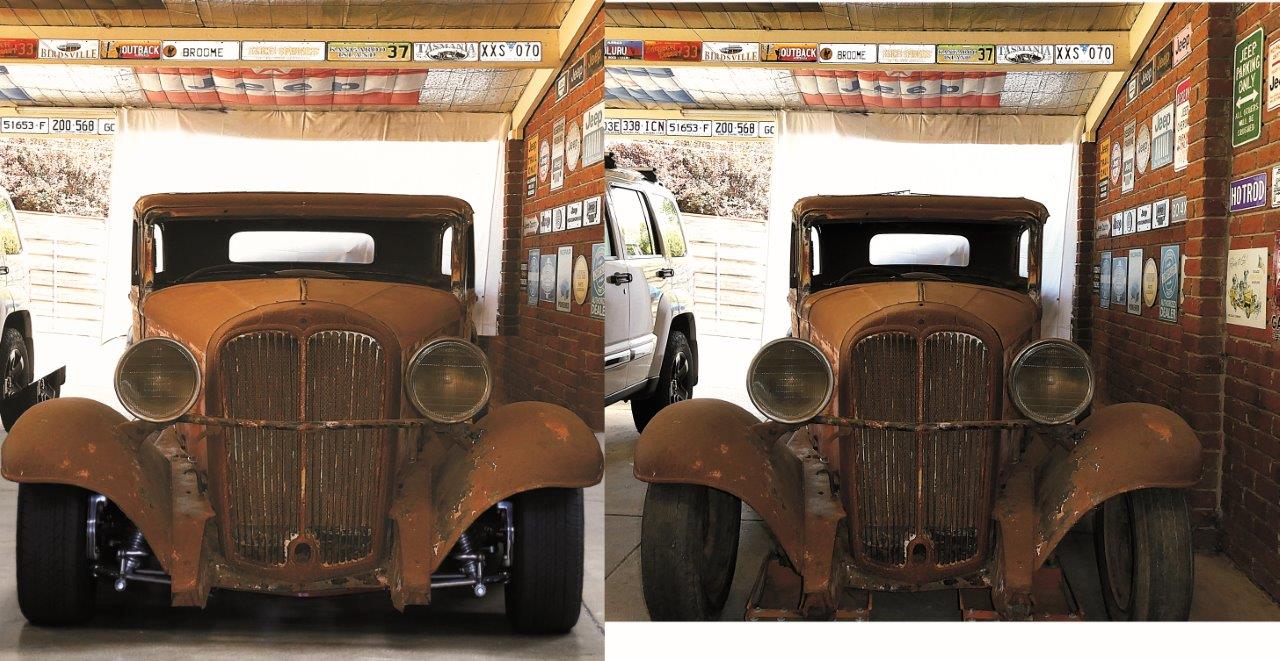
So here is a side by side comparison. Looks chopped even though they are still the same to the millimetre. I just hope the side profile matches the look now.
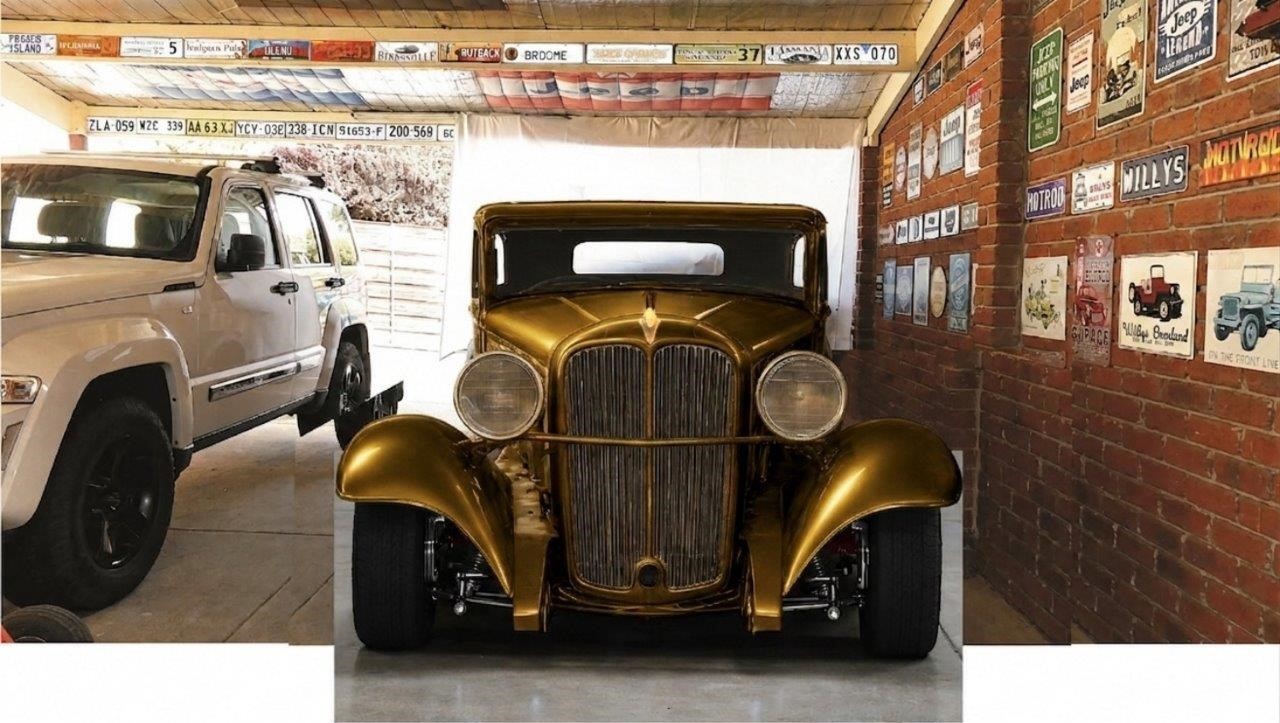
Considering my last experience with AI, I was very tentative this time using it. It is why I was still using the old cut and paste up until now, as I have full control of what is happening. Using Gemini, I was more specific about what model it was and how it was much modified before continuing with any requests. I did managed to get it somewhat restored and the colour changed. I carefully checked the proportions and everything stayed the same this time. Only thing I noticed changed by it was the shape of the guards as they curve down to the chassis. I then found a picture of the original Goddess grille mascot, coloured it the best I could, and pasted it on to cover the hole for it. I fortunately have an original one still on the spare grille that came with the car.
The other thing I tried here was removing the crank hole from the grille, just using the cut and paste method. We are still undecided whether to leave it or not.
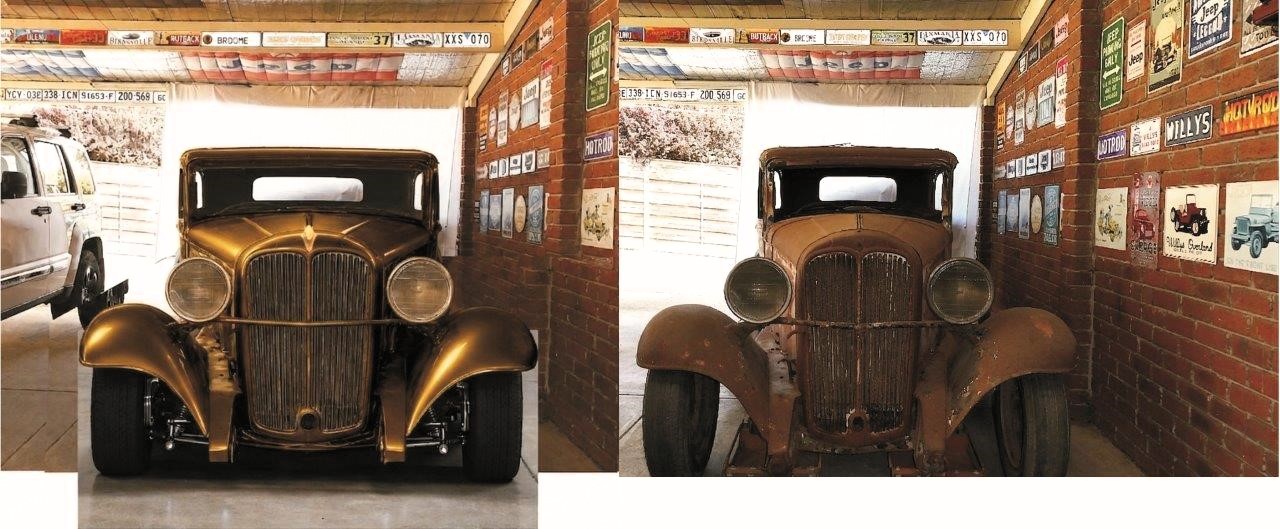
Here is the painted verses the stock Willys. Even though these changes were a result of the desire to use the donor we chose, we are really liking the proportions and feel they are good enough to continue on with the build.
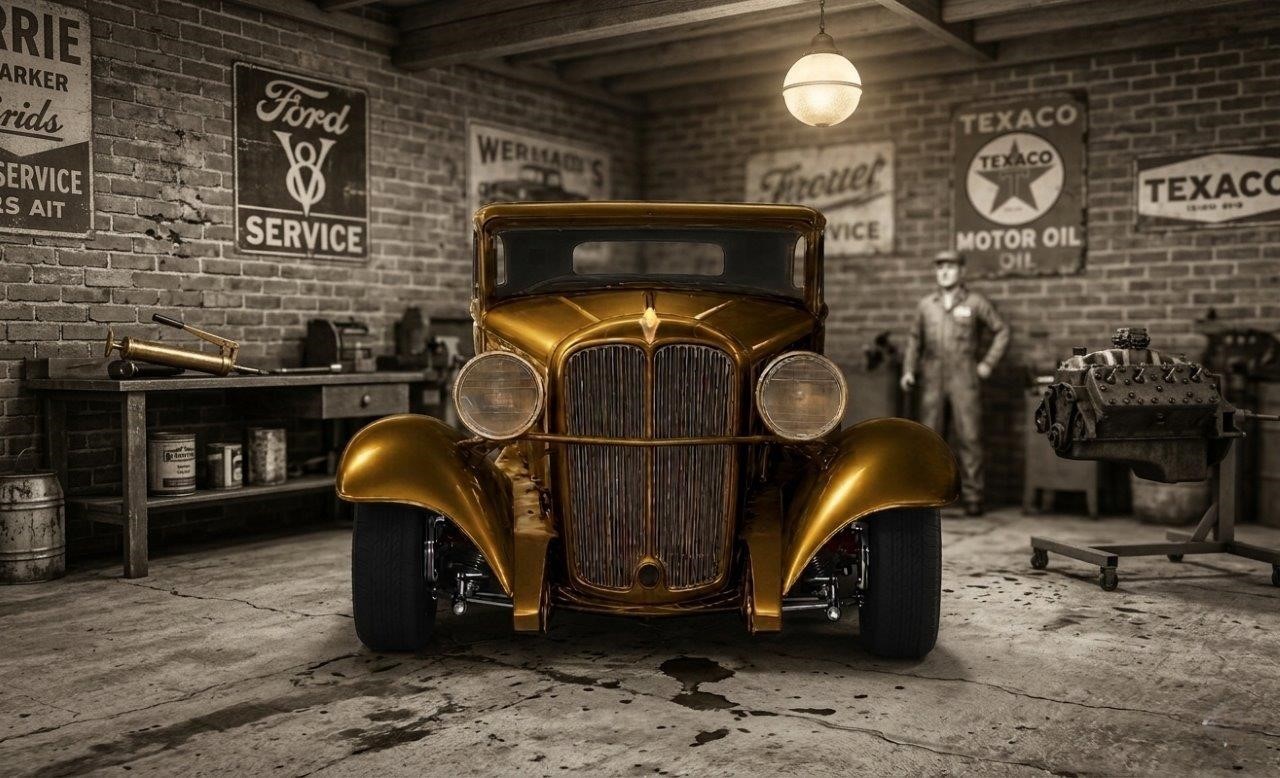
Back to AI again and asked it to remove the background and put it in an old workshop.
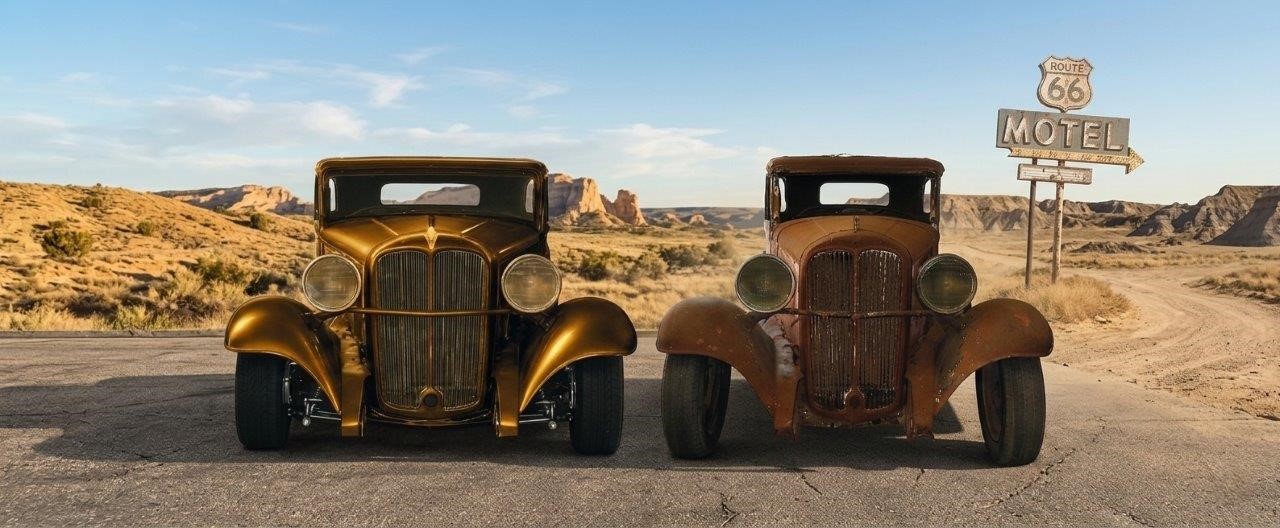
Then asked AI to put both the original and the hot rodded one in an appropriate back ground scene. Looks like it thinks an abandoned part of route 66 is that. Looks good to me! Amazing how tall and narrow the stock one is. It is what I never liked about them to be honest.