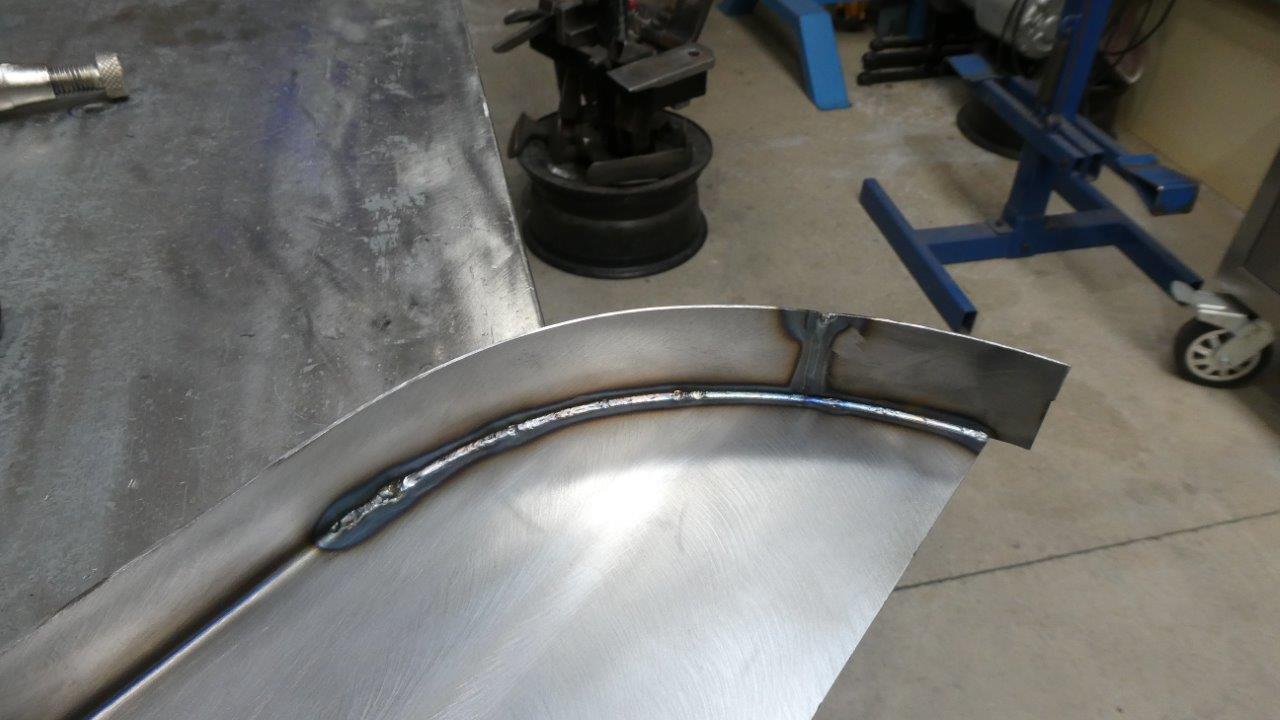
Started on the bottom of the door shell that runs along the door sill. The end of it has to clear the seat belt inertia reel cavity at the bottom of the B pillar. So I started with just a piece folded along the bottom, cut the radius needed to match the cavity, and then wrapped the flange back around the curve. The start was a bit messy as there was a bit of a gap there.
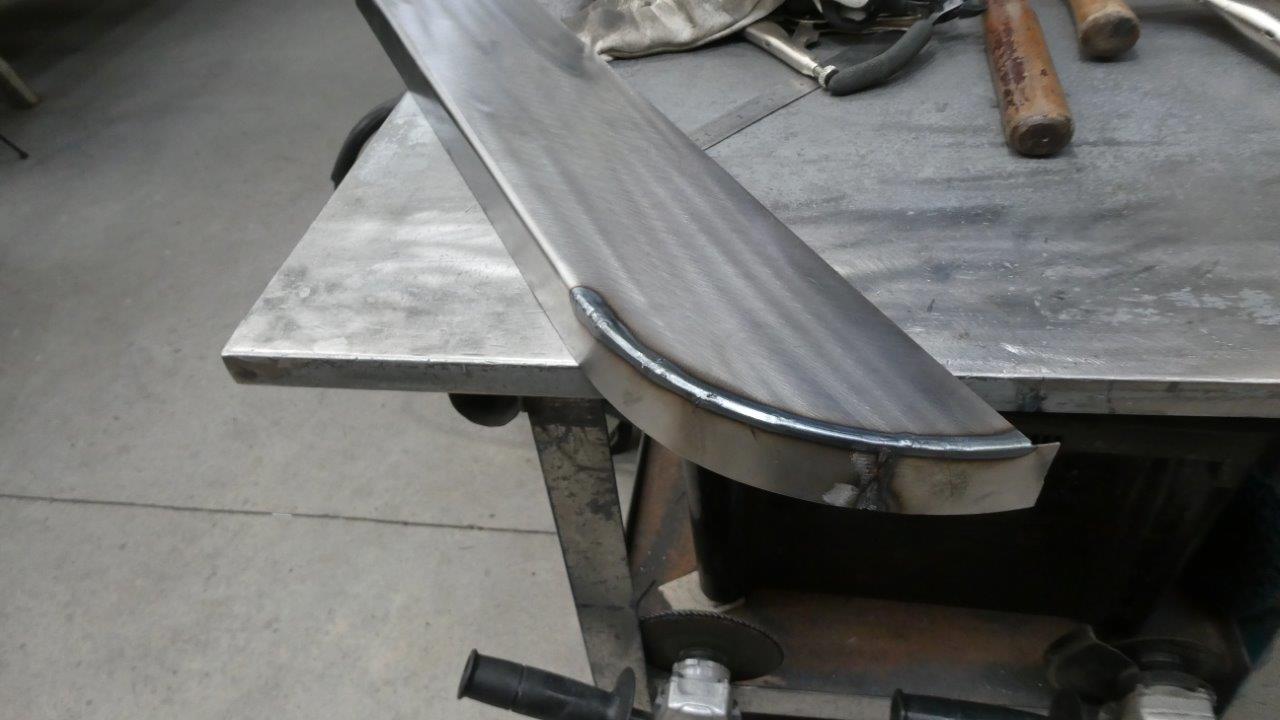
Ran the laser around the outside corner too.
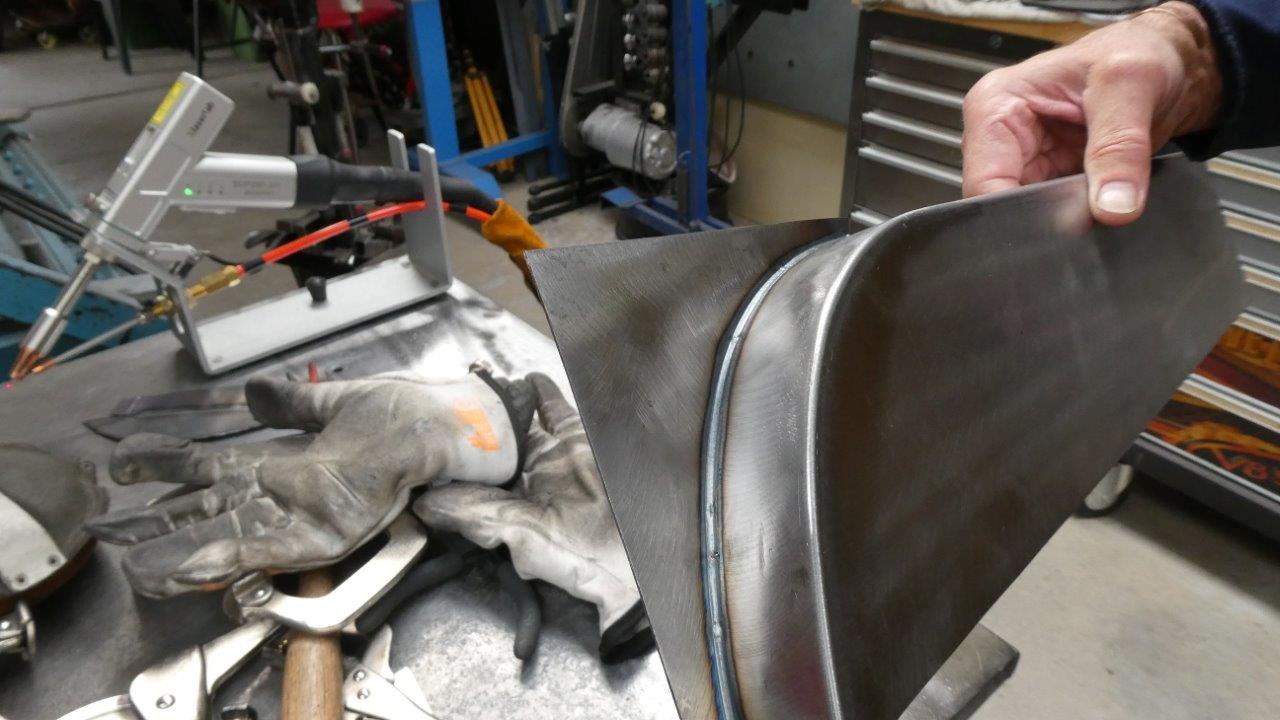
Next thing was to fit a corner piece which goes over the cavity.
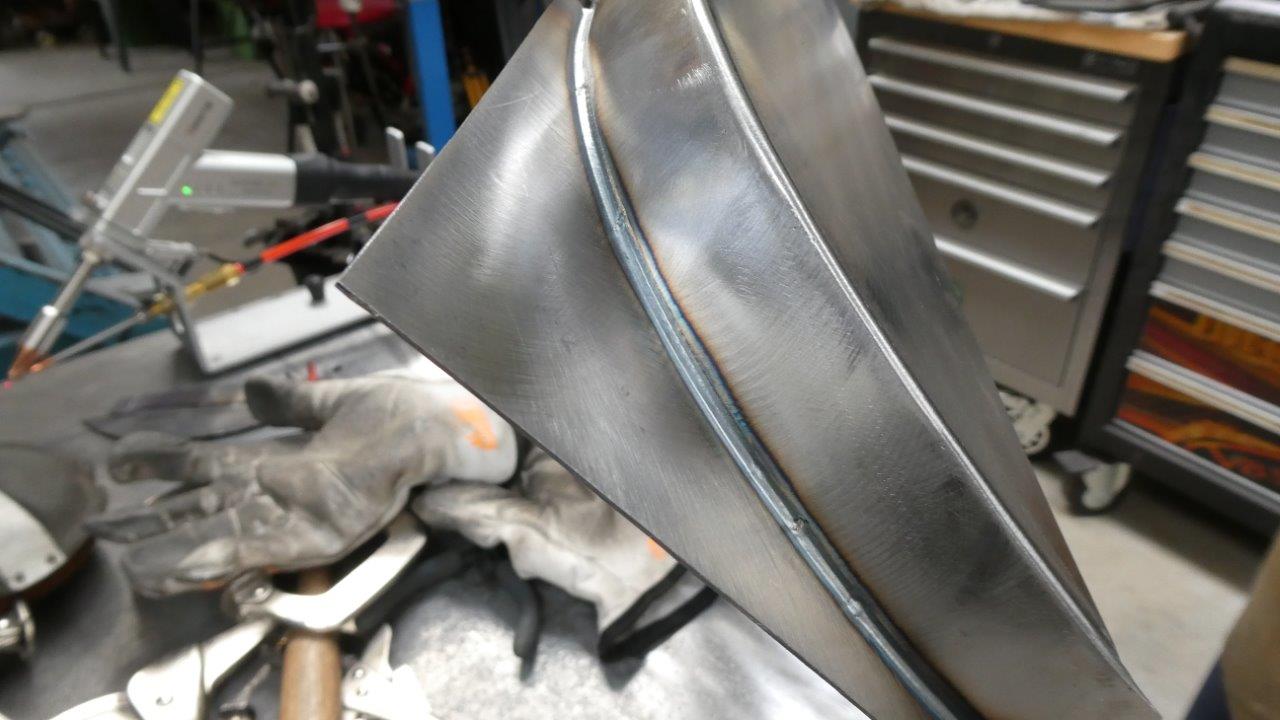
Different angle of the laser weld.
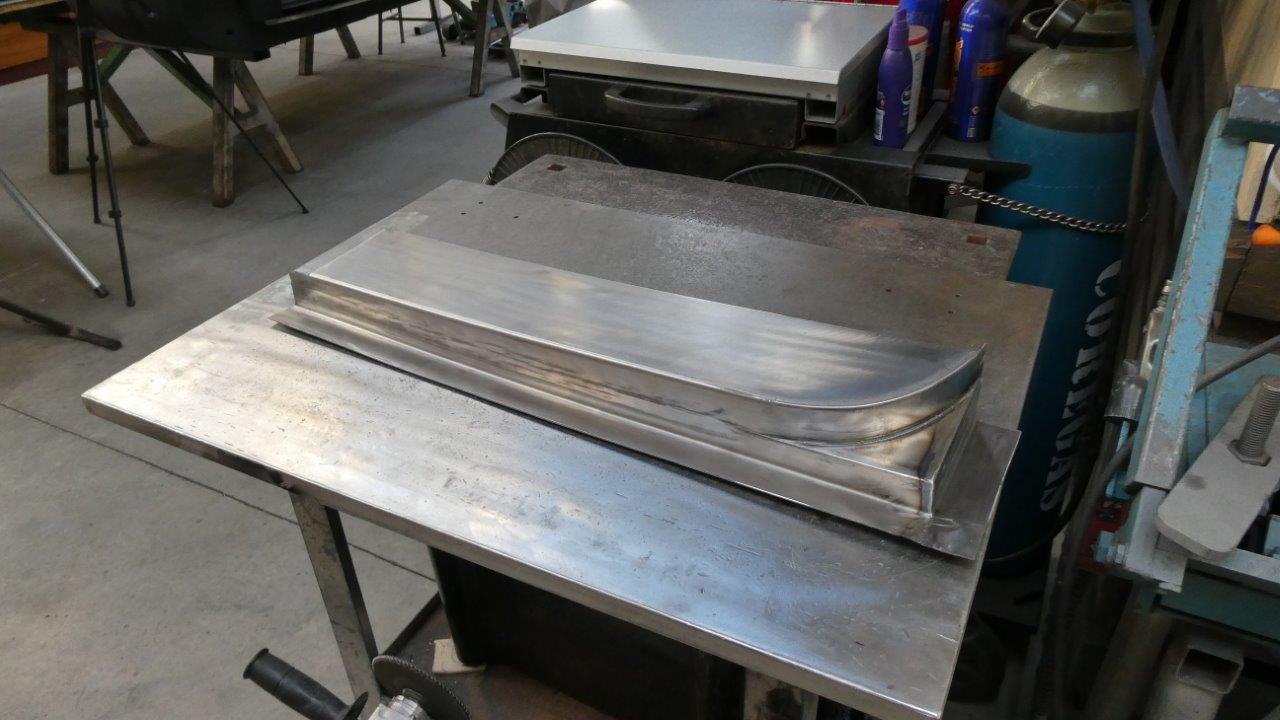
Could now add the final part which is what the skin will fold around and it follows the body curve both vertically and horizontally. The first piece made follows the inner door jamb.
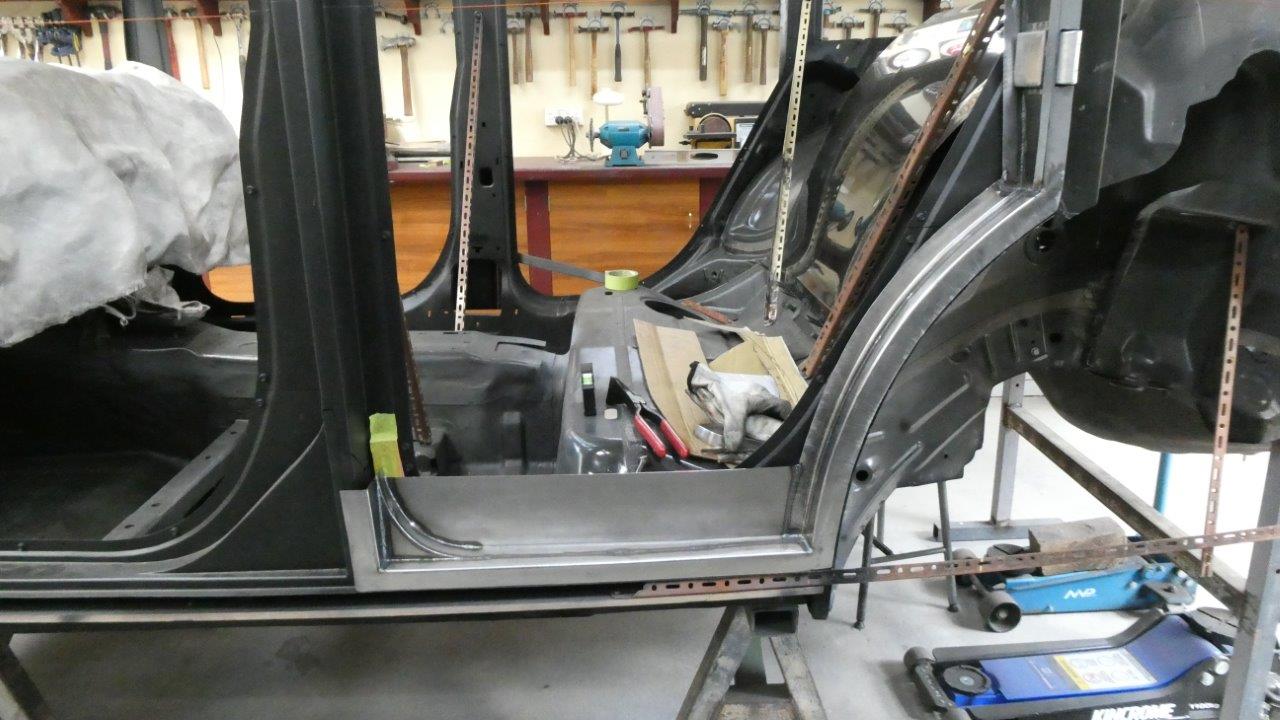
This gives a better idea of how it fits the lower door jamb.
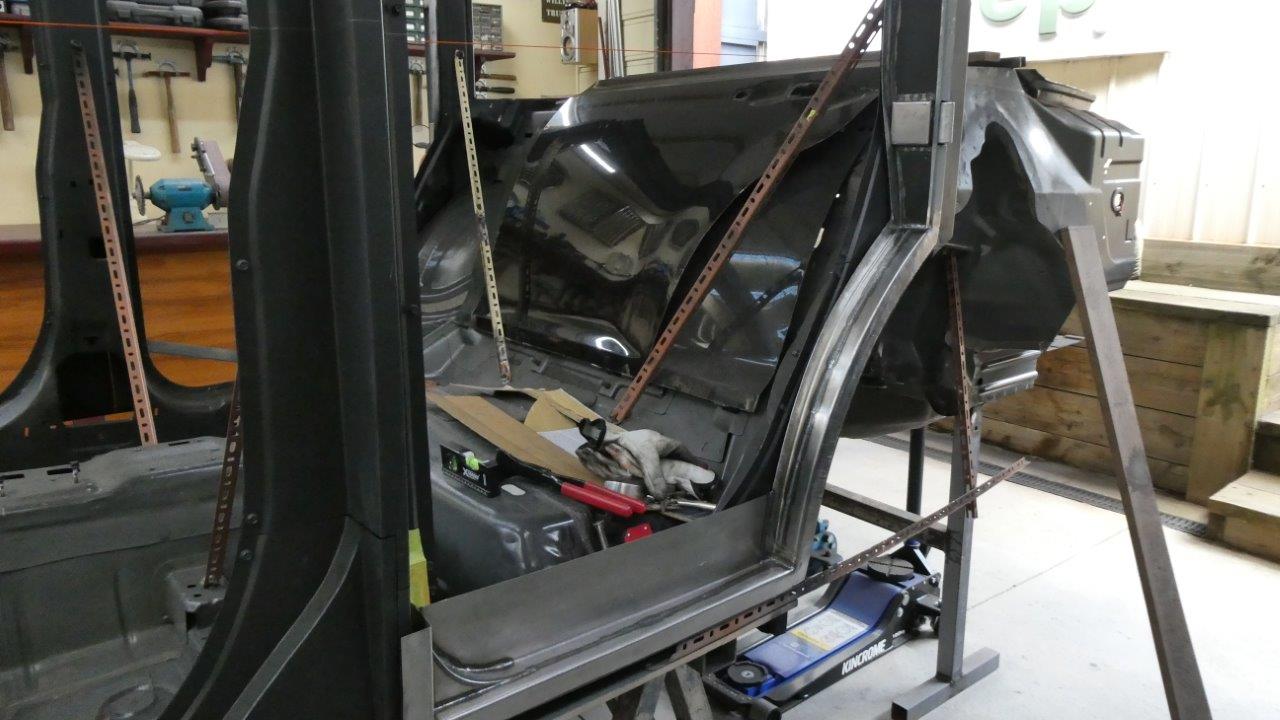
All welded to the previous pieces completed.
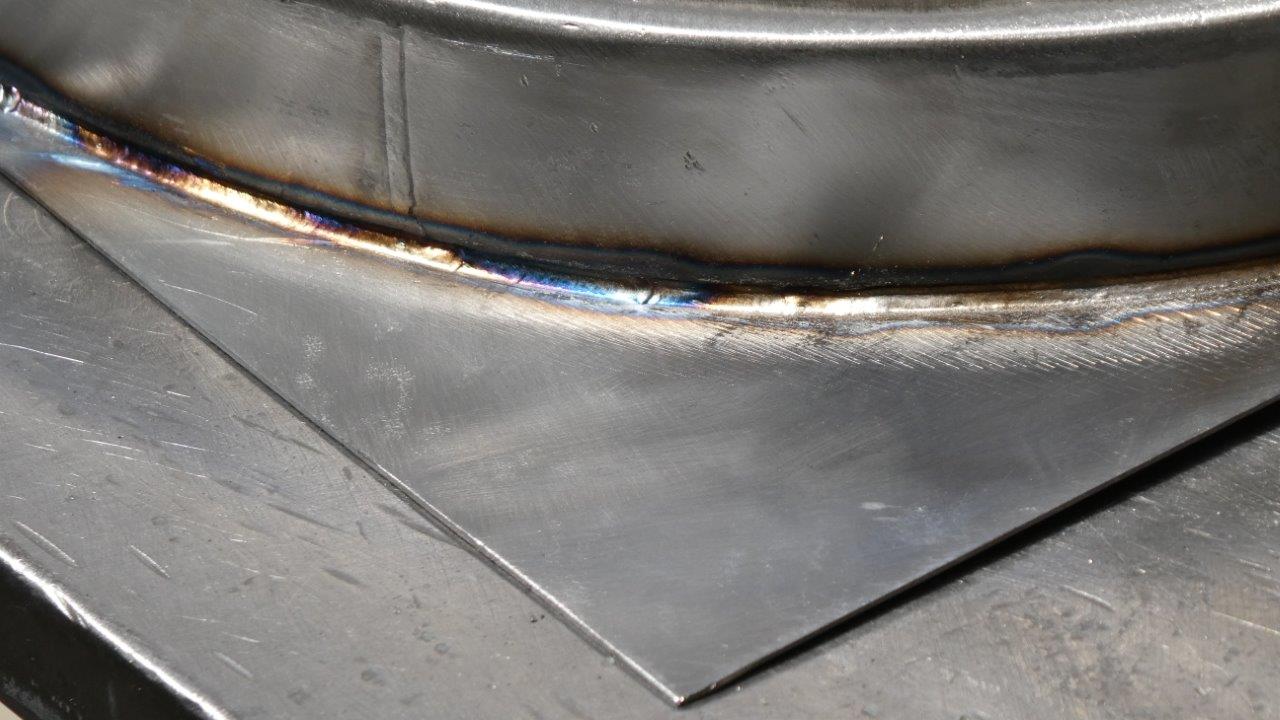
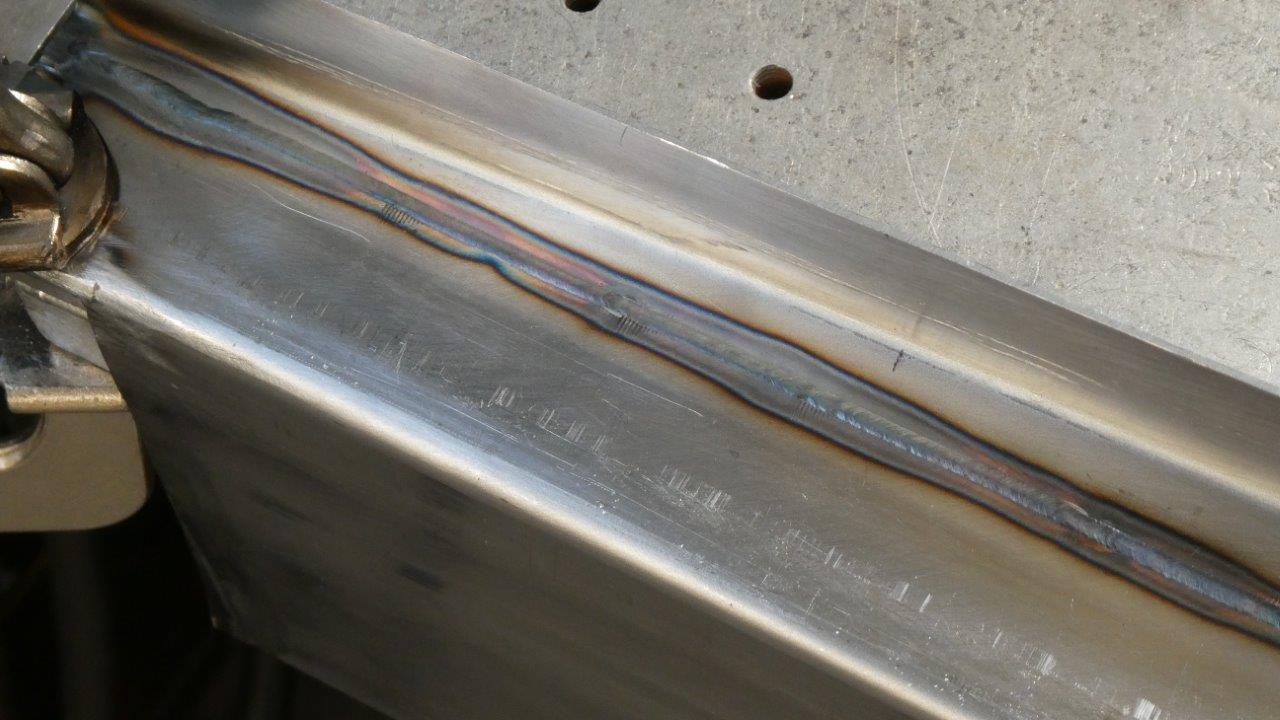
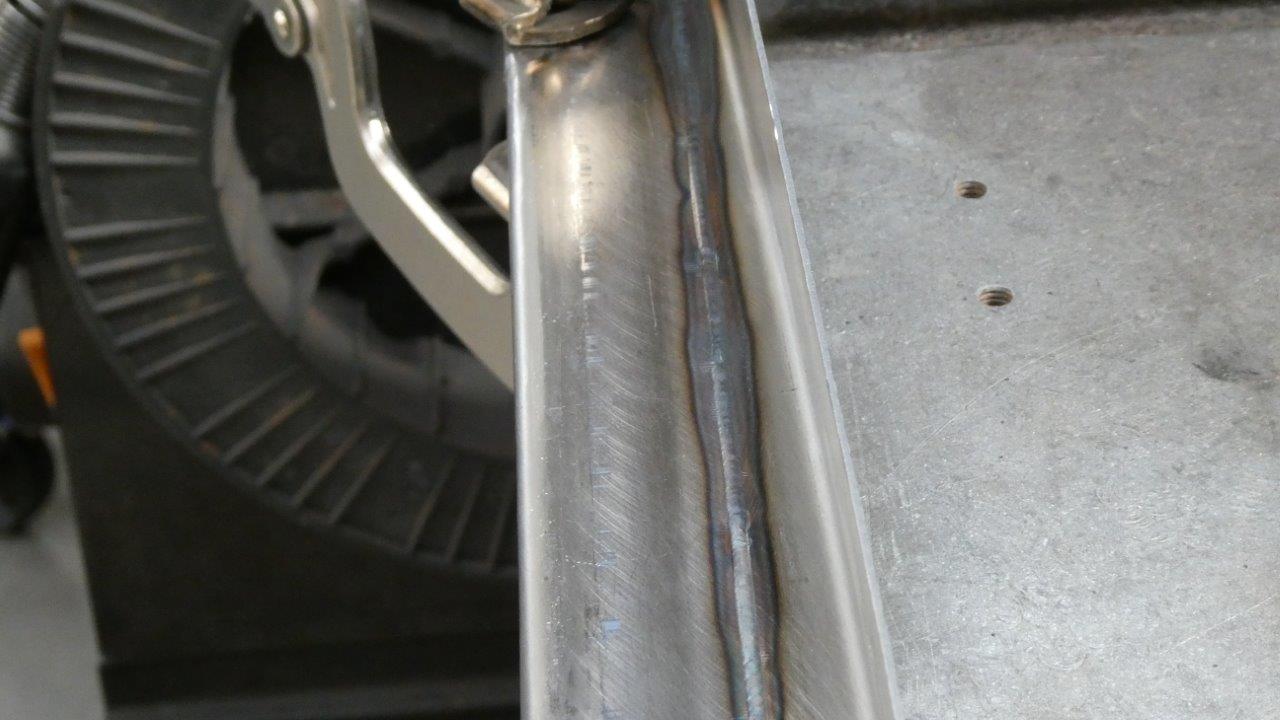
I have gone ahead and made the same pieces for the other side. Just a bit proud of how these welds turned out!
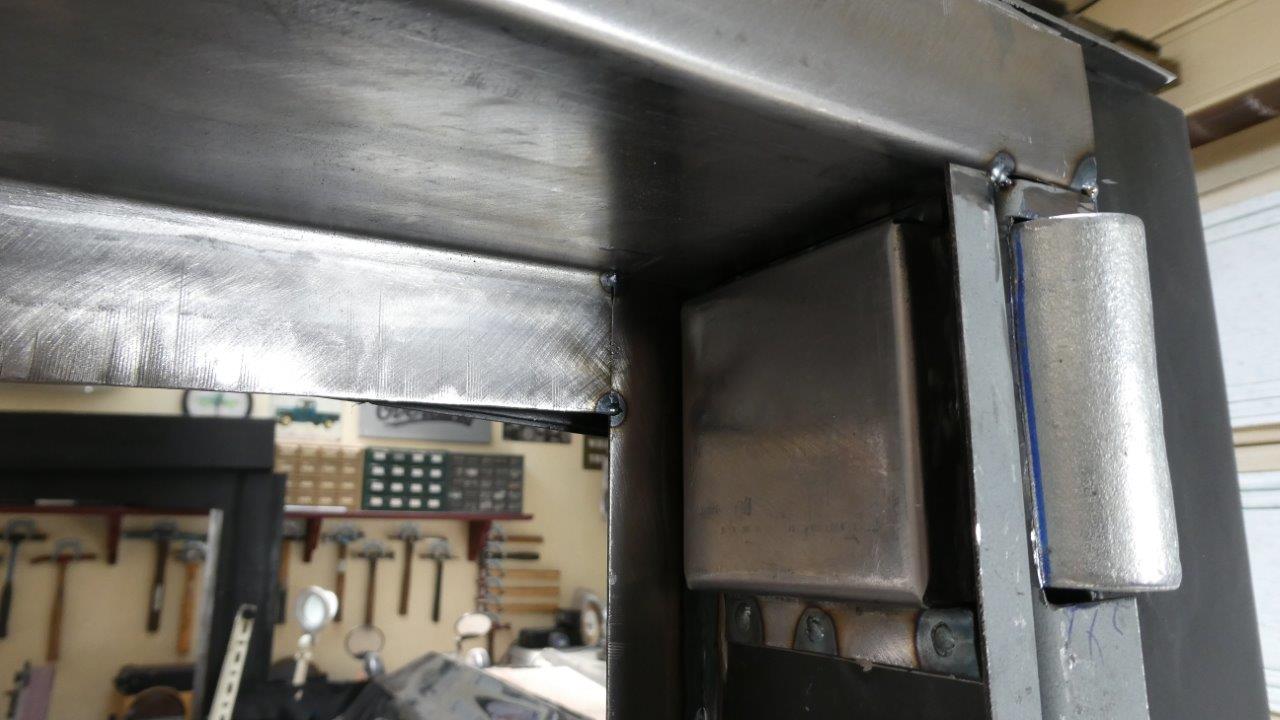
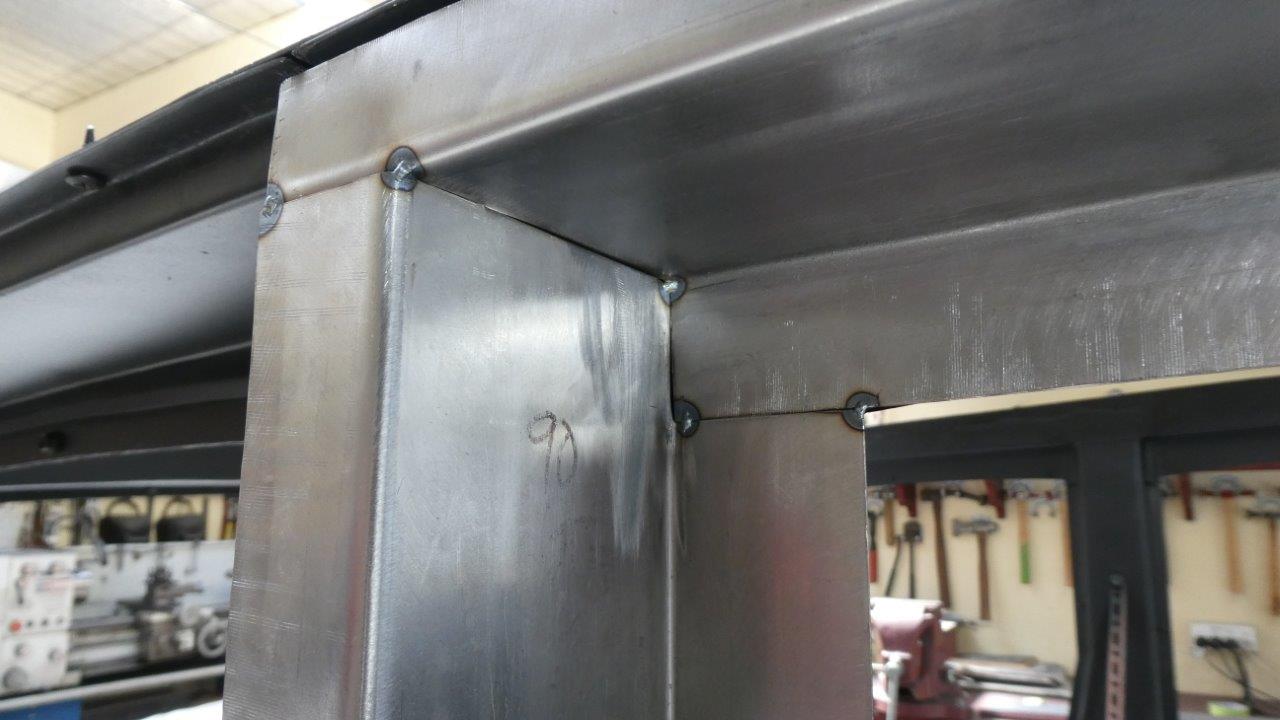
I love the small tacks it makes too! More like a TIG, but can do it one handed!
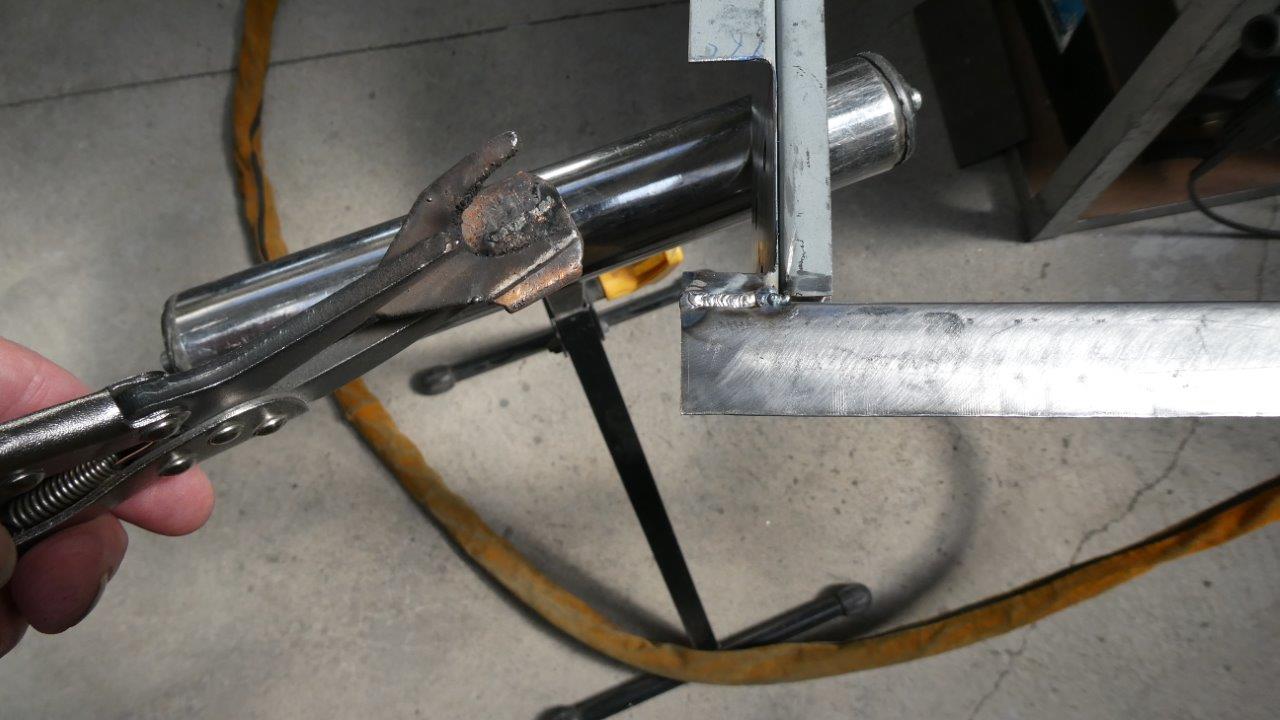
I had a 3mm-1/8" gap at the top of the flange to weld. So I used my plug/spot welding pliers with its copper pad under the join. Then just welded it by hovering over the join and sweeping left to right to fill it as I went along. The weld wont stick to the copper, or brass, and just breaks away once done.
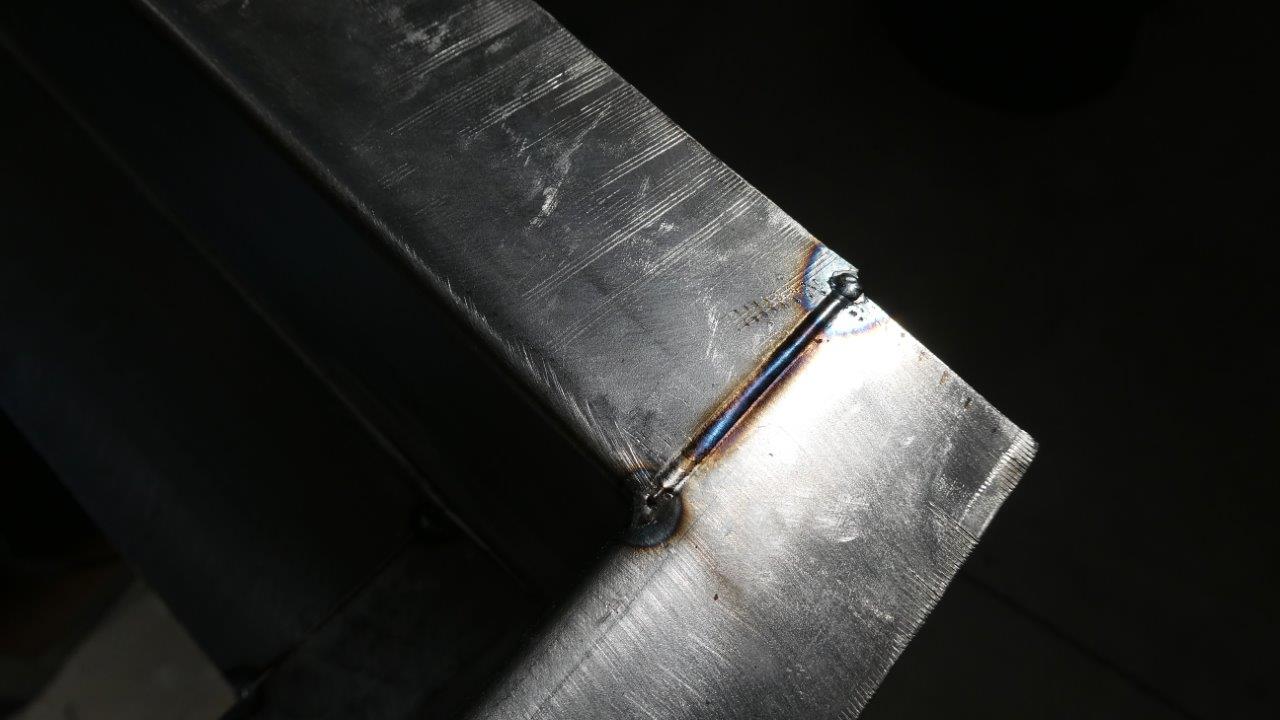
Bevelled edges and a quick pass with the laser and you get a flush welded join. :)
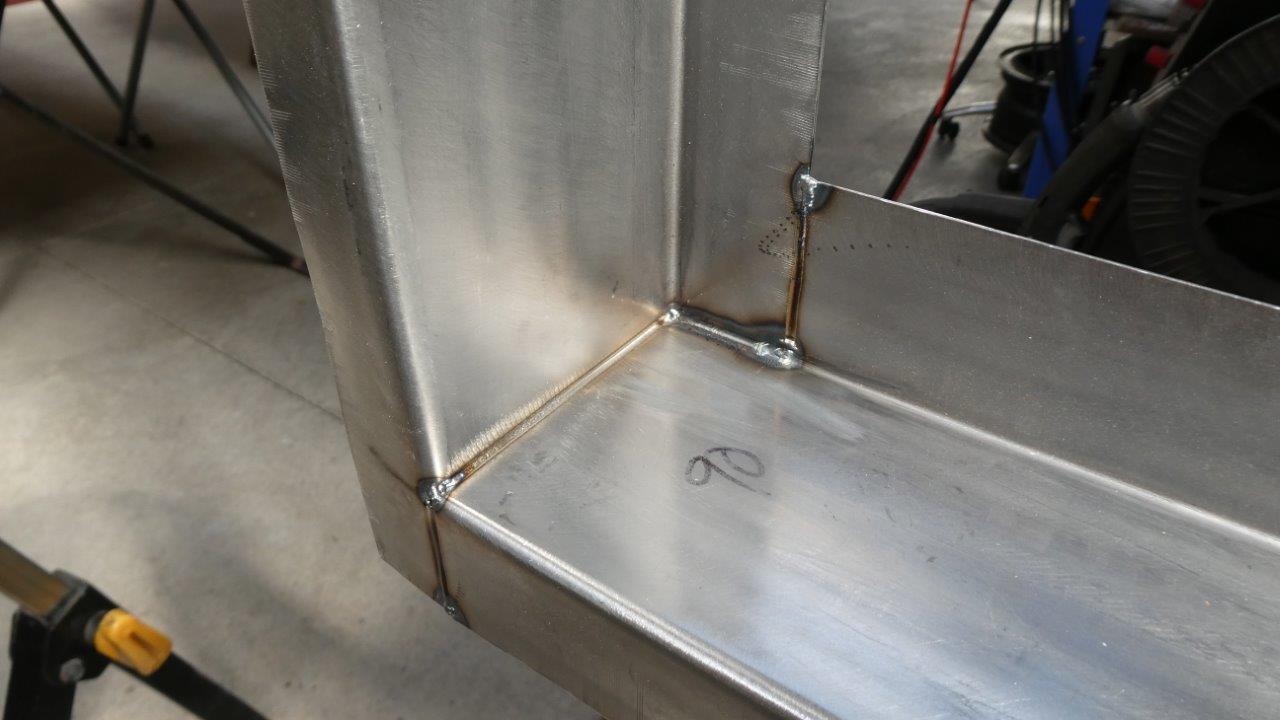
Almost hard to see but all the joins are fully welded. There is no point having the weld bigger than the material thickness as it does not add extra strength. Just causes a stress riser so the metal will tear away above or below the weld if fatigued.
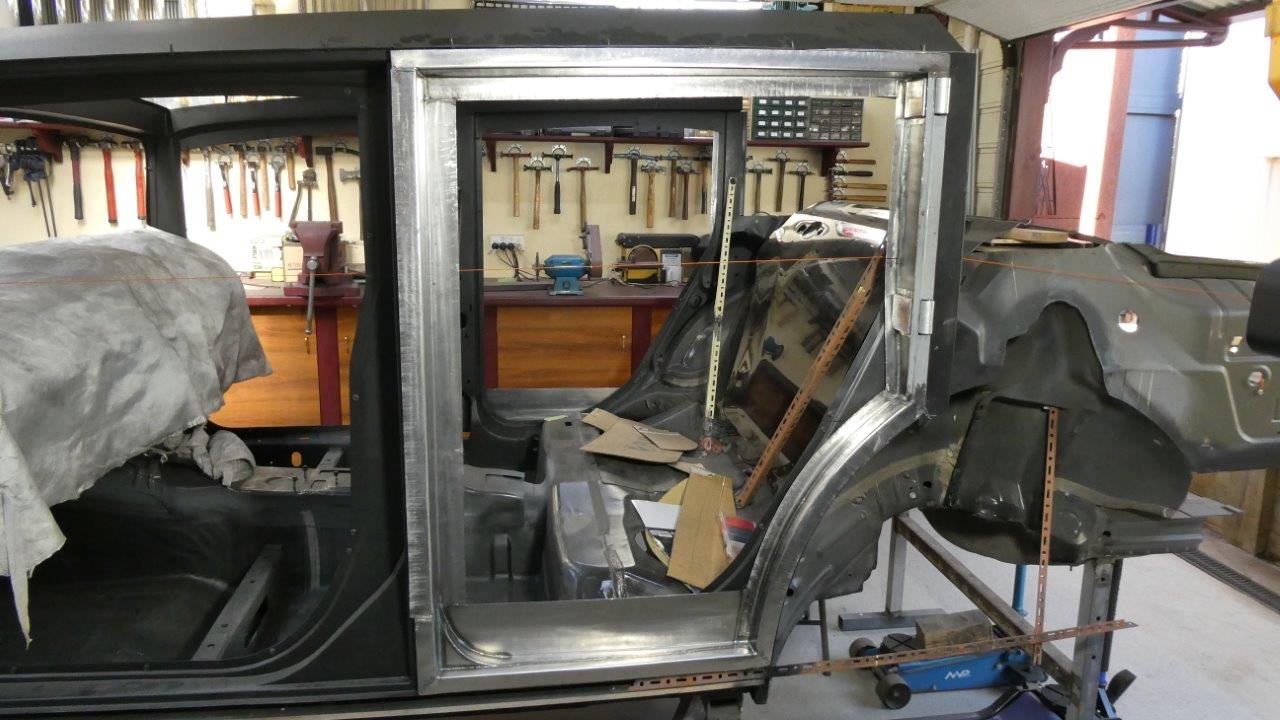
Outer perimeter of the first door shell done. Lots still to be added to it though, but you have to start somewhere.