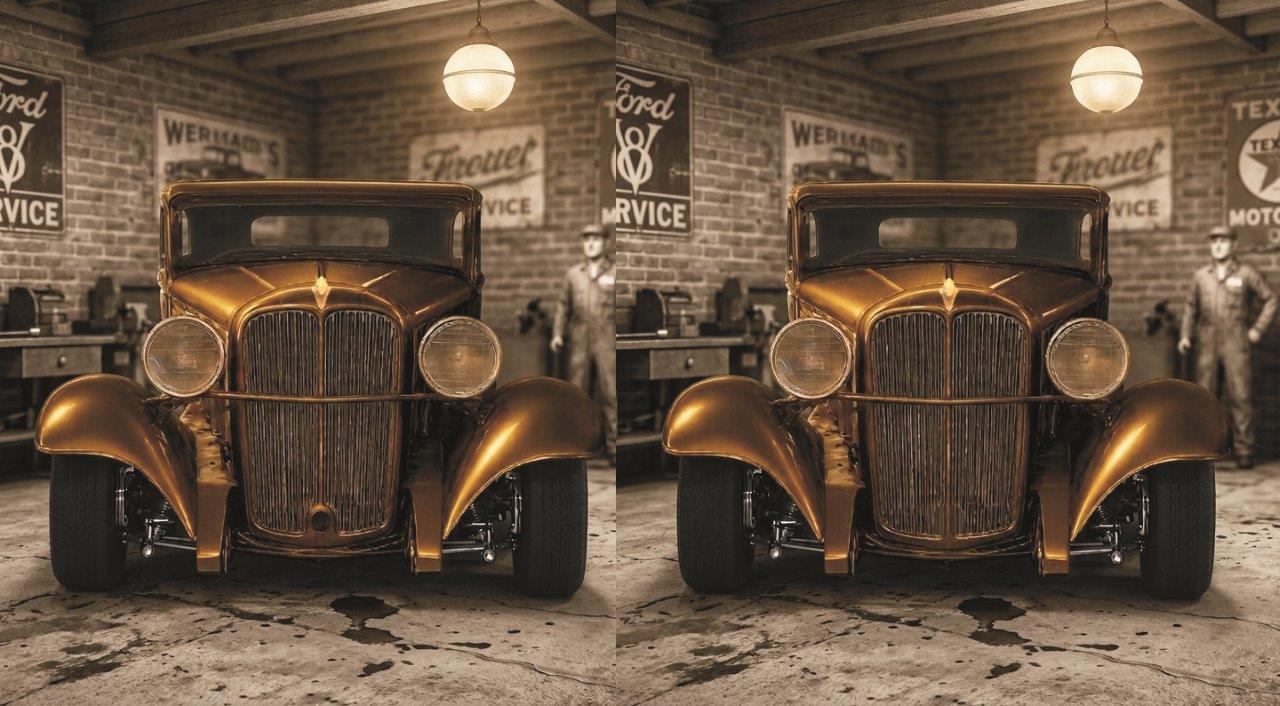
Just a quick update on some images I still had floating around after some requests. The one above was to show side by side the stock crank hole, or it deleted. We still don't know which is best?
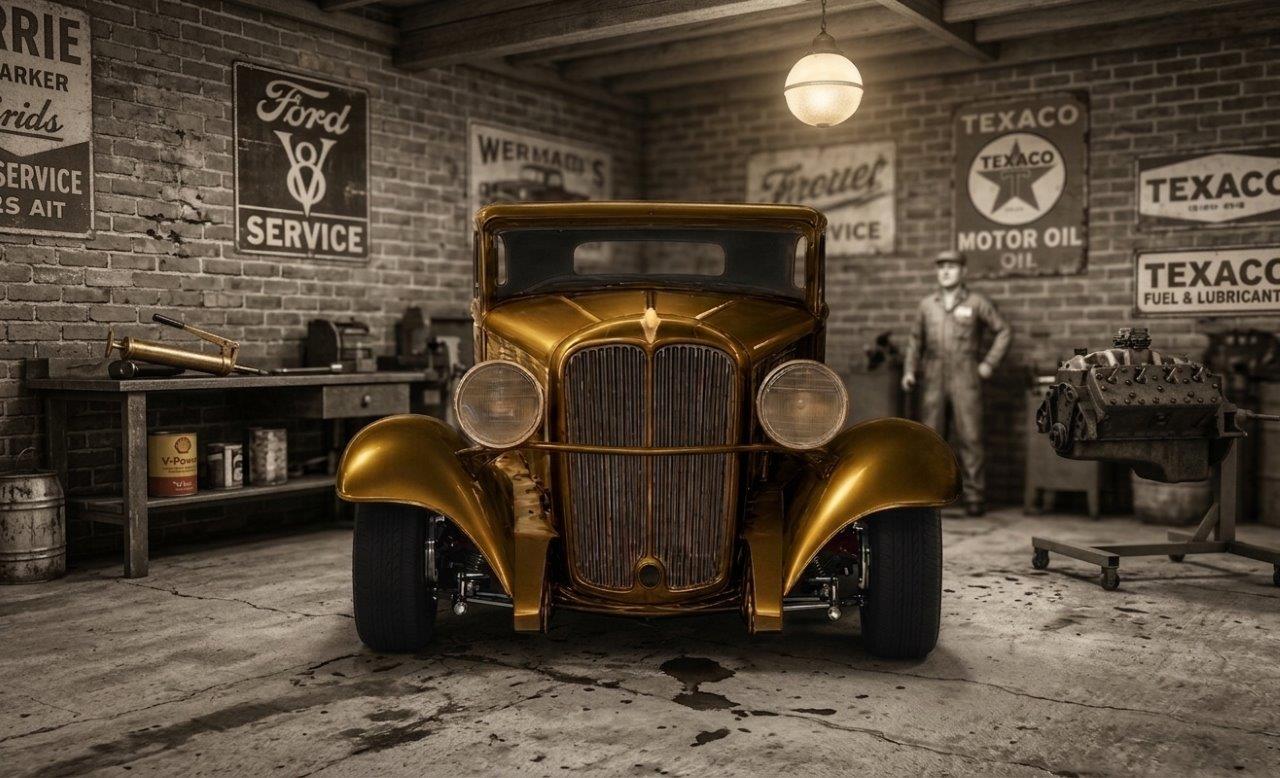
Another was to lower the headlights. I have just done a subtle drop of 50mm or 2". Never been keen on the big drops but we quite like this change. Maybe even a little more, but will check that out when the time comes.
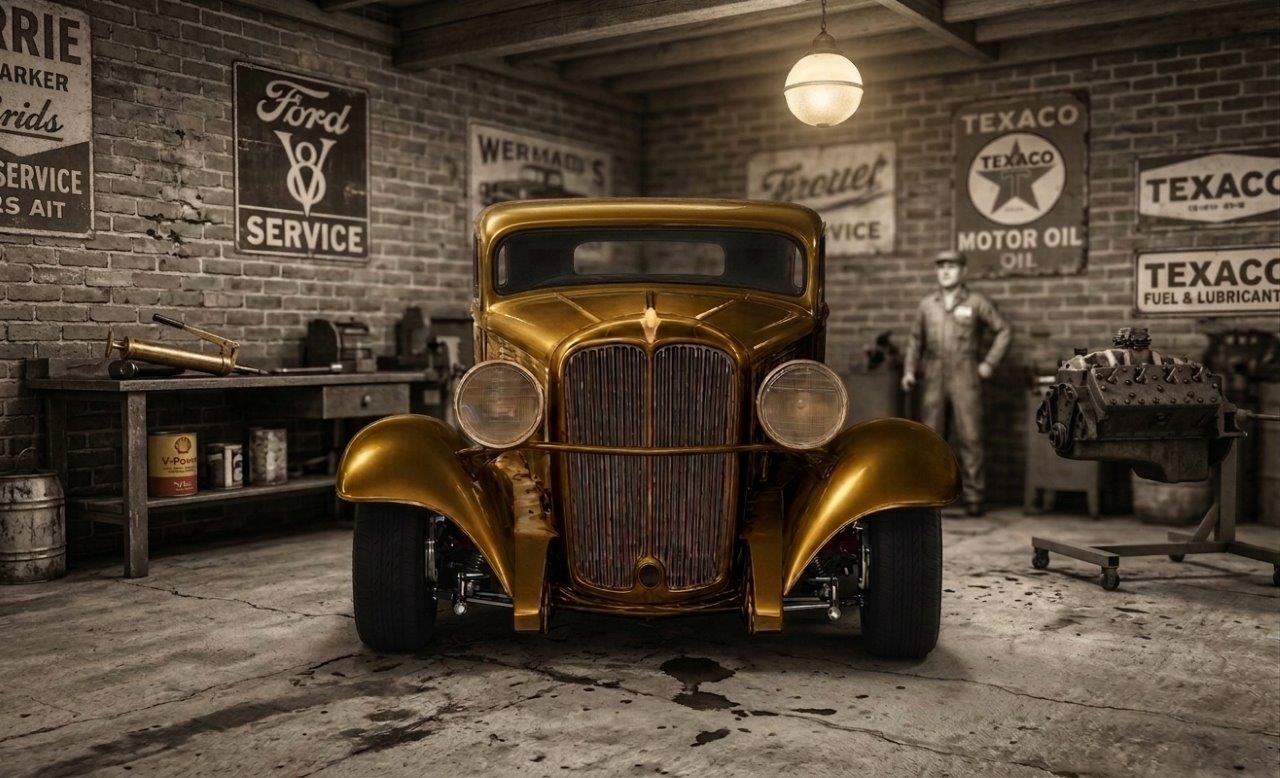
One thing we personally wanted to see was what would the planned rounding of the upper roof and glass openings look like. Looks like a much more classy car this way so it is the way forward. This also combines the lowered headlights from the previous shot.
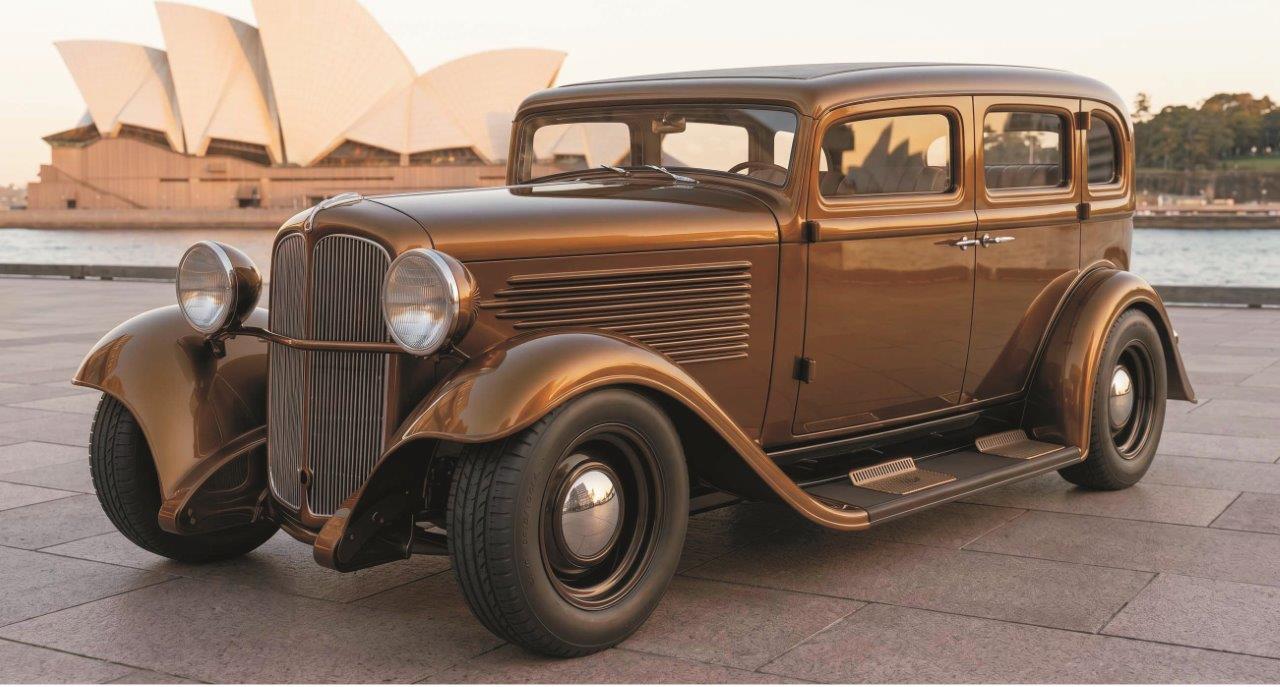
Want to give a great shout out to Mark, (Superleggera), who surprised us with what he called a 'cleaned up' version of my cut and paste version. We love what he has done and the dark bronze on the wheels looks like the shade called 'Midnight Bronze' from the Cerakote range that we are considering. We don't want any chrome at all so will use the bronze on the door handles, headlight rings, wheel caps and grille etc.
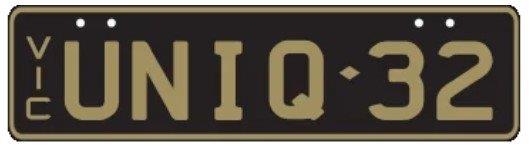
Another development I hadn't shared was that Lisa came up with these custom license plates and were still available, so we now have from the road authority for the car once it is registered. I think it is very fitting and they are even in the gold with black background. Hope people can work out what it means. So looks like my W1LLYS custom plates wont be used after all and will be sold off to pay for these hopefully.
The good news is that the engineer has been around and looked over all the progress and has approved all the work done so far! So the build continues.
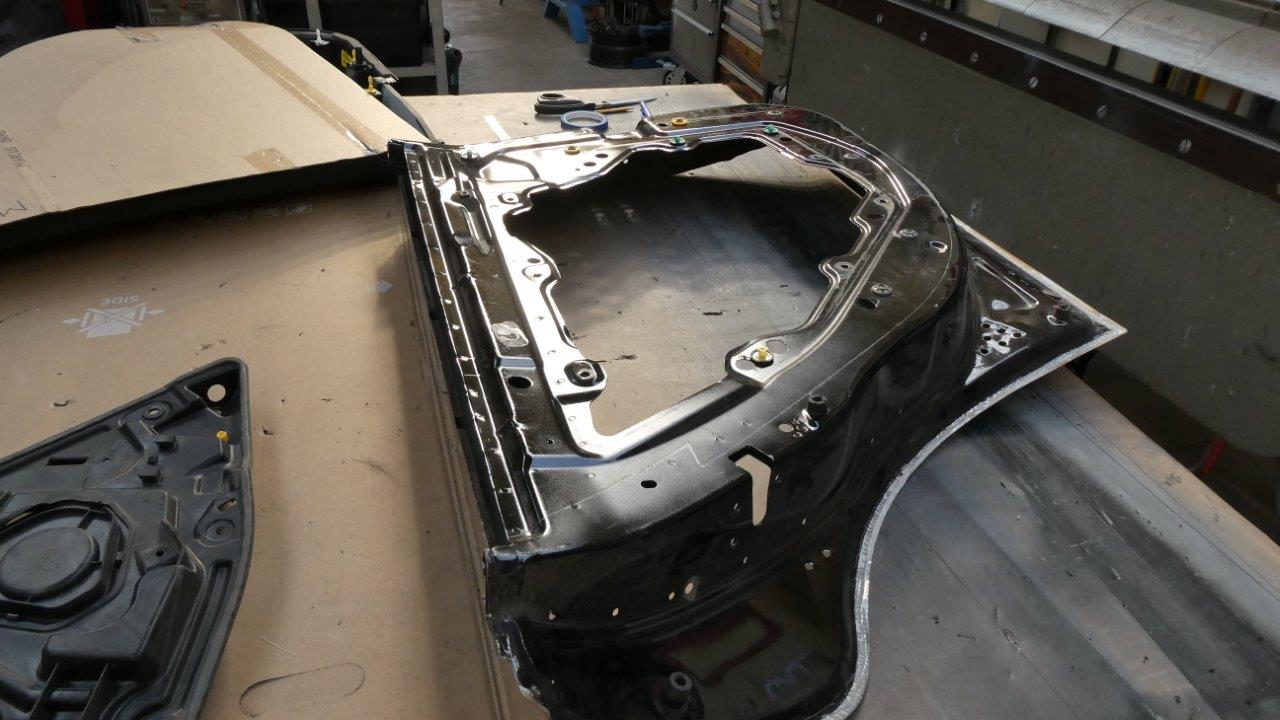
Time to move onto making the door shells. Starting with the rear doors I wanted to use as much as possible from the donor door shell. This would save a lot of work and time if I can, even if I have to narrow the depth of it to suit.
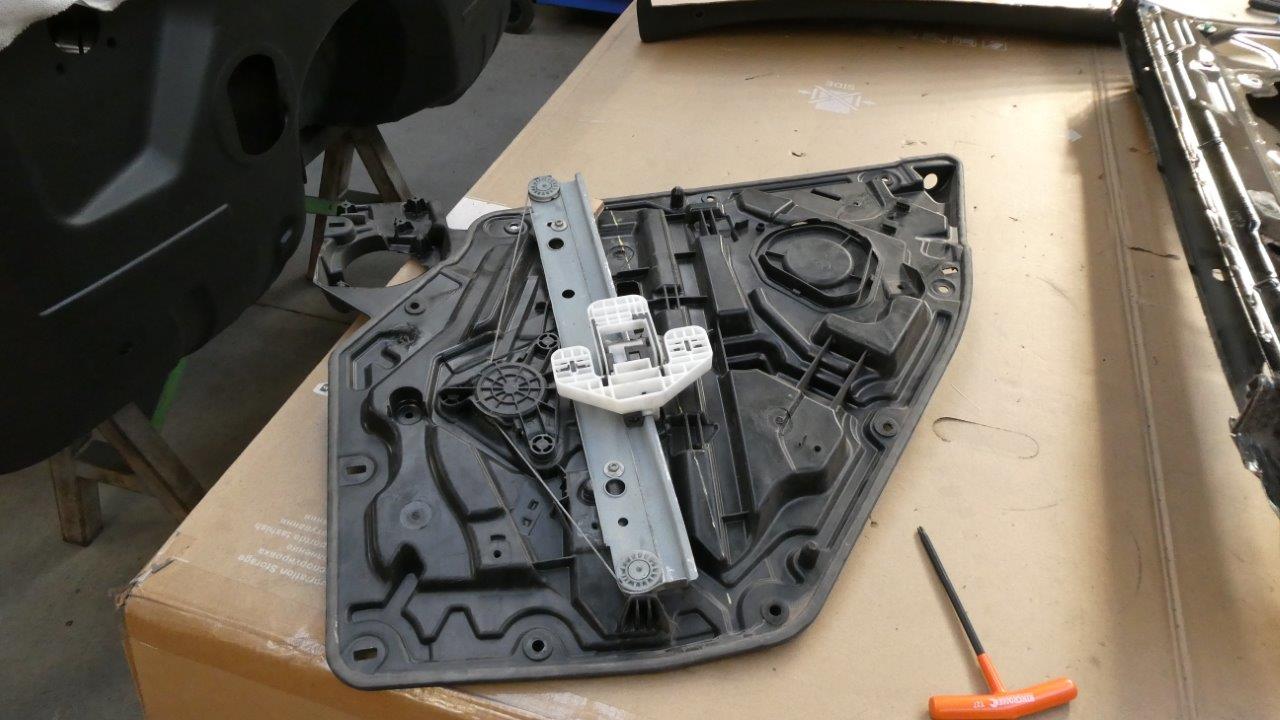
The most important part is that it holds the donor electric window carriage and motor in the right position. I had earlier shown how I have straightened the track to suit the Willys flat glass and changed the angle of it.
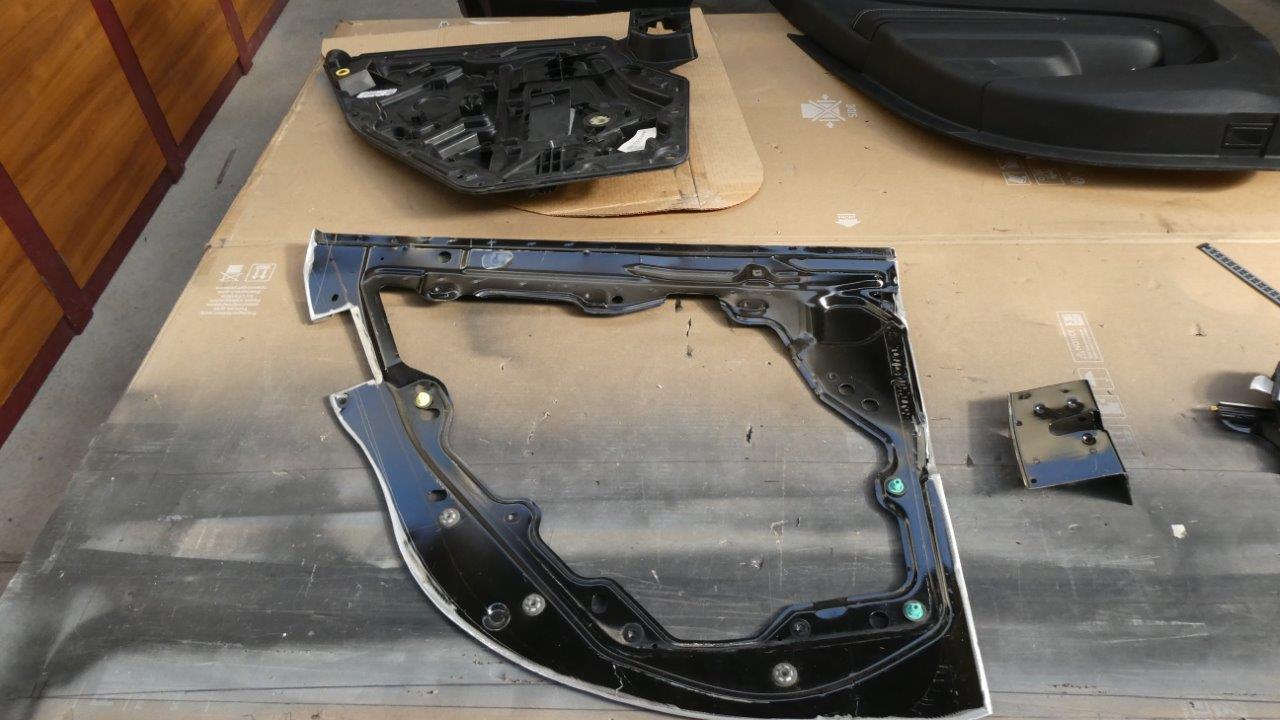
After making a template of the opening, it turns out it is just way too different after shortening the door opening and making the pillars vertical. The only thing I can use is the pressing that holds the moulded plastic window mechanism. I have also cut free the section, with its inner reinforcing, for the door lock. This will end up on the opposite side door seeing the rear doors are suicide style.
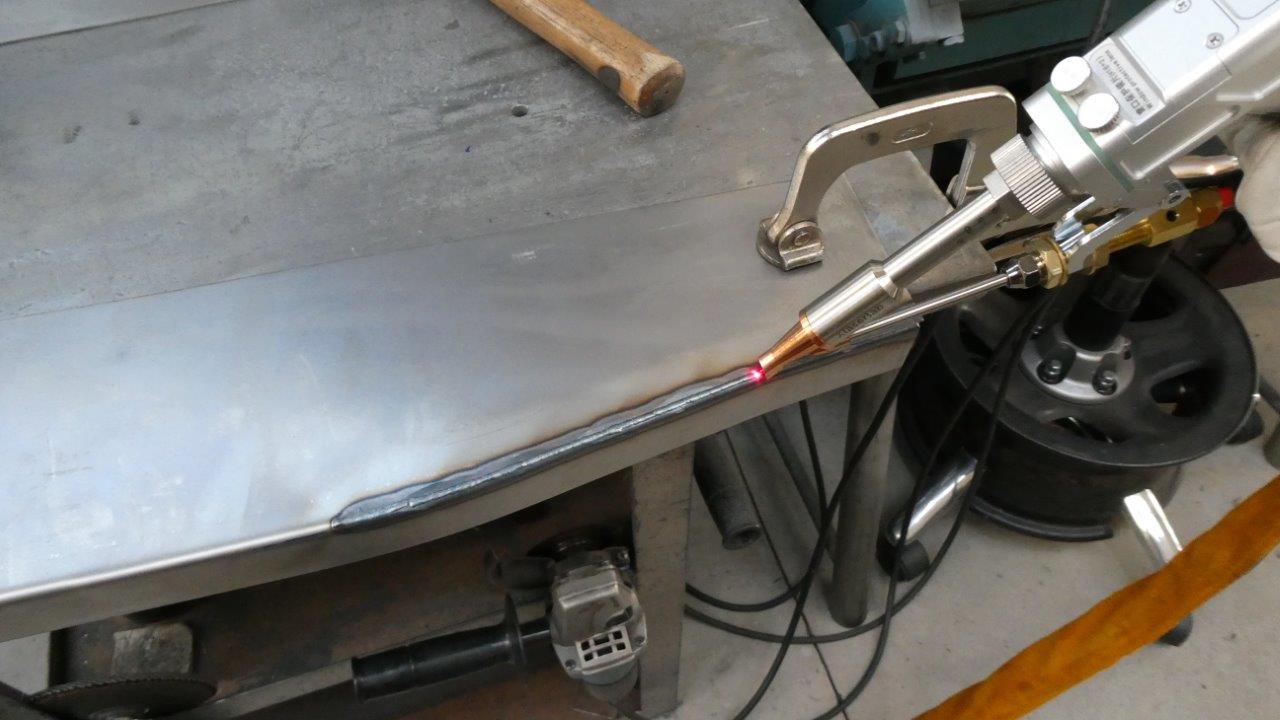
Thought I would start with the hinge side of the shell first so I have something to build from. Here I am laser welding the edge back on after cutting the shape that follows the inner door frame profile.
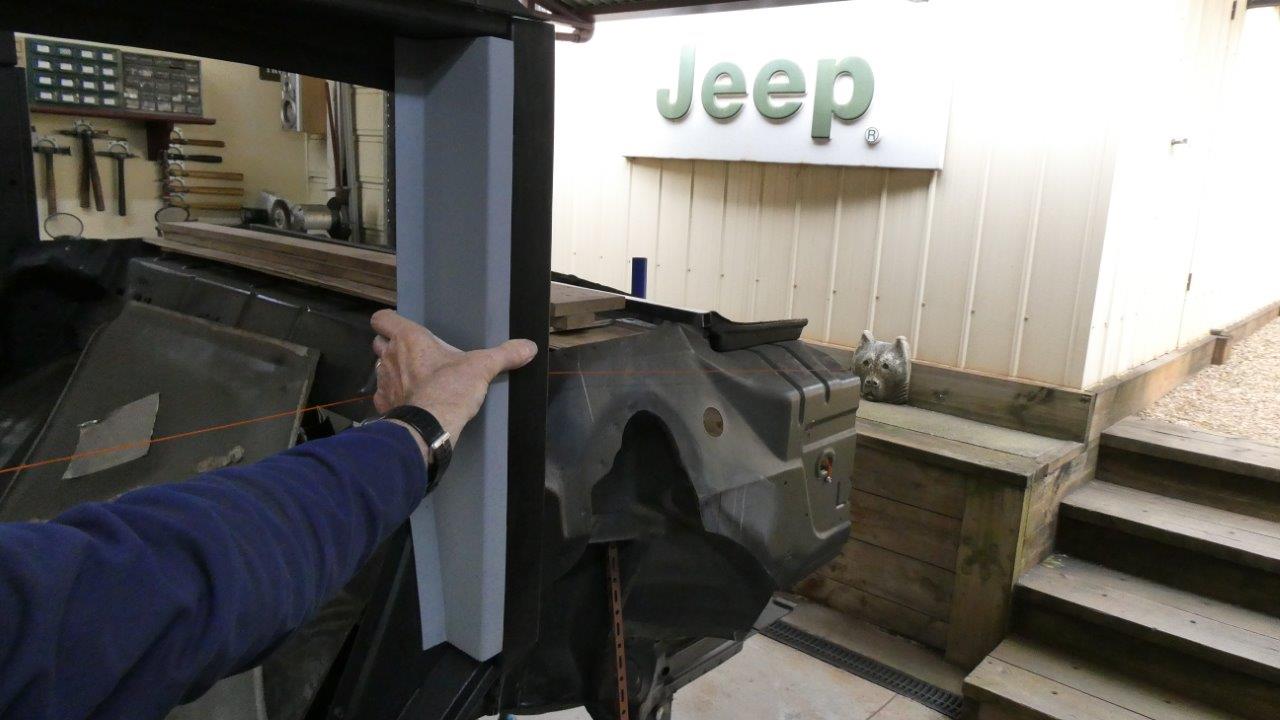
This is how the first piece will sit in front of the C pillar and will have the hinges mounted to it from behind.
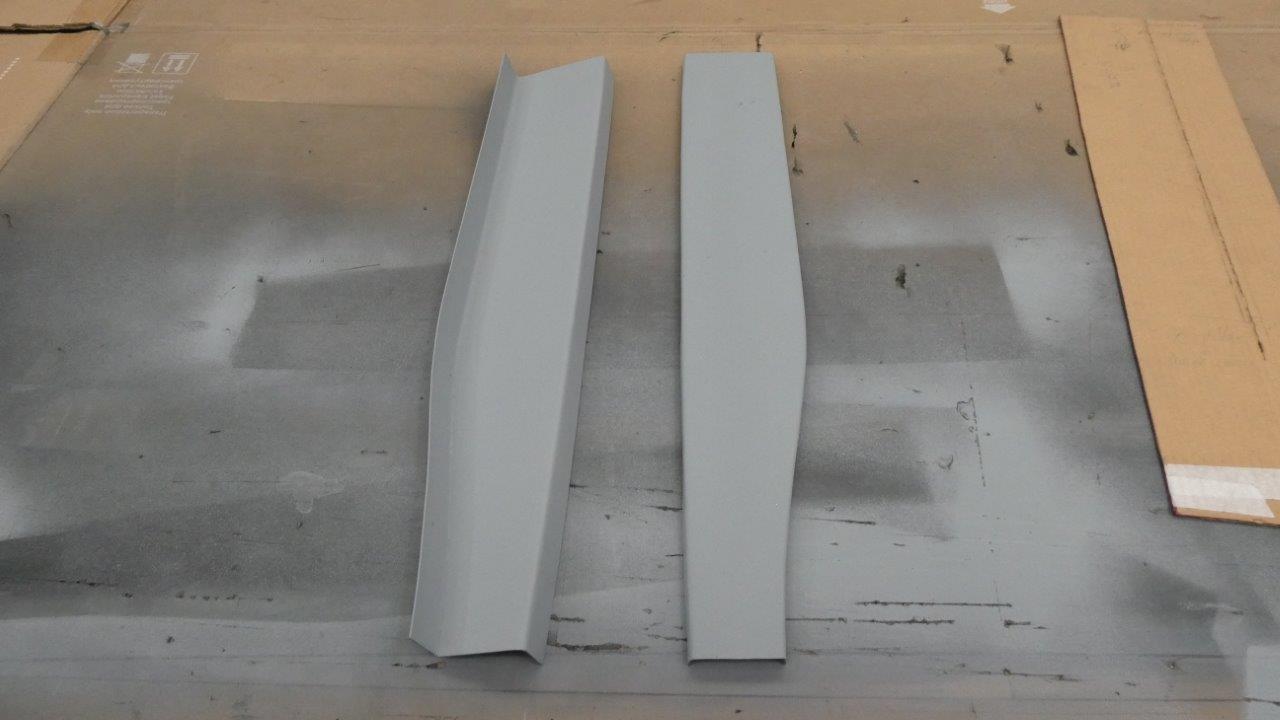
I also made a doubler plate for this part of the shell to reduce any flex brought on by the weight of the door hanging from it.
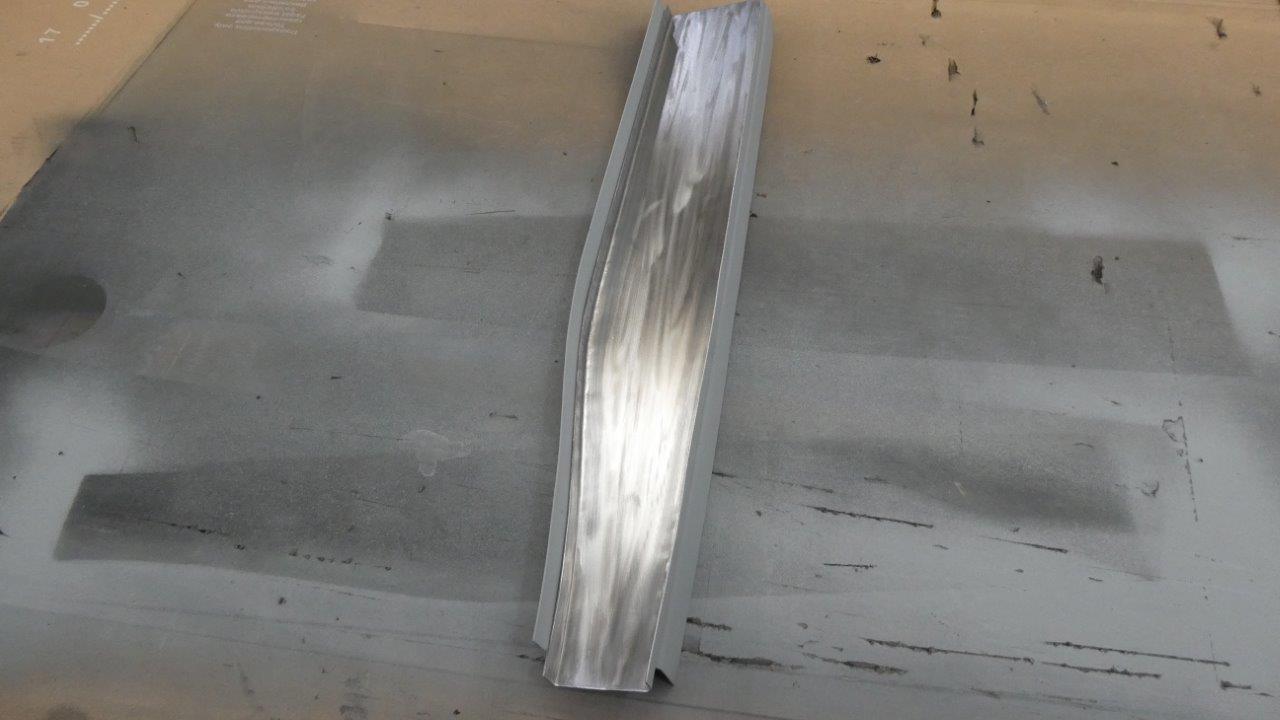
The doubler plate has turned up sides to further increase the stiffness and just sits hard against the inner side, but a little away from the outside so the skin does not contact it.
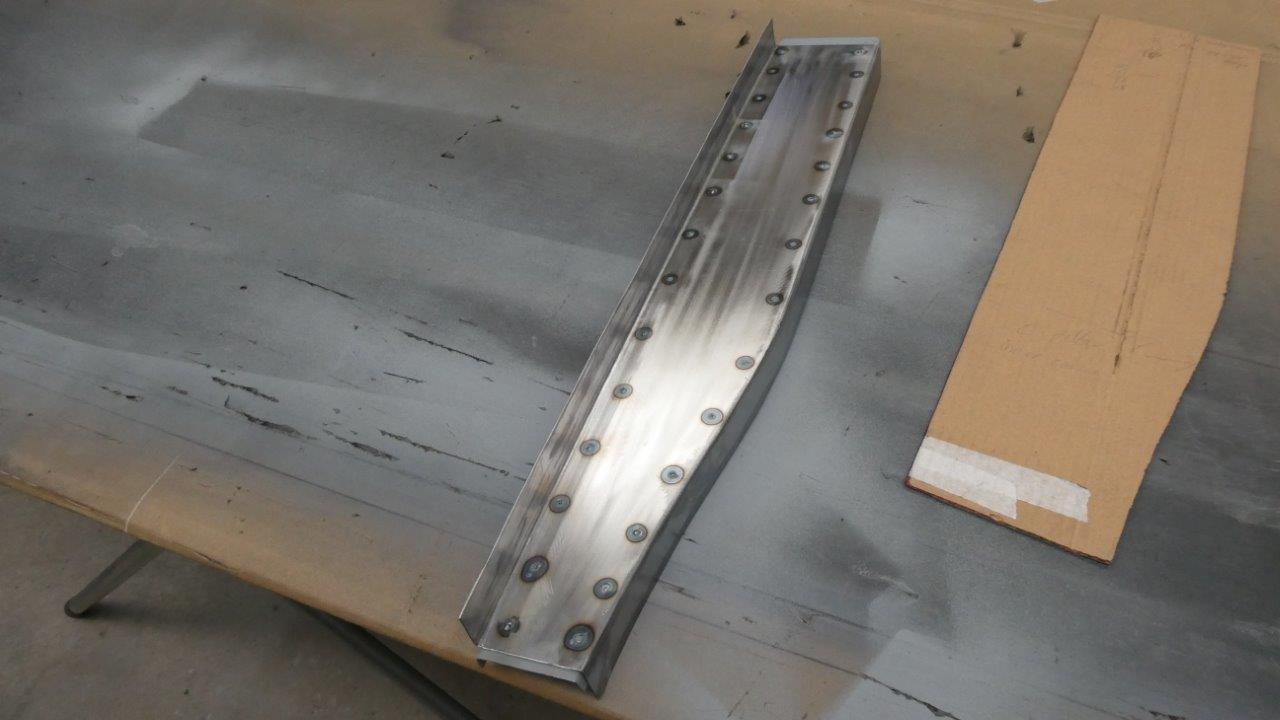
Even though I have a resistance spot welder, I just ran the laser in the little circle to fuse the two pieces together. No need to drill holes and plug weld it either if you don't have a spot welder.
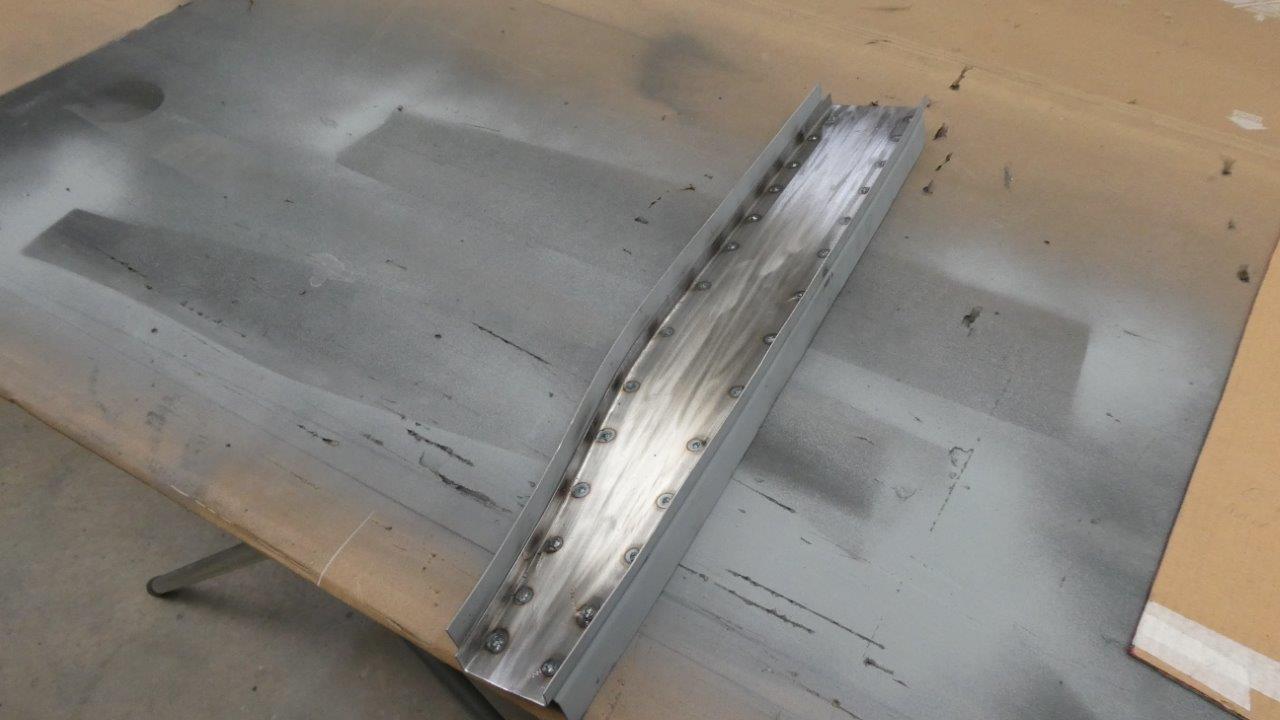
This shot shows it has fully penetrated to the other side. I just set the machine at the two thicknesses combined. It did spit a bit from the weld through primer in between just like the MIG and TIG does.
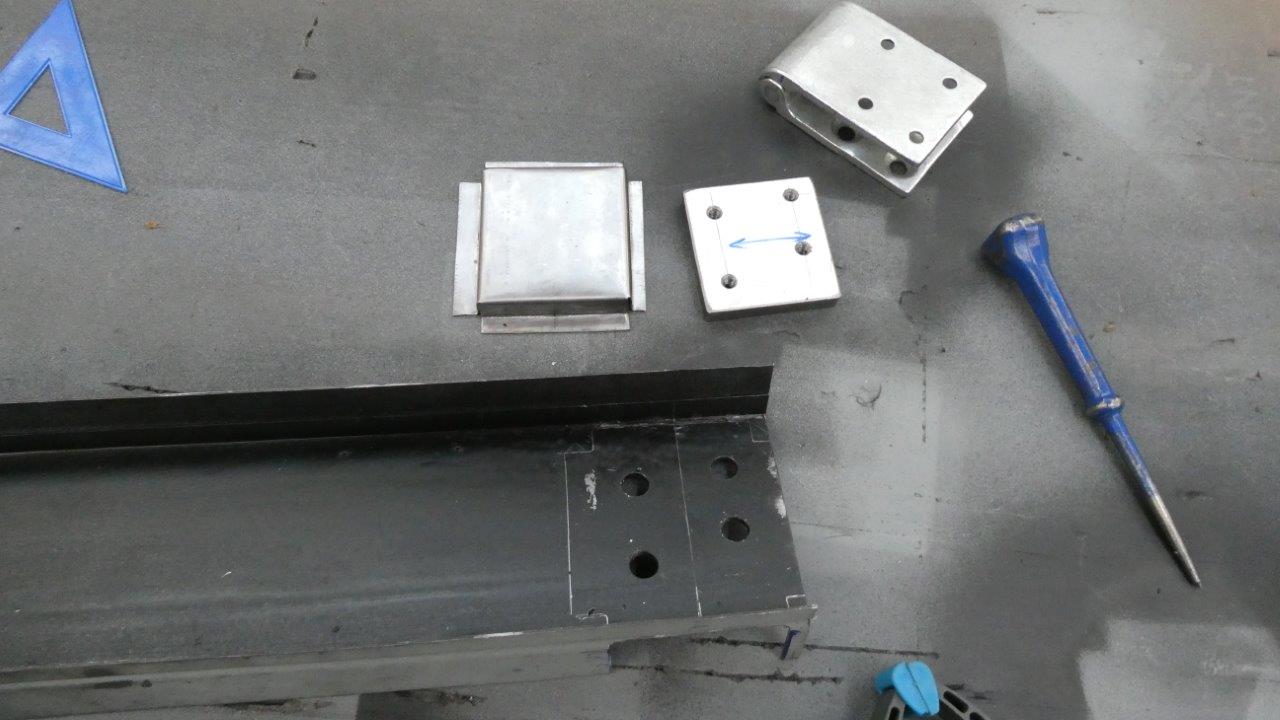
On this side of the hinge mount I want to have a little adjustment in the hinge position, even though this was not done back in the day on these vehicles. Just having 2mm of movement in every direction adds up to 4mm total. I made the nut plates from 10mm-3/8" steel that I have drilled and tapped with M6 thread. Folded up boxes or cages to hold the plates in position. These have been made 4mm wider over all than the plates.
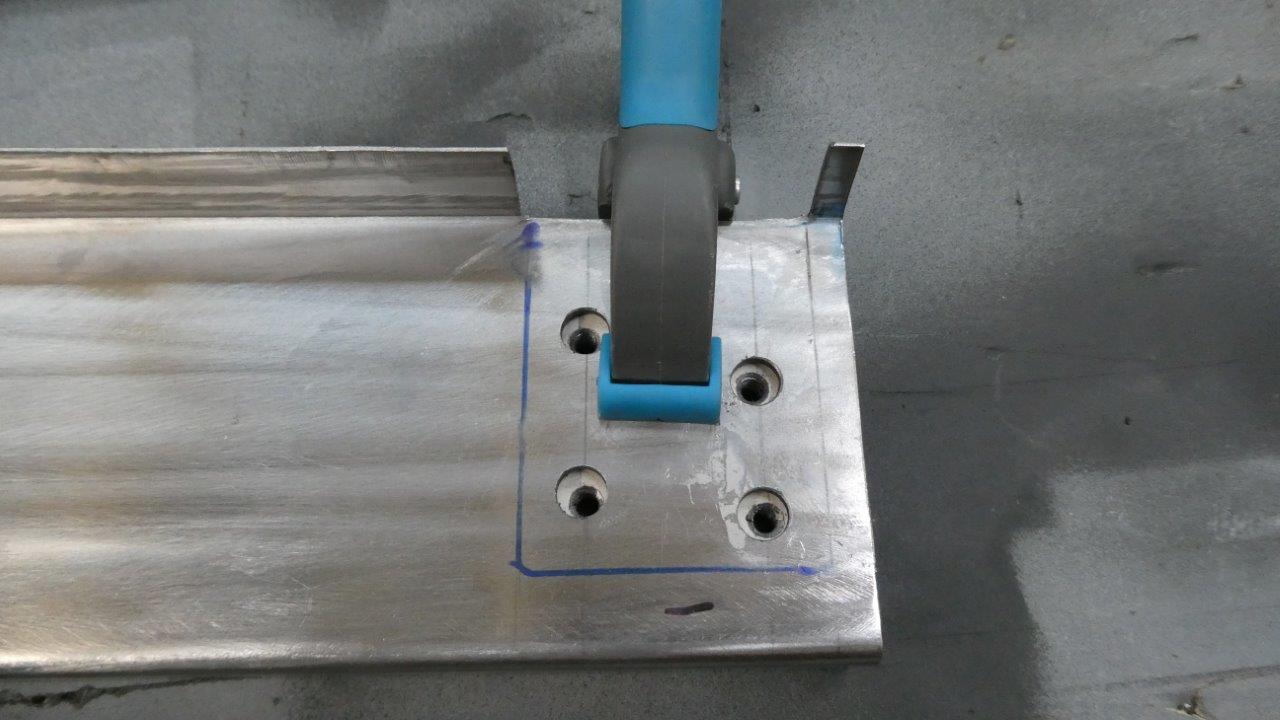
To make sure the plate is in the right place, I just loosely clamped them and moved the nut plate inside in all directions to make sure it would reach all corners of the M10 holes in the shell.
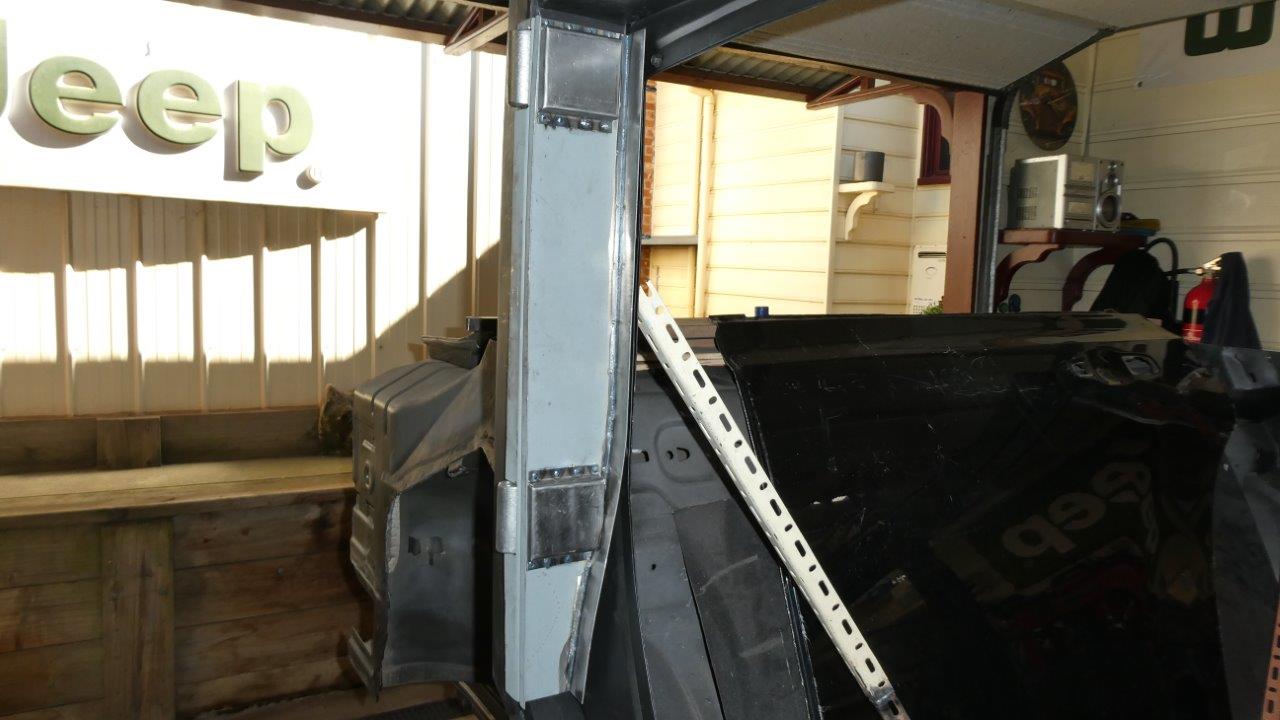
Boxes were then spot welded to the shell. I set it that the holes were close to centered when the frame was flush with the outside of the intended position. The movement I have will allow it to go up and down vertically or horizontally or a combination of both. Placing a shim under one of the hinges will allow it to tilt up or down.
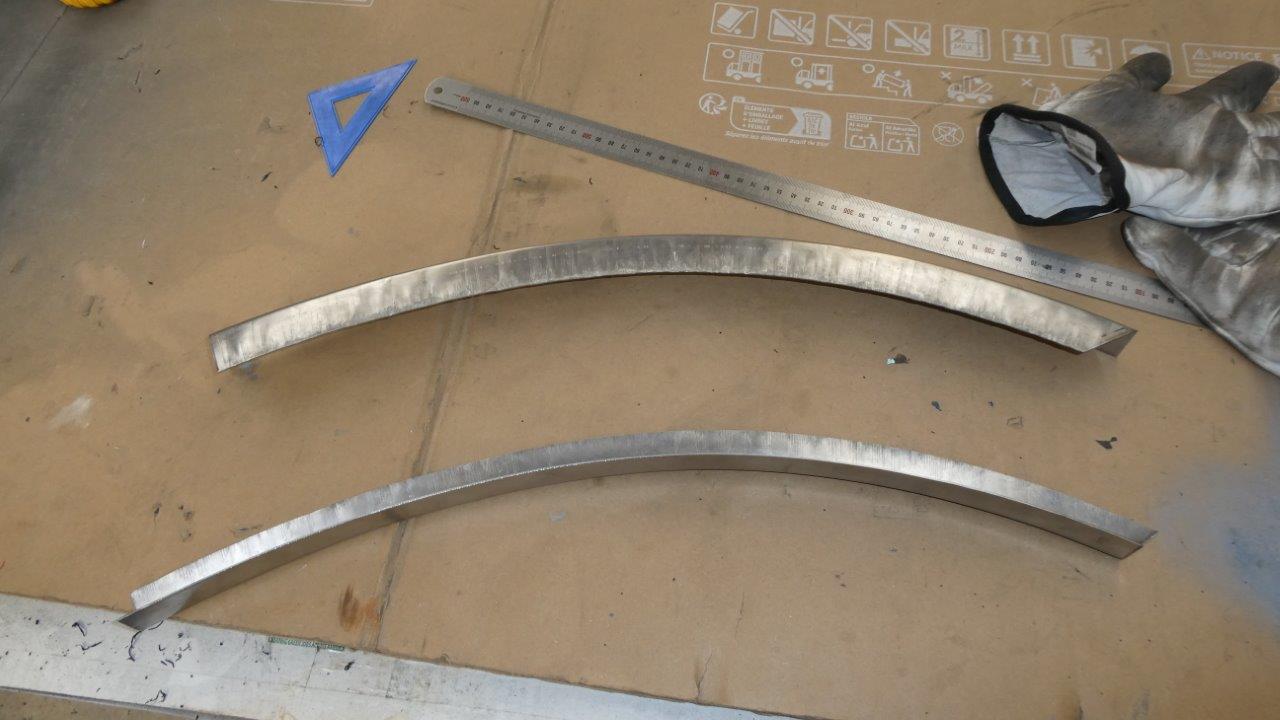
Now I have these bolted in, I can go on with continuing the shell over the wheel arch. I decided to make this in two pieces seeing this will make it a very accurate way of getting the final shape. I just folded up two straight pieces of angle and then used the shrinker or stretcher to get the compound curves needed.
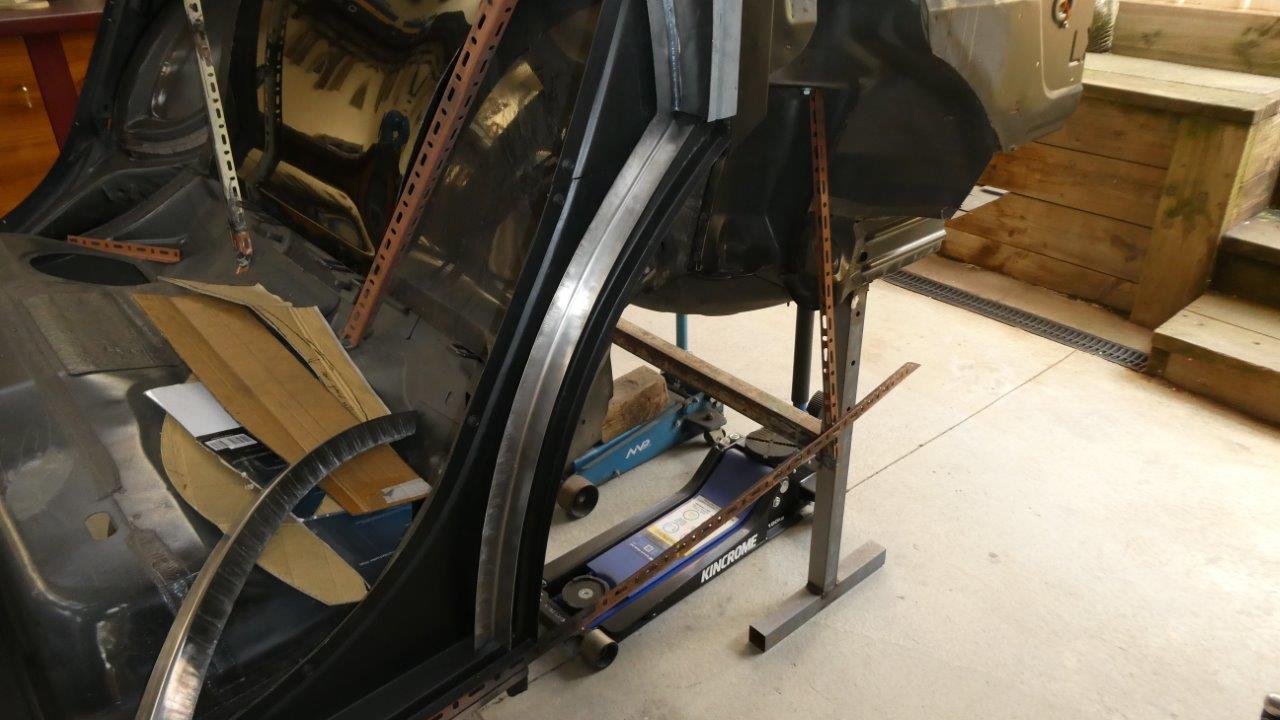
The inner piece not only has to follow the radius of the wheel arch, but also the curve of the inner door frame through this section. The outer piece has to do the same but follow the outside profile of the body curve in both directions. At least I had something to follow this time with that already established when making the inner wheel arch.
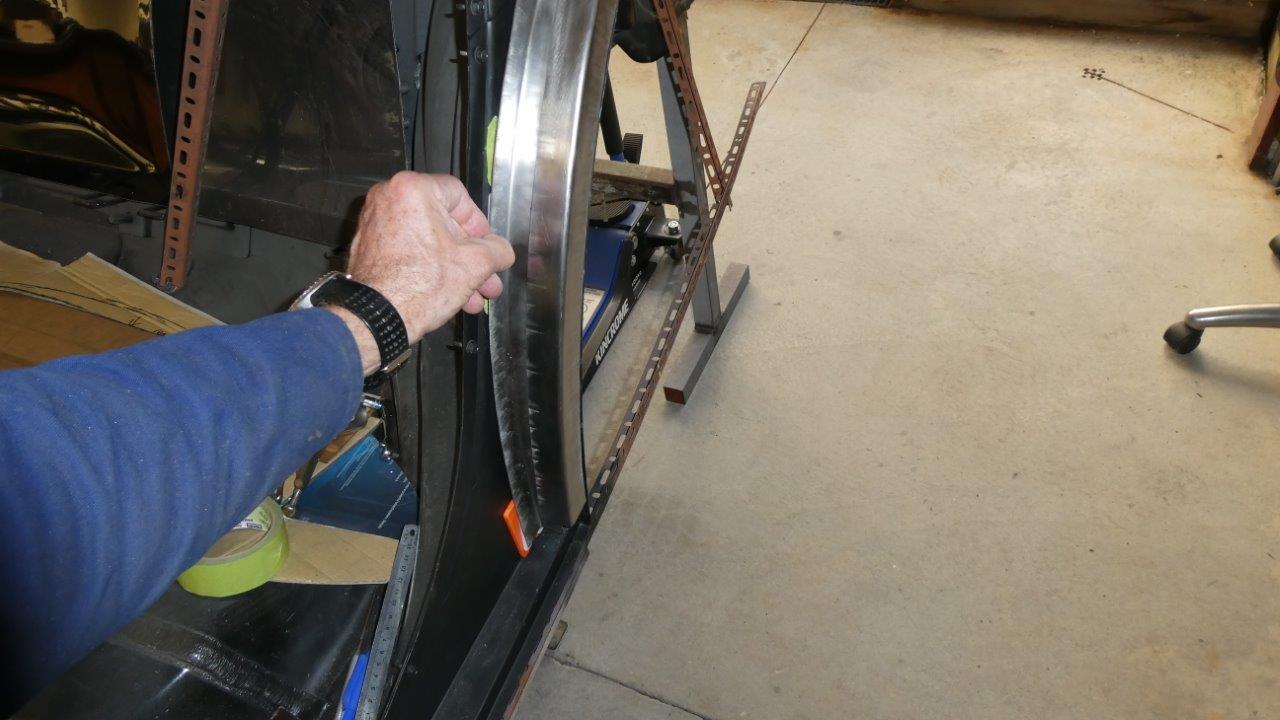
With the two pieces in position and spaced away from the inner body the amount the door seal needs to compress, I could simply mark along the overlap and cut it to get a perfect butt join.
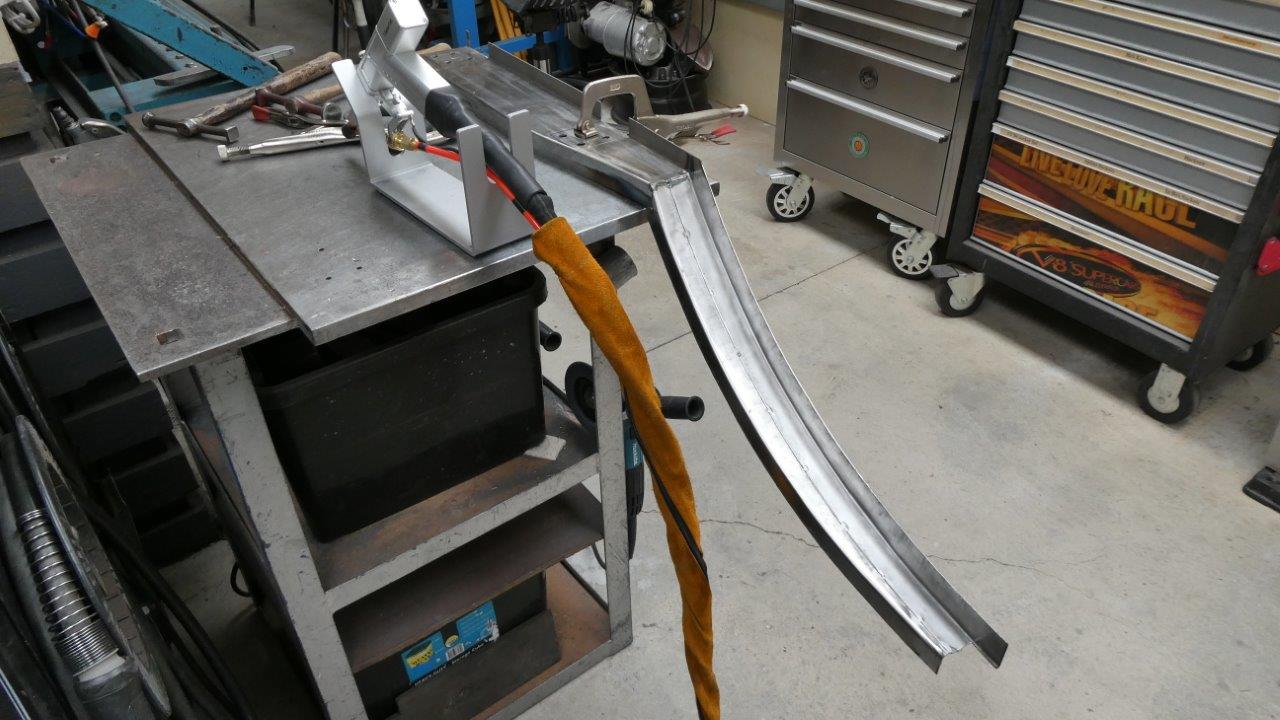
I sanded a bevel each side to get a V joint for the laser wire to follow and act as guide. This also gives you a flatter weld with little to no grinding afterwards.
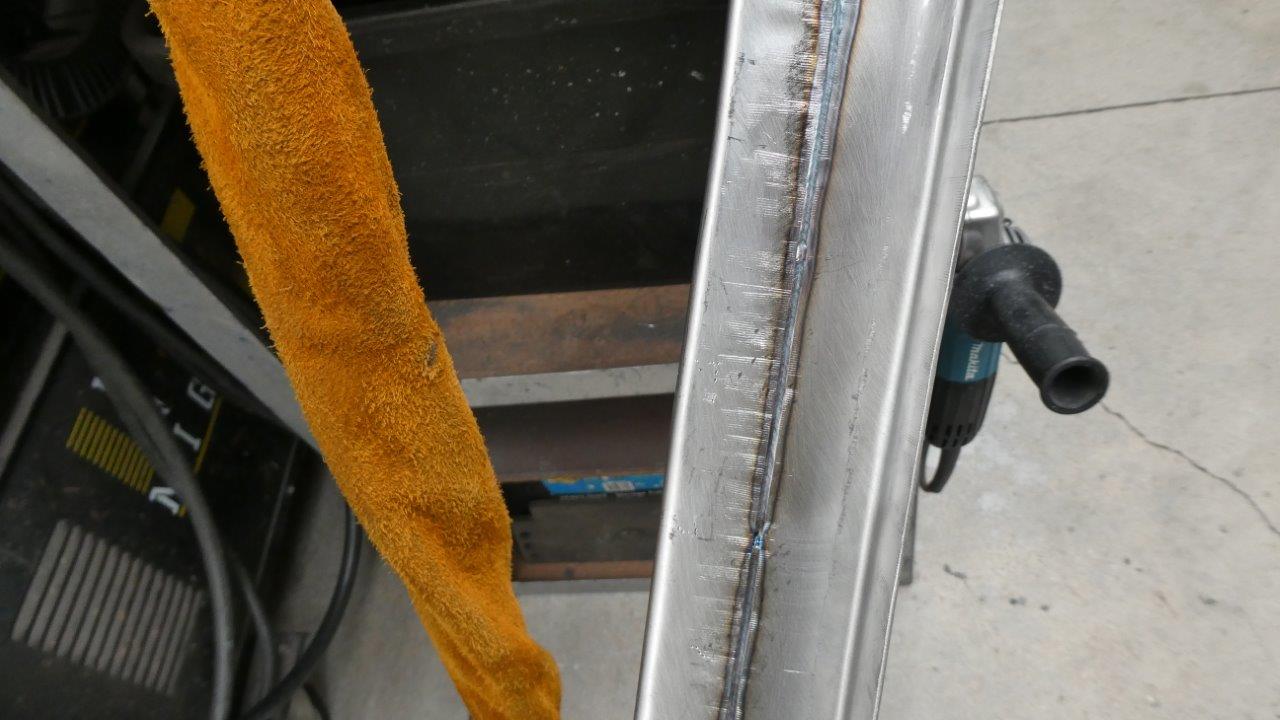
The weld here is perfectly flat as well as the metal. This 600mm, (2 foot), join took only 1 1/2" minutes to fully weld!
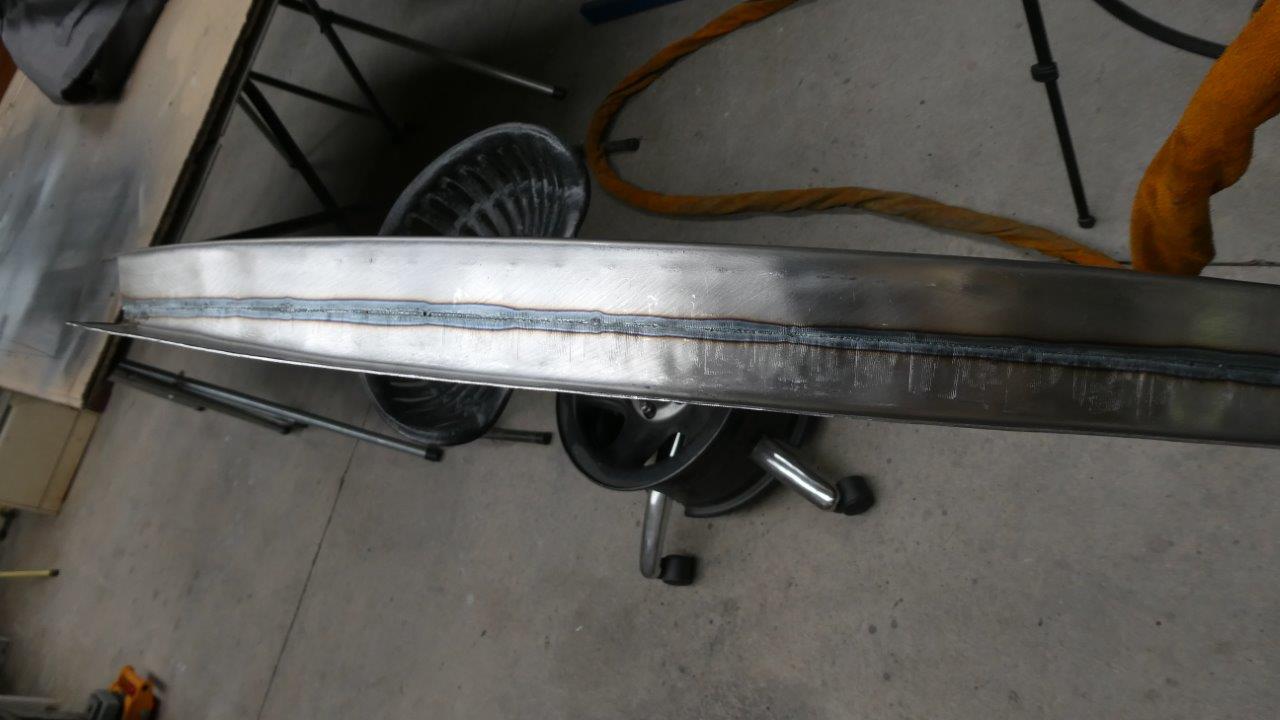
It has penetrated all the way through evenly. Even if I have had my settings wrong, or travelled too fast, and didn't get full penetration, I just run the 1mm cutting disc along the back of the join and run with less power back over it. Very little distortion and find it softer to planish than MIG or TIG weld.
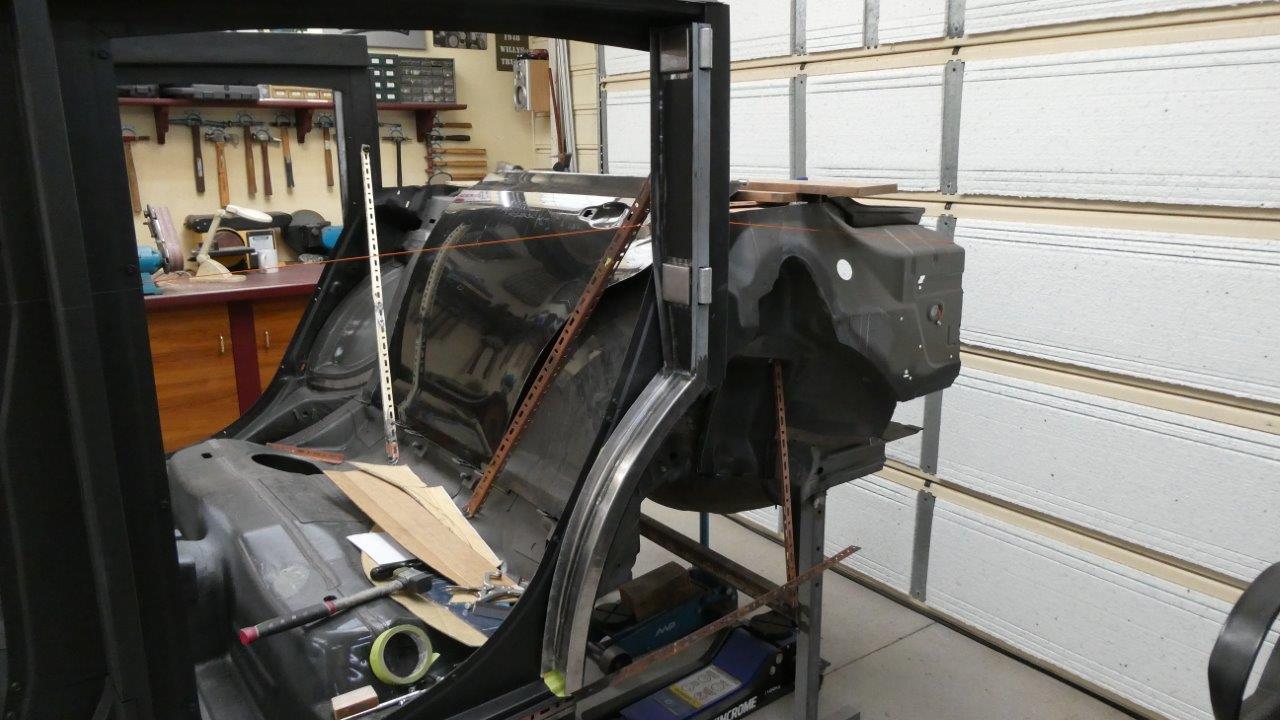
First and hardest piece of the door shell completed.
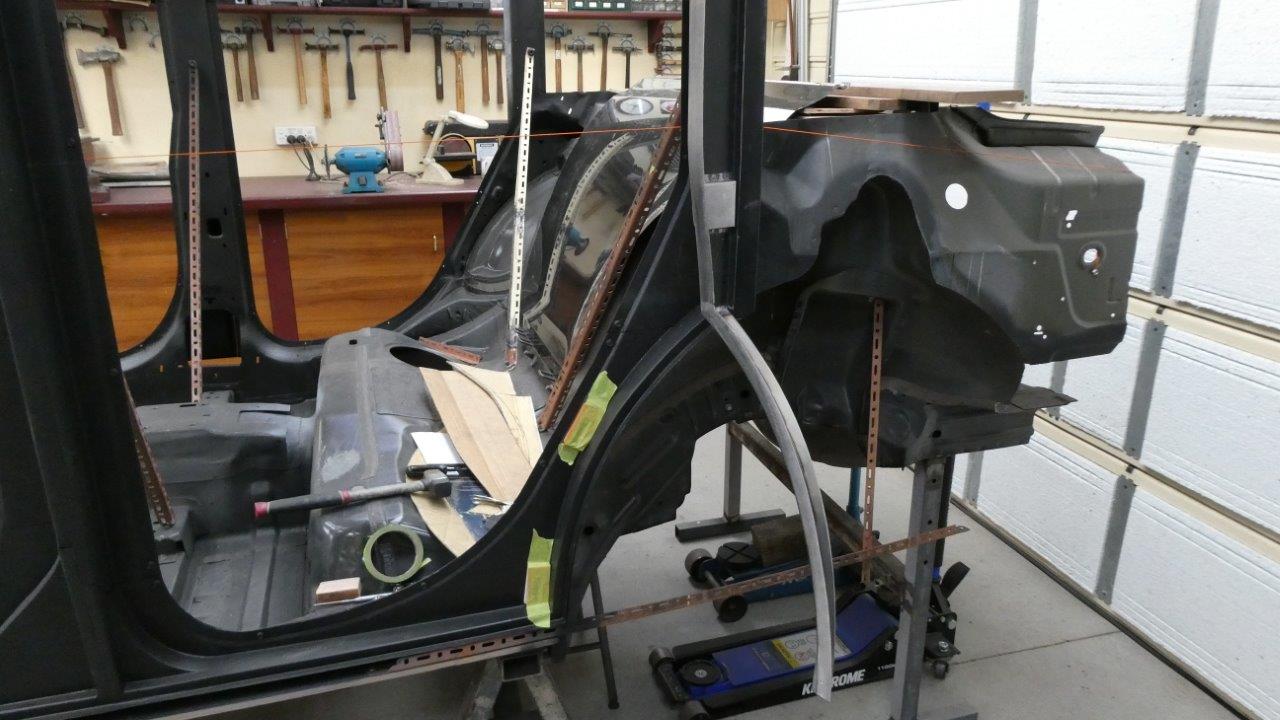
Now to see if it swings! Up until this stage I was not sure if it will swing out enough and clear the rear wheel arch at the start of the swing away from the closed position. Sighting down while opening it shows it should just clear it, but wont know for sure until the arch is in place. If it doe not clear I will just extend the hinges outwards until it does, but would rather avoid the unsightly hinges sticking out like stock if I can.