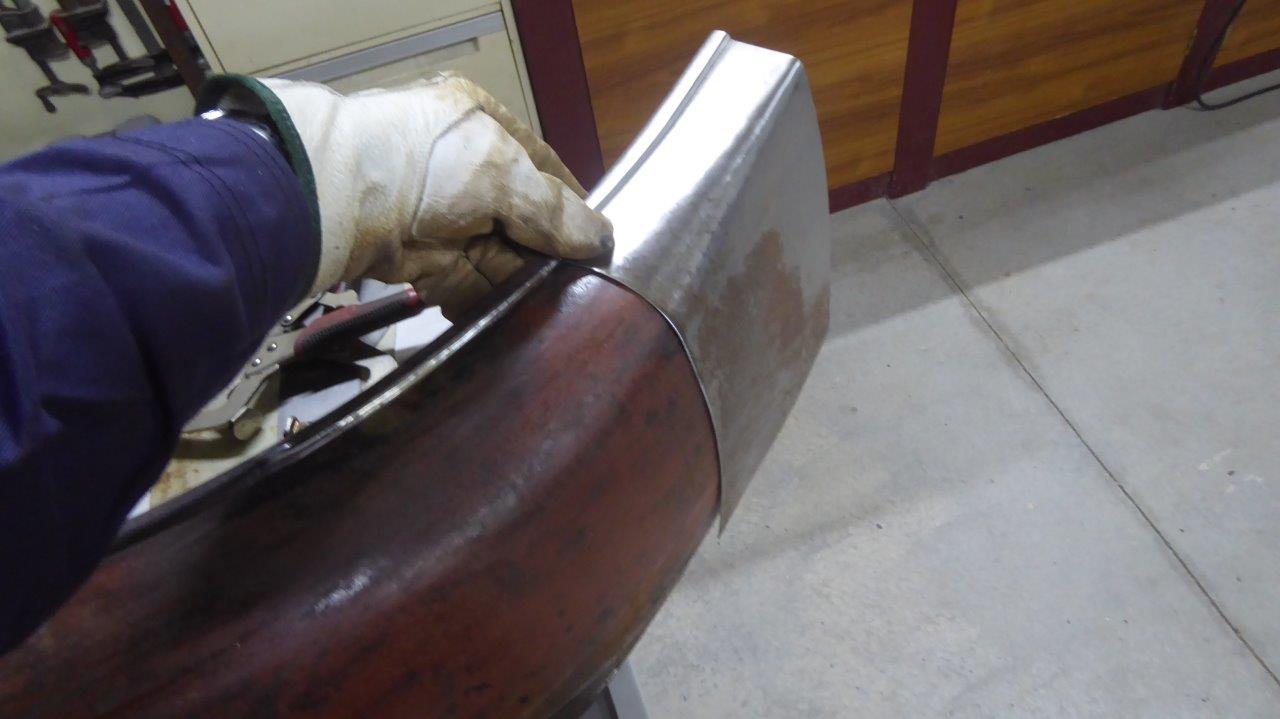
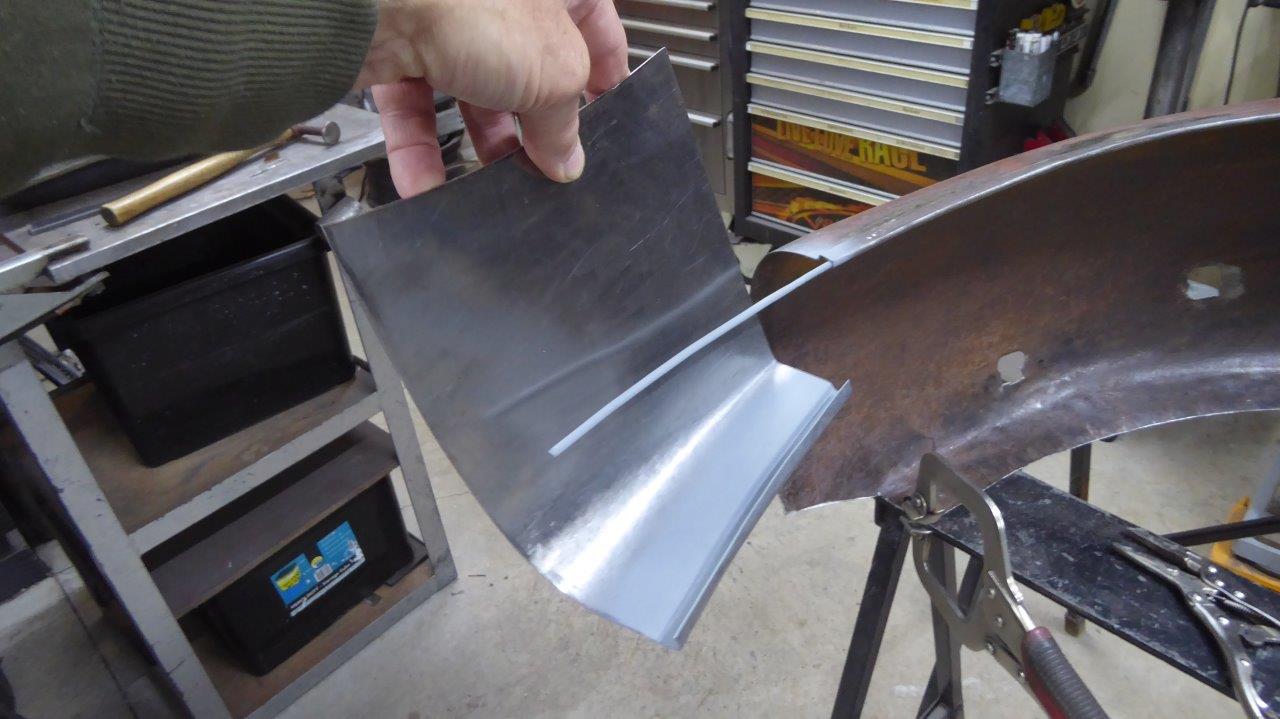
The shape follows the start of the transition well enough now.
When I slide it down to where it going to get welded in you can see how much I have to change the original guard to blend with it.
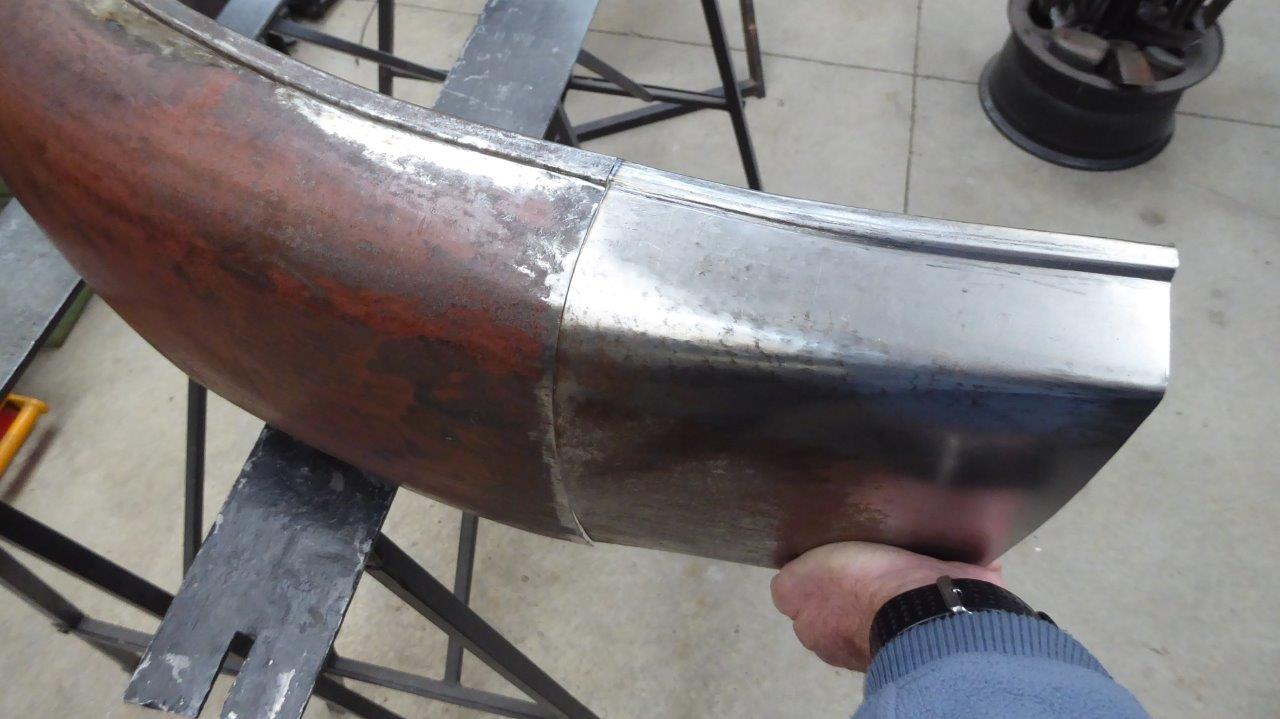
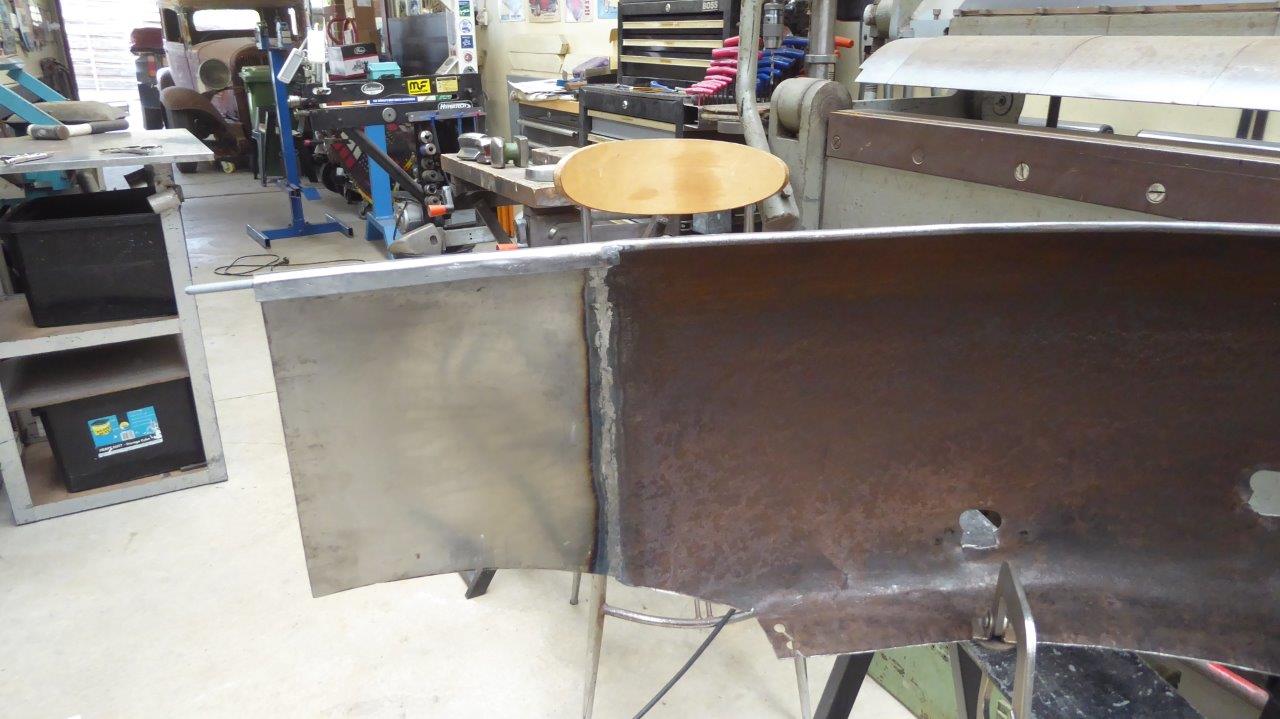
So I ran the end of the guard through the English wheel with different radius anvils to remove the original transition and make it match the rest of the guard profile. I just have it balanced here further up the guard to get a picture of it.
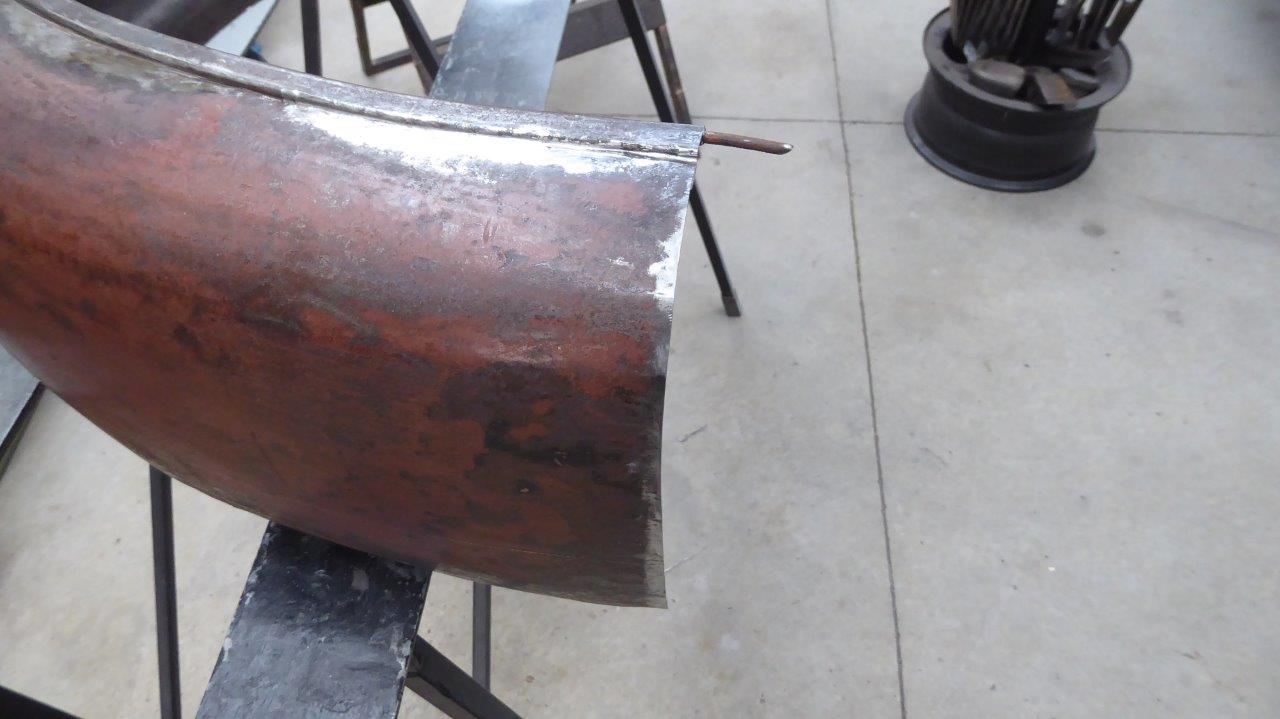
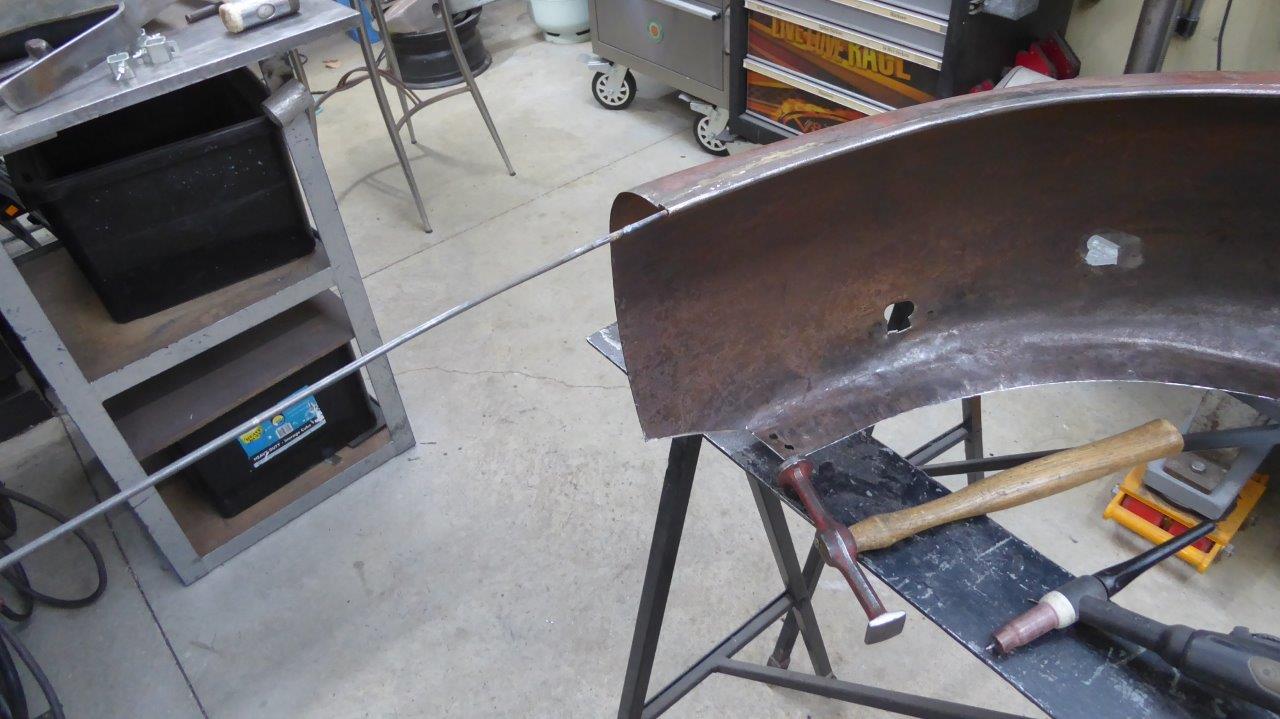
I then cut off the rusted section, carefully leaving the wire untouched so it can be joined onto. It is better to have the wire join offset from the panel join to prevent fatigue cracking.
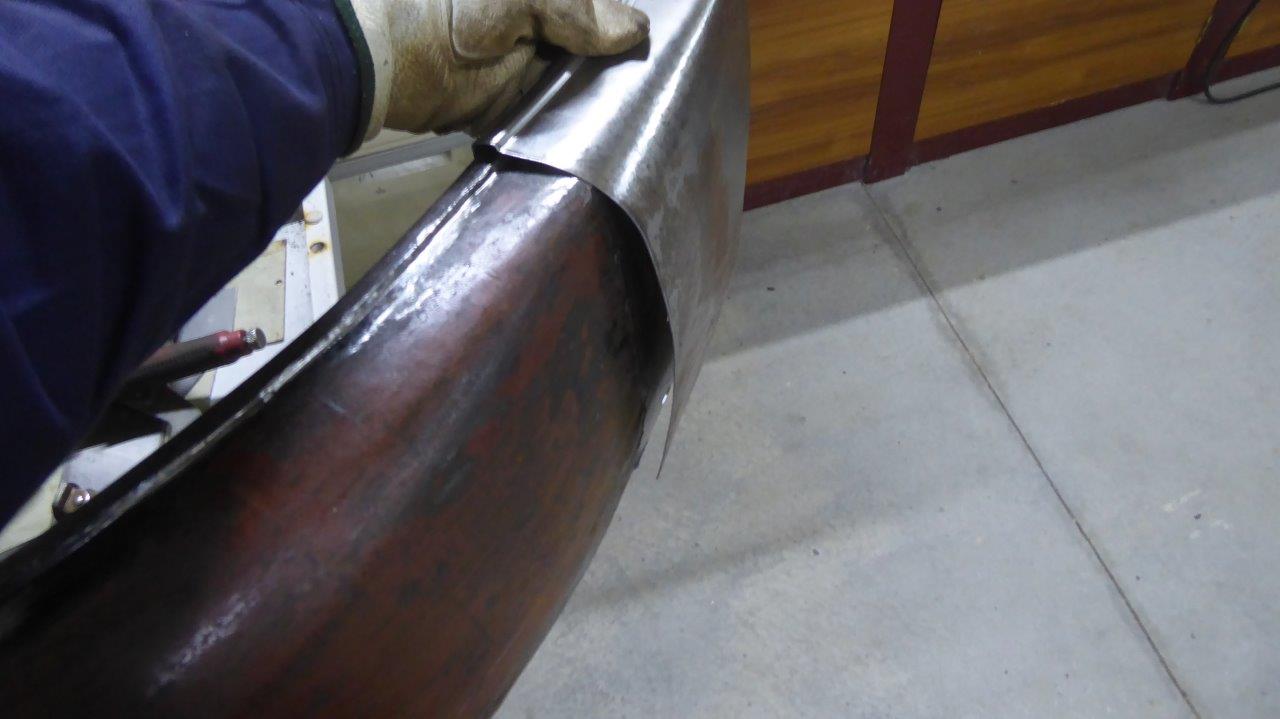
Can see now how the guard profile now matches the new extension piece.
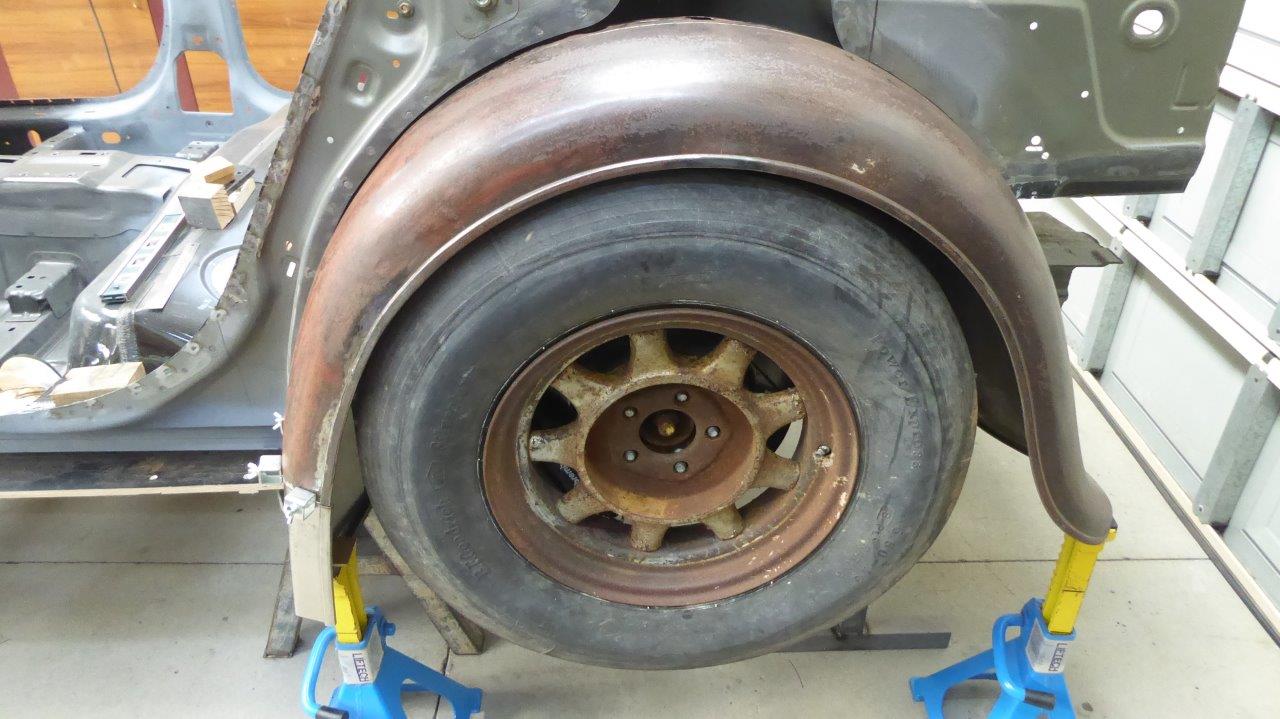
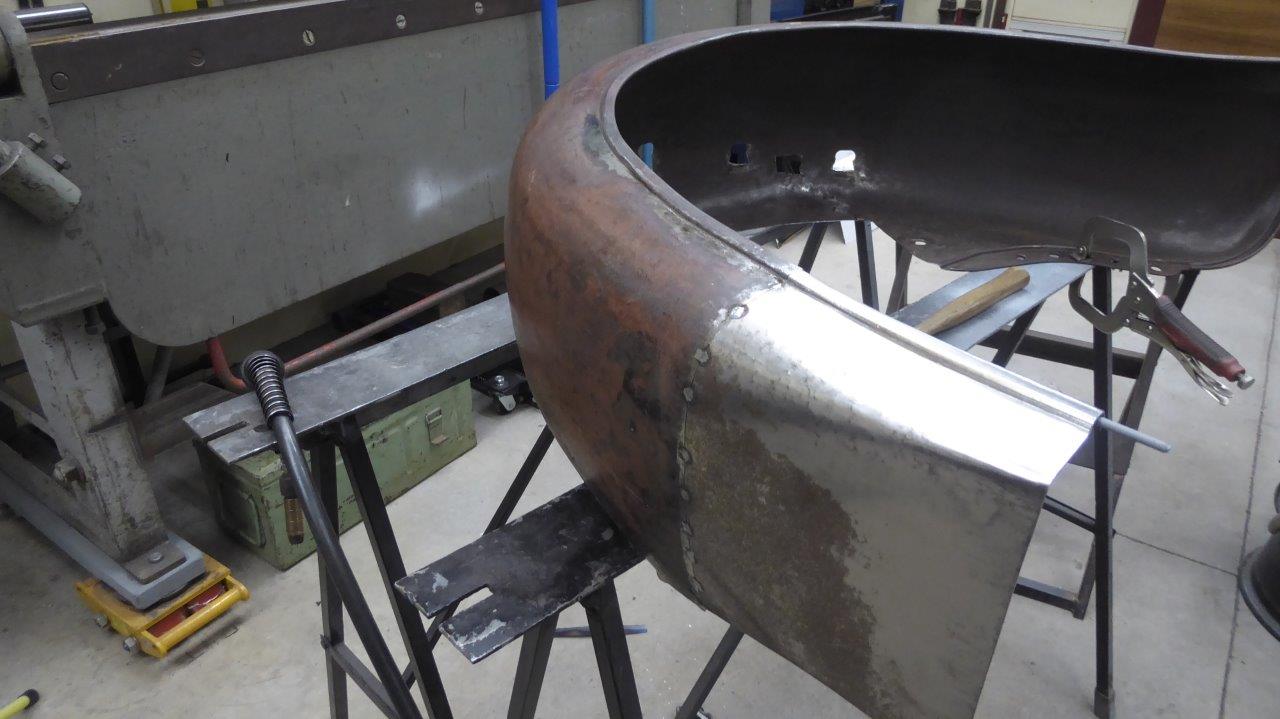
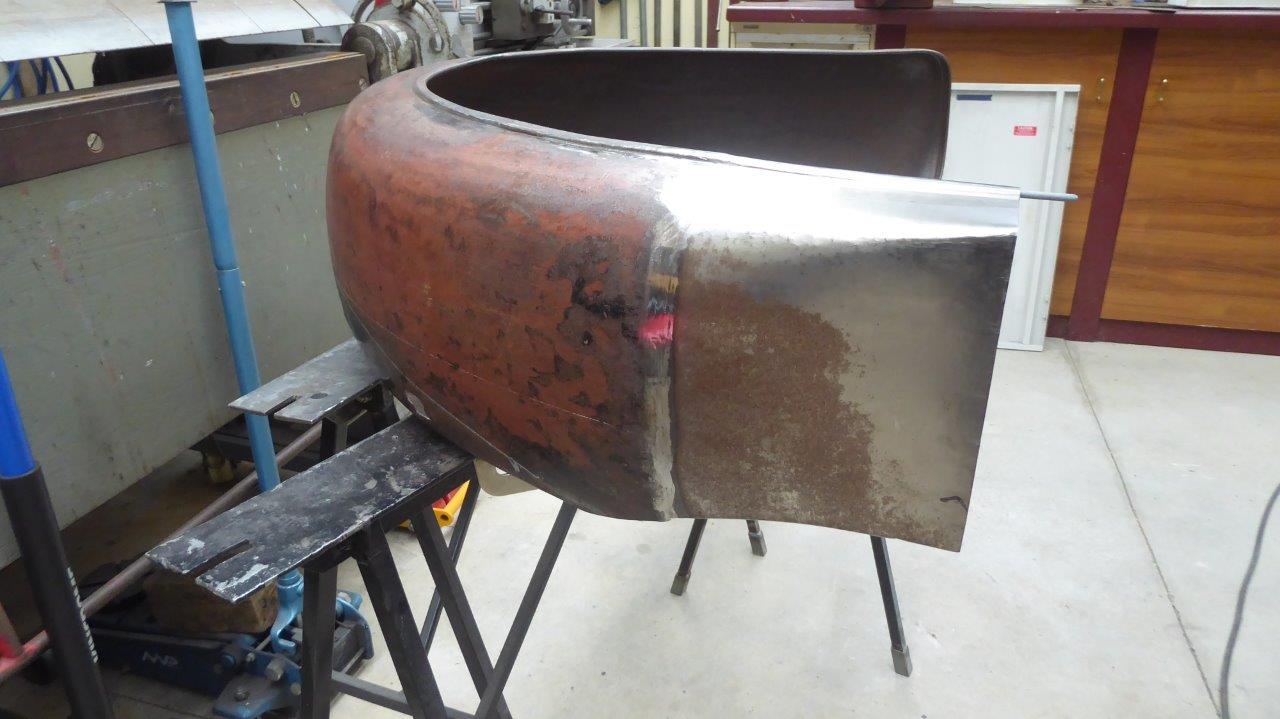
I used some panel clamps to hold the piece in place so I could check before welding if this was all going to look alright. Also note just how well the radius of the guard actually matches the radius of the donor inner wheel well.
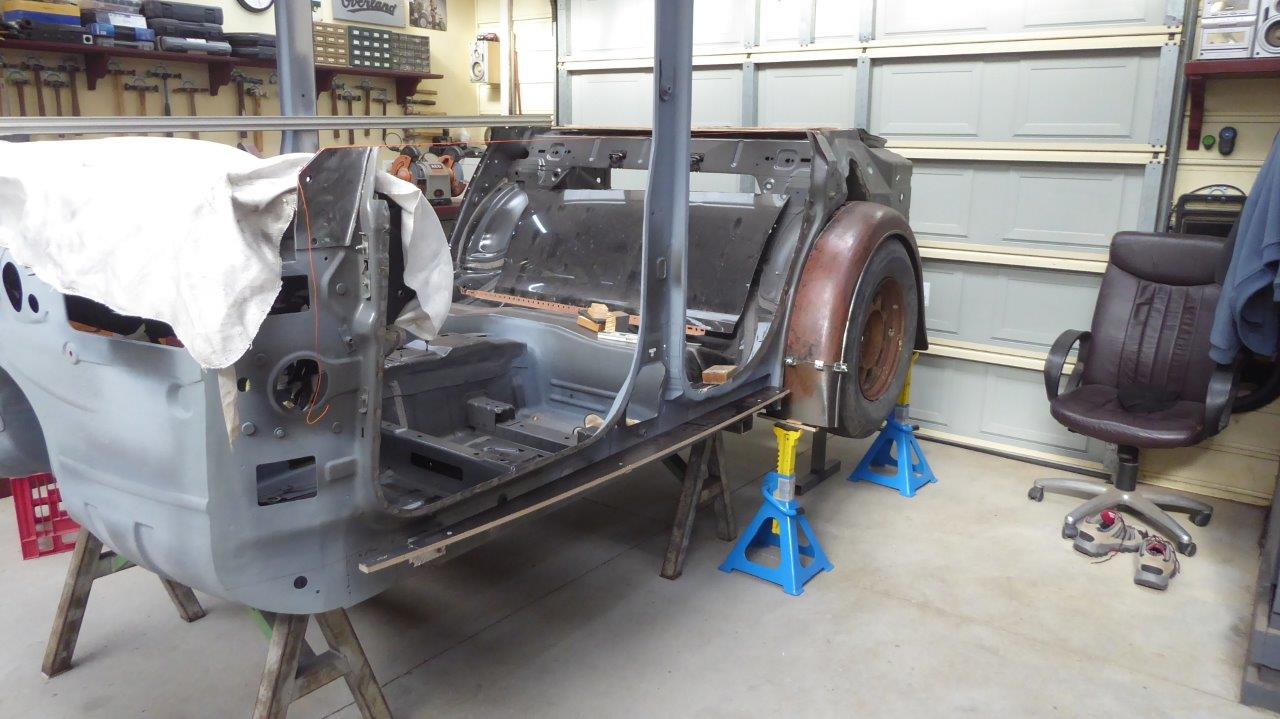
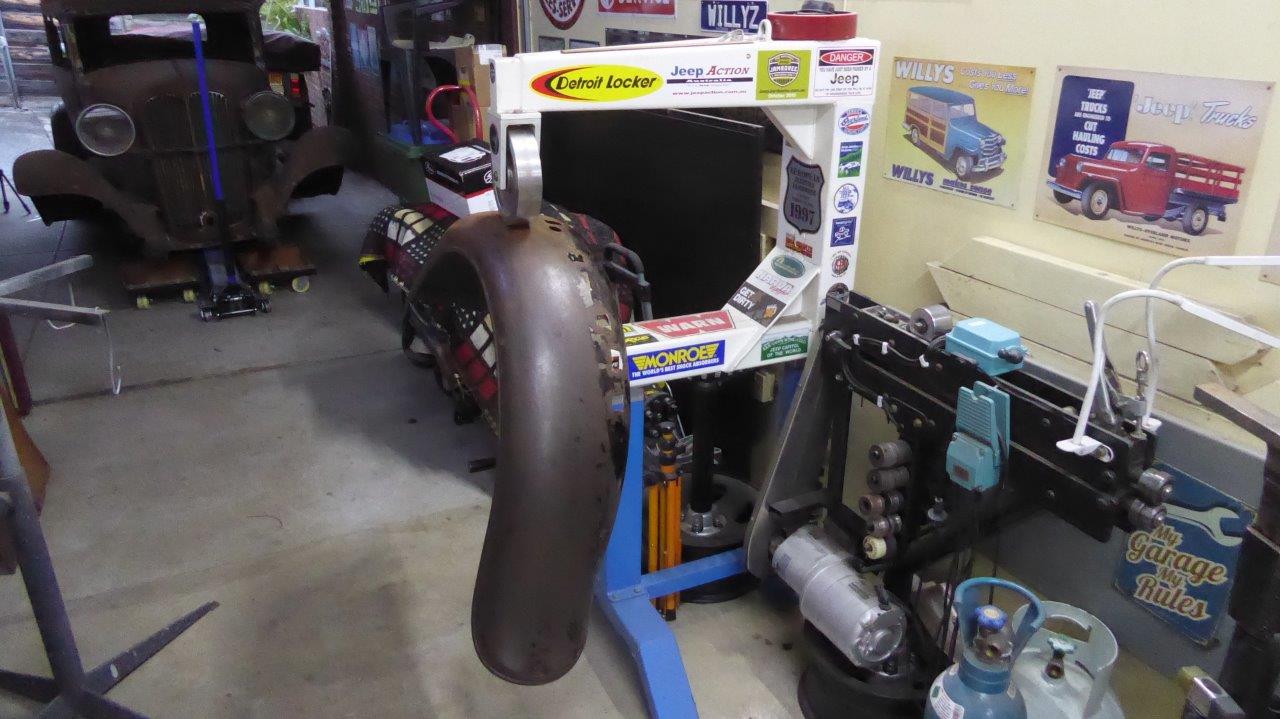
I had to stand back and just see what this actually looks like. Was very pleased with the look which was a relief! This is at actual stock ride height of the donor car.
Happy with the shape the next step is to extend the edge wire. I used the TIG to join the wire to keep it a softer join than using a MIG.
I coated the wire and inside of the edge bead as they wont be accessible later. Mind you, the rest of the wire edge has survived 93 years so far without any paint!
Tacked into place ready for welding.
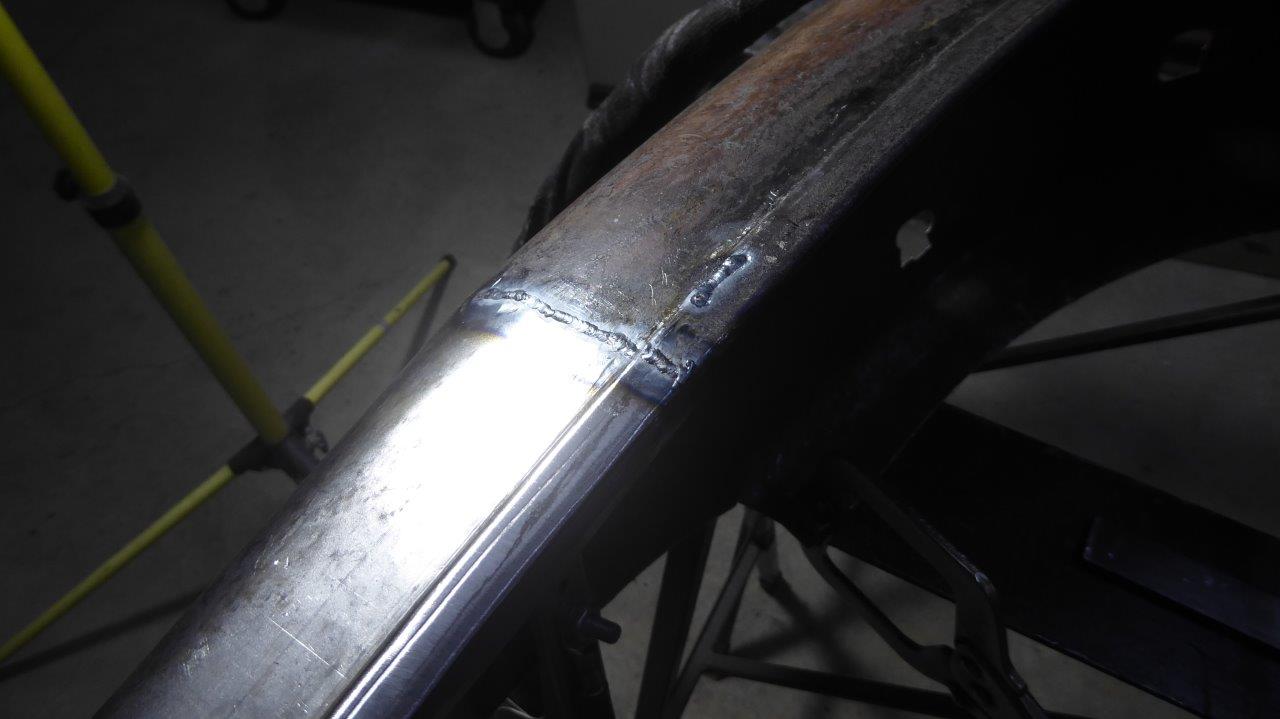
Been 2 years since I had done any TIG welding of panel steel, so will take a bit to get back into it again.

Without any practice it seems to have done alright welding steel that is 90 years apart since they were made.
I first grind the backside of the weld flush. Then I can place a dolly directly on the ground weld seam while I hammer the front side bead to stretch the shrinking that happens with the welding. Any low spots on the backside can have the weld bead from the front side pushed into it.
After the major stretching and planishing of the weld HAZ is done, I then grind the front side of weld bead off and continue to planish the weld removing any distortion. So long as you don't over stretch an area of the weld, there is no reason to do any work on the rest of the panel as it will all return back to the shape it was before welding.
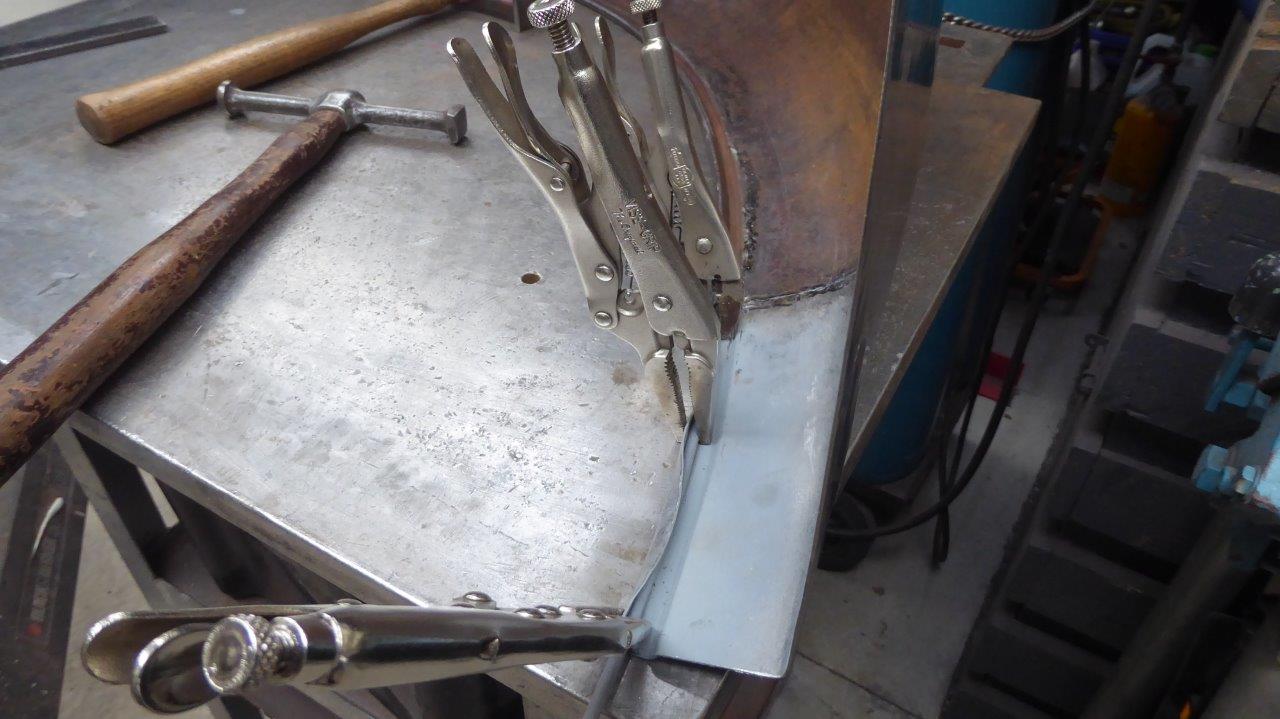
I have never done a wire edge before so this will be a good learning experience for me. I remember 10-20 years ago there was a coach builder in the UK called David, forgotten his surname, that showed how he did it. I can at least remember the first starting step to it so here goes nothing. I unrolled the piece I had cut off the end of the guard so I knew how much metal to have in the flange width. Factory on this was 2.25 times the wire diametre. So in this case the wire was 4mm in diameter so 2.25x gives a 10mm flange. From memory David did 2.5 times the wire diametre for the English cars he worked on. Started by clamping the wire in place so it couldn't move out of position while rolling the edge over.
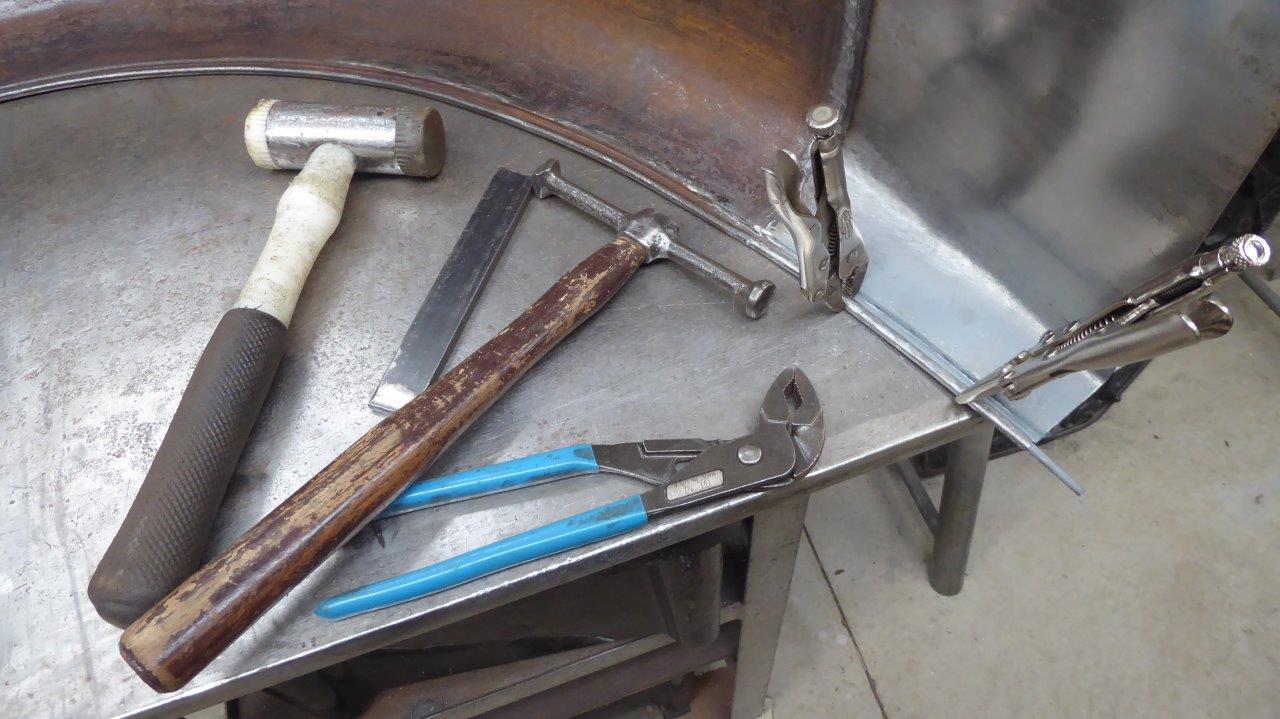
Hammered what I could between the clamps before switching to a piece of flat stock that I had shaped to fit the radius of the wheel arch edge repairs earlier. Just thought this could work in this type of edge flange that has the step bead as well. This a bit different from what I have seen before.
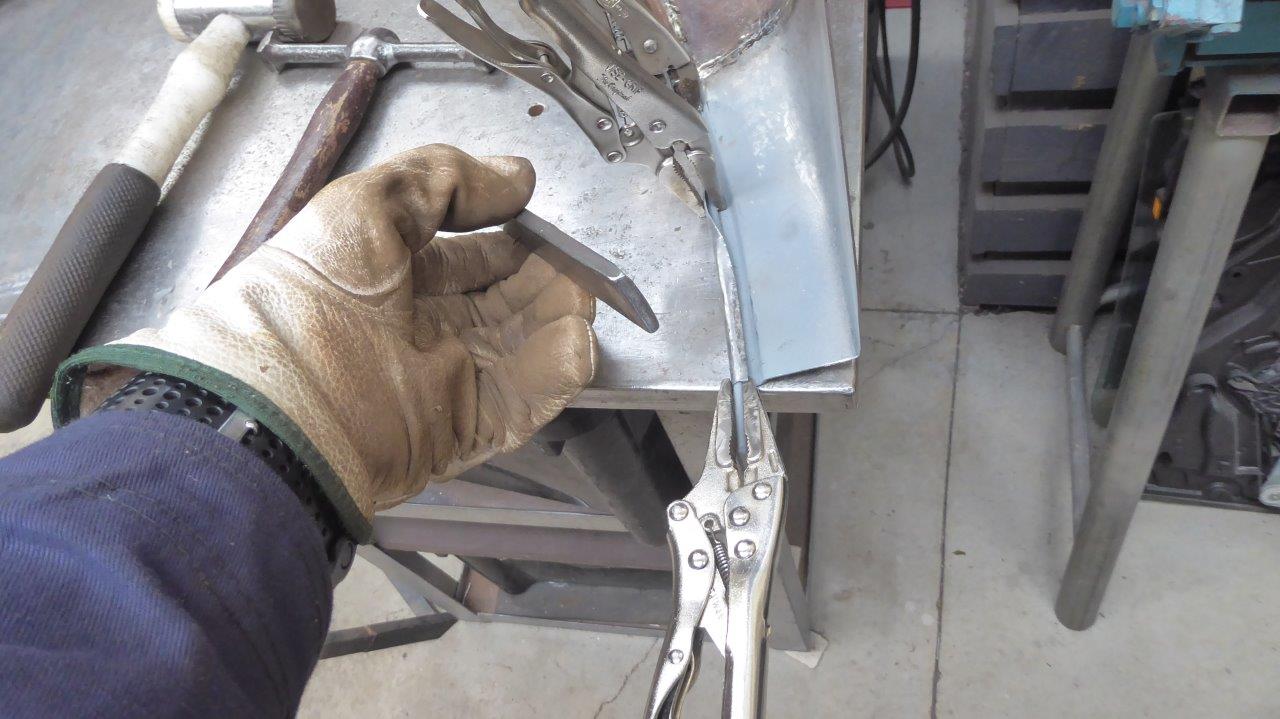
I was able to increase the wrap by hammering the flat stock on the edge.
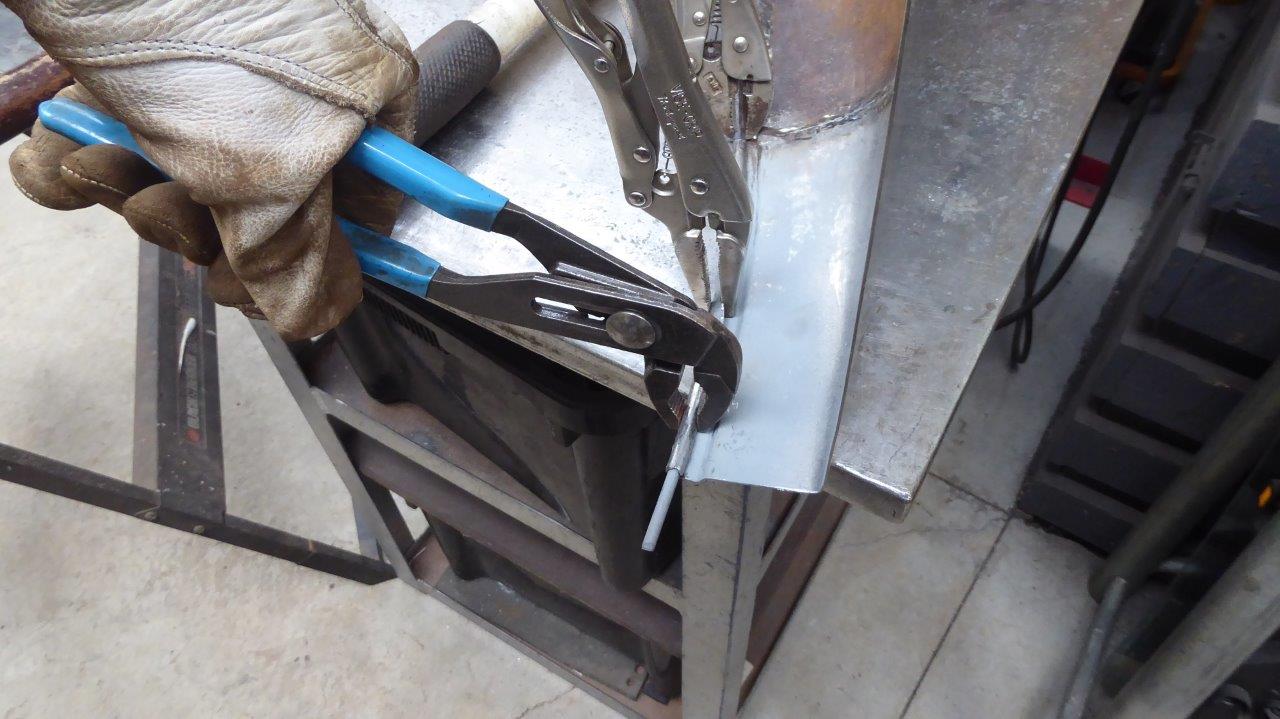
Then finished tightening the wrap just using some channel lock or multi-grips. I couldn't use a dolly like David did due to the bead channel.
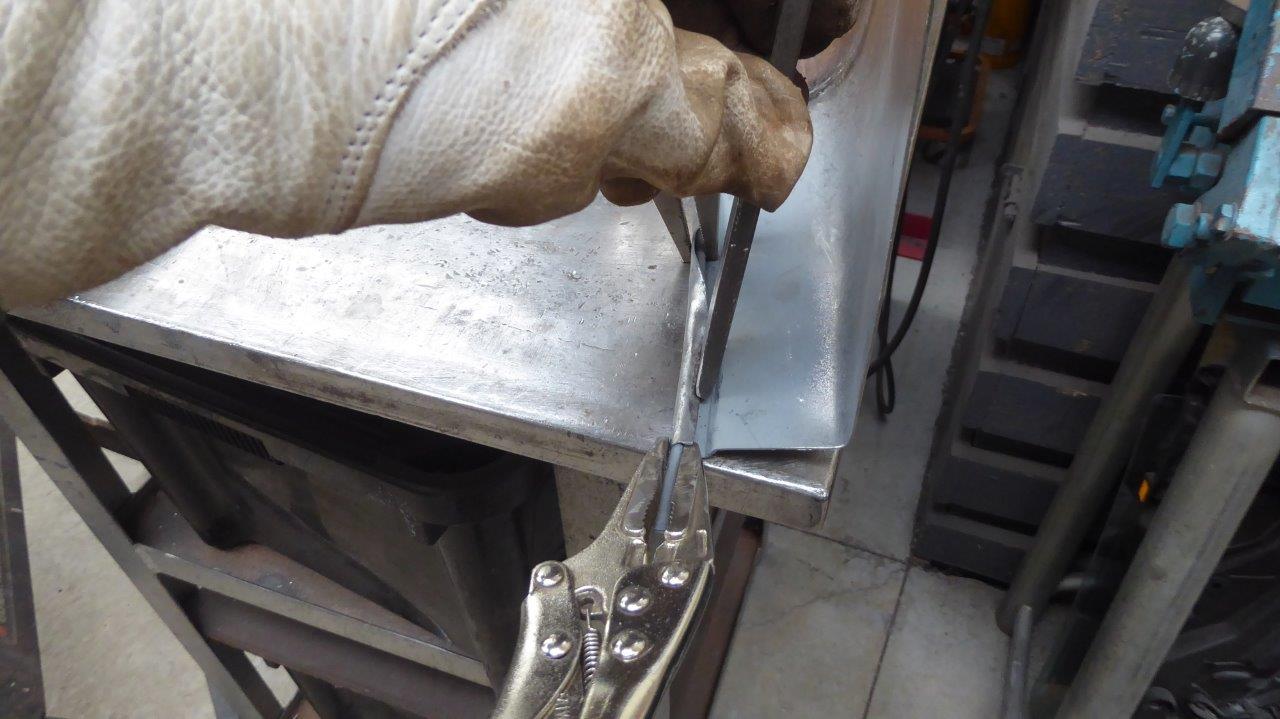
The clamps were moved to the wrapped sections and then the bits in between were rolled over. Probably not the way the professionals do it, but it worked out great for me. :)