
I made some templates, both positive and negative ones, of the vertical door profile to help make the door frames etc easier. Also to make sure the shape stayed consistent down the length of the car. So I cut them using the front door A pillar steel plate that the hinges screw too as a template. Then I discovered that the door plate to take the other side of the same hinge, was different! Why the factory stamped these out differently, even though they are right next to each other, is beyond me. You might be able to make out the pencil line showing that the steeper radius of the door compared to the A pillar.
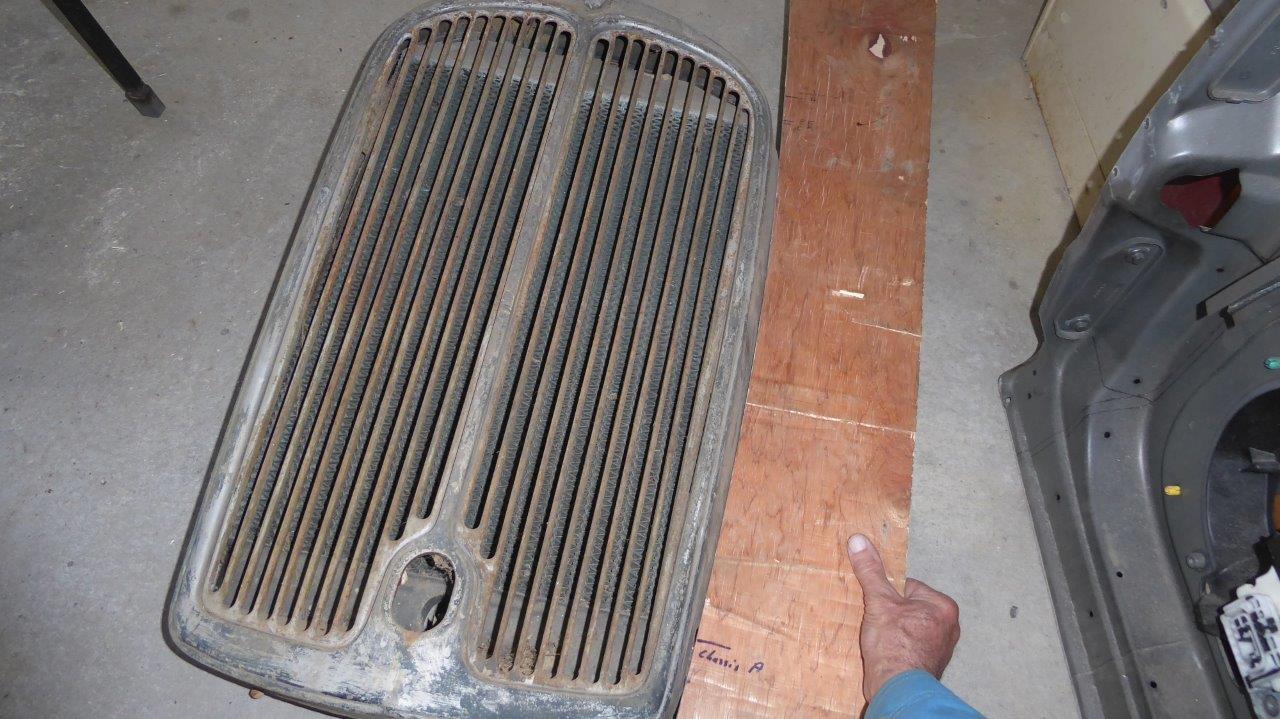
Then I checked the side of the grille and it was shallower again, so I modified the template to follow this instead.
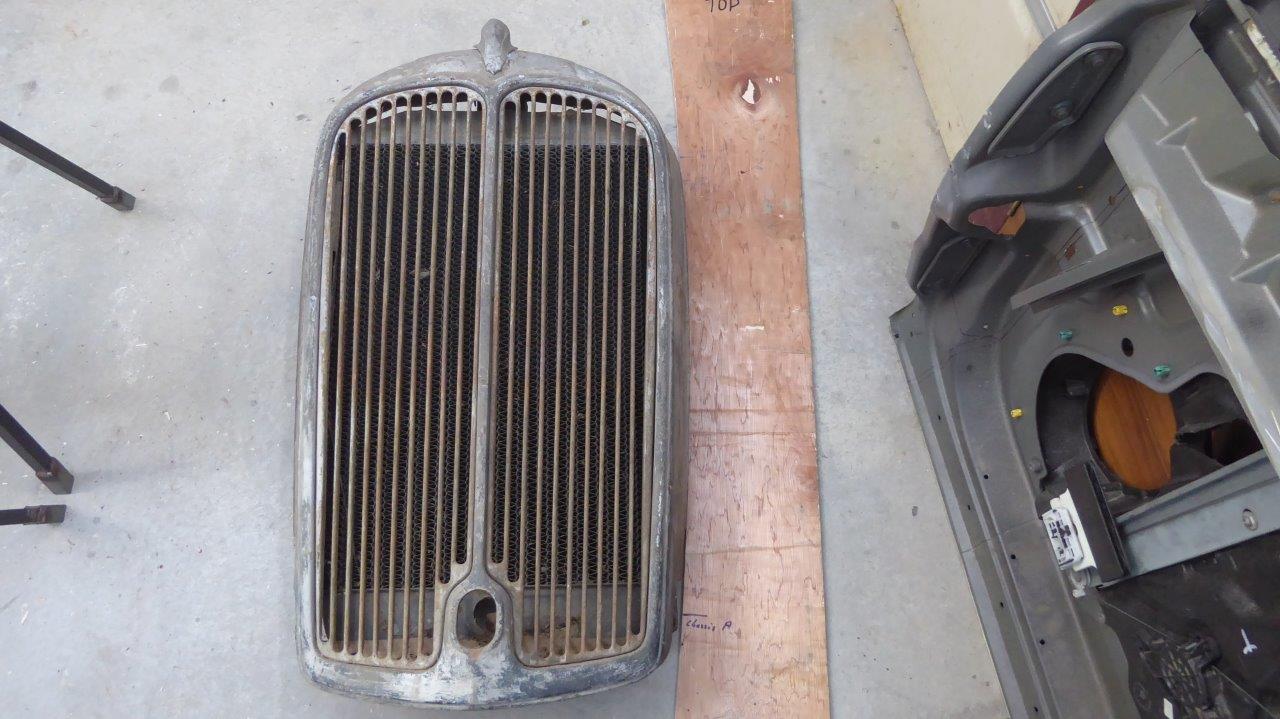
I like the shape of the grille so going to keep that profile from one end of the car to the other.
The other thing I like is that it tilts the top of the window frame in 0.5 degrees rather than out 0.5-1.0 degrees that is stock. I prefer the look when the windscreen/windshield is narrower at the top than the bottom. This makes the roof narrower than the beltline at the window sill level as well which looks better to me.
This will also allow me to get as close to the side of the dash as possible to help reduce the extra width across the front of the body shell. The gap left is the narrowed door frame width plus trim on the side of the dash and door card.
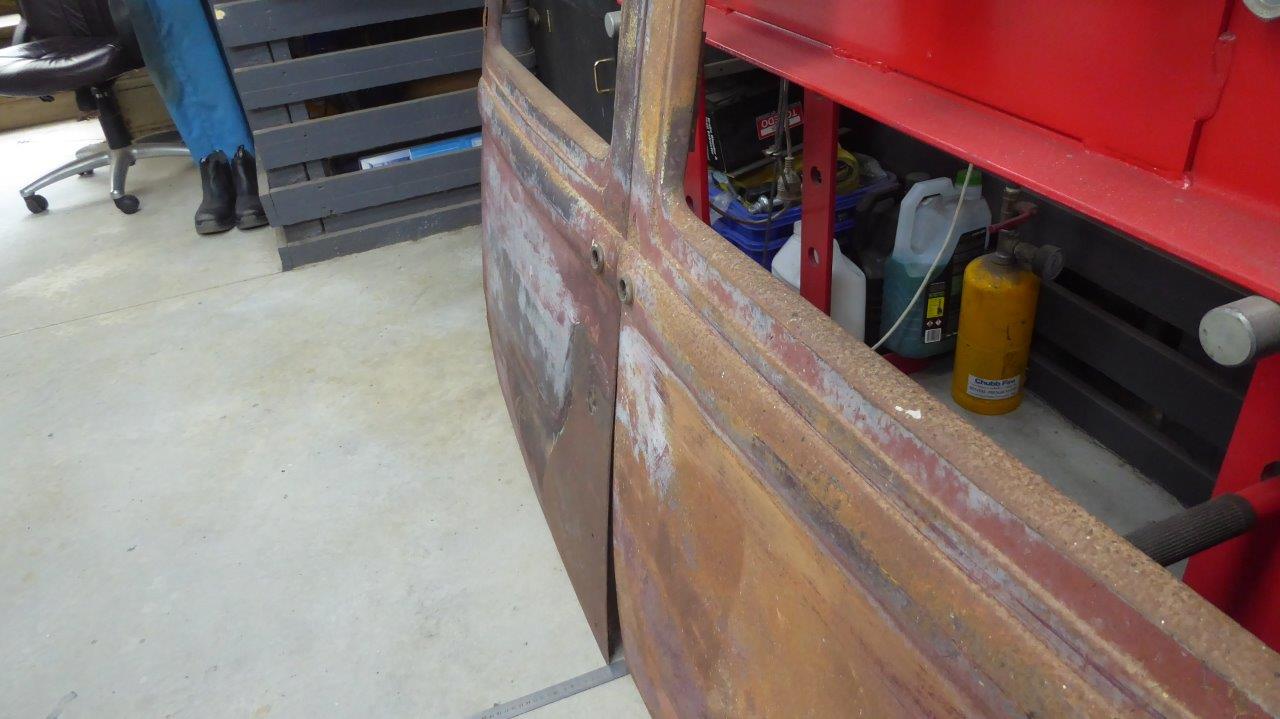
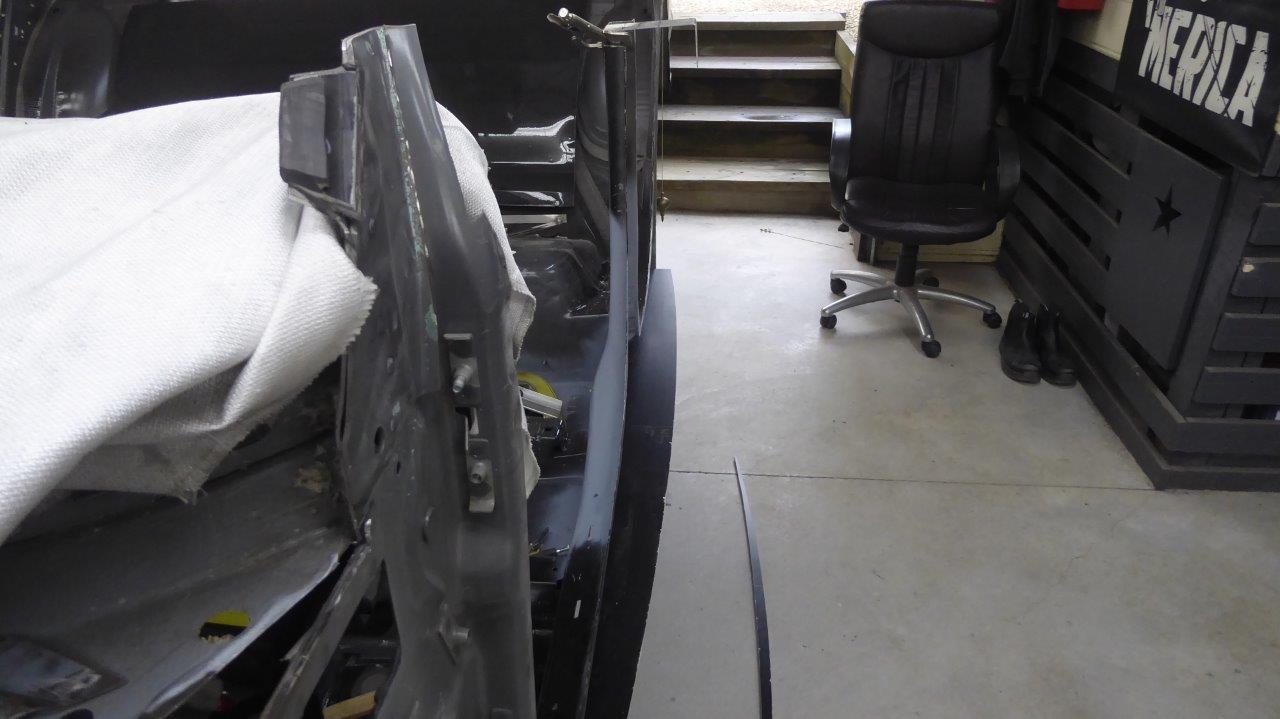
To better show the difference, I have altered one end of the door skin in the background to that of the new profile. The door closer in view is still stock.
The difference is 23mm-7/8". Not a lot but that is doubled when taken over both sides. Every little bit counts when trying to hide the extra width of the donor shell.
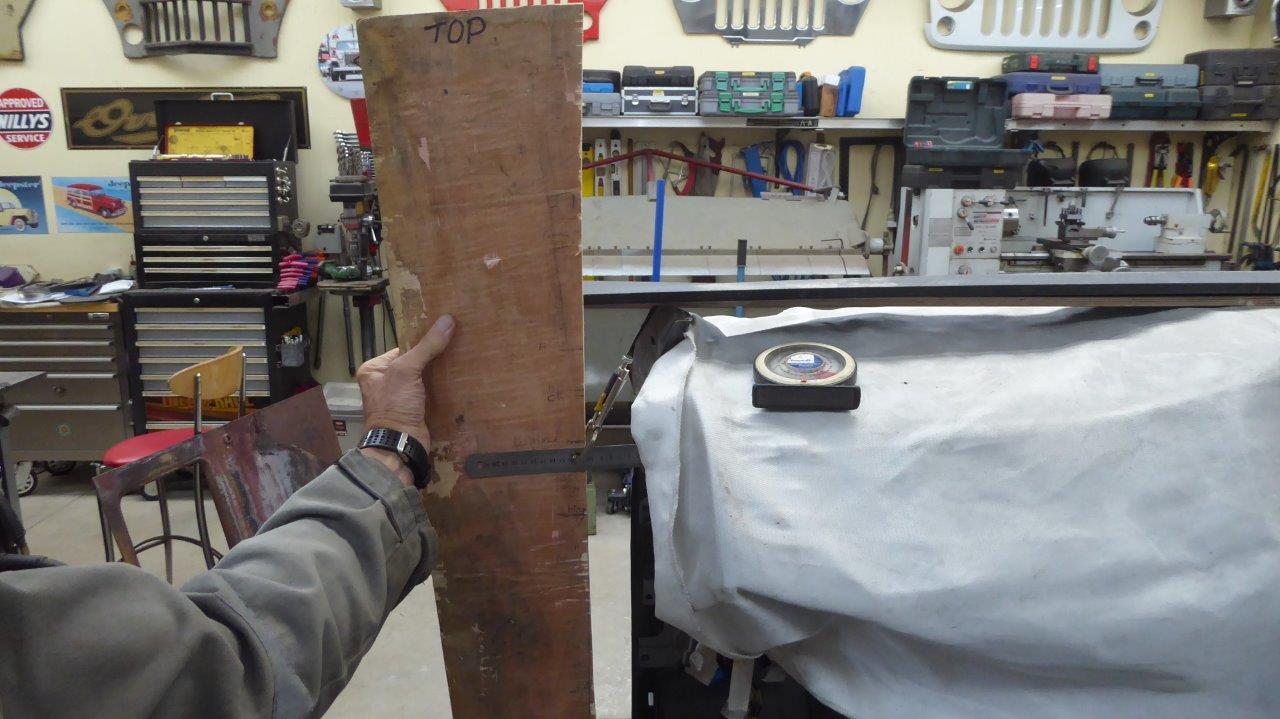
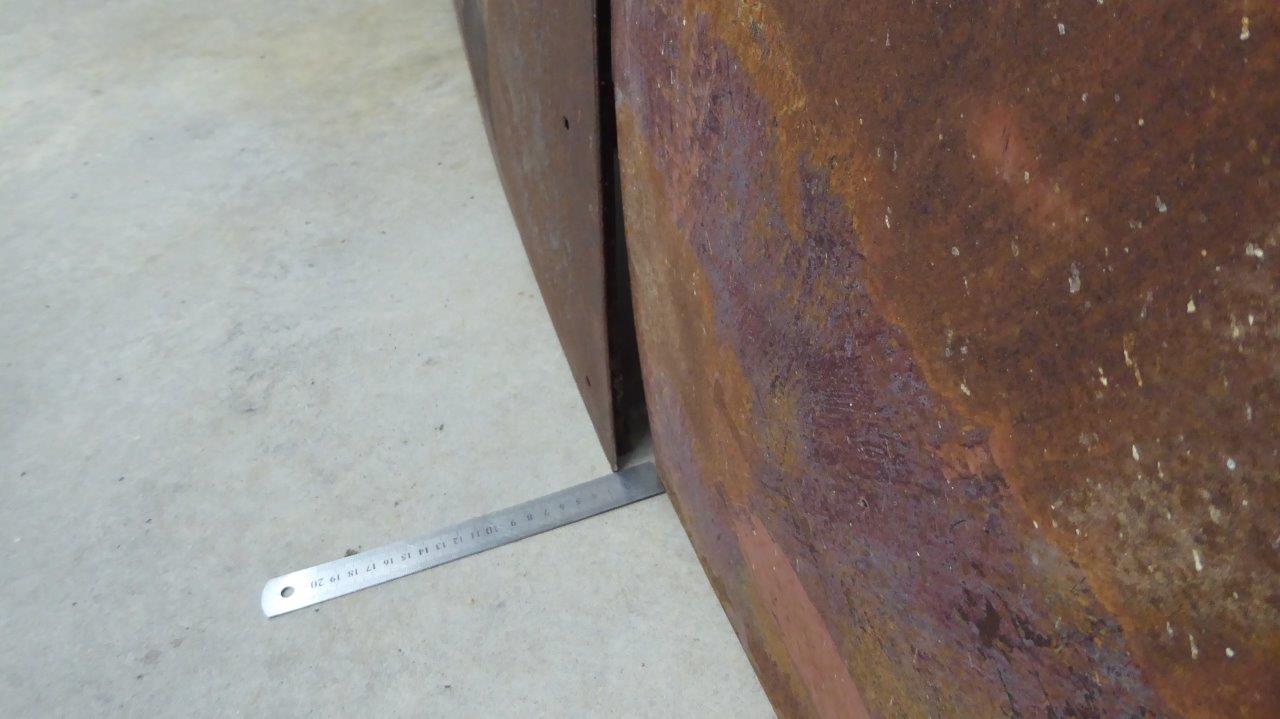
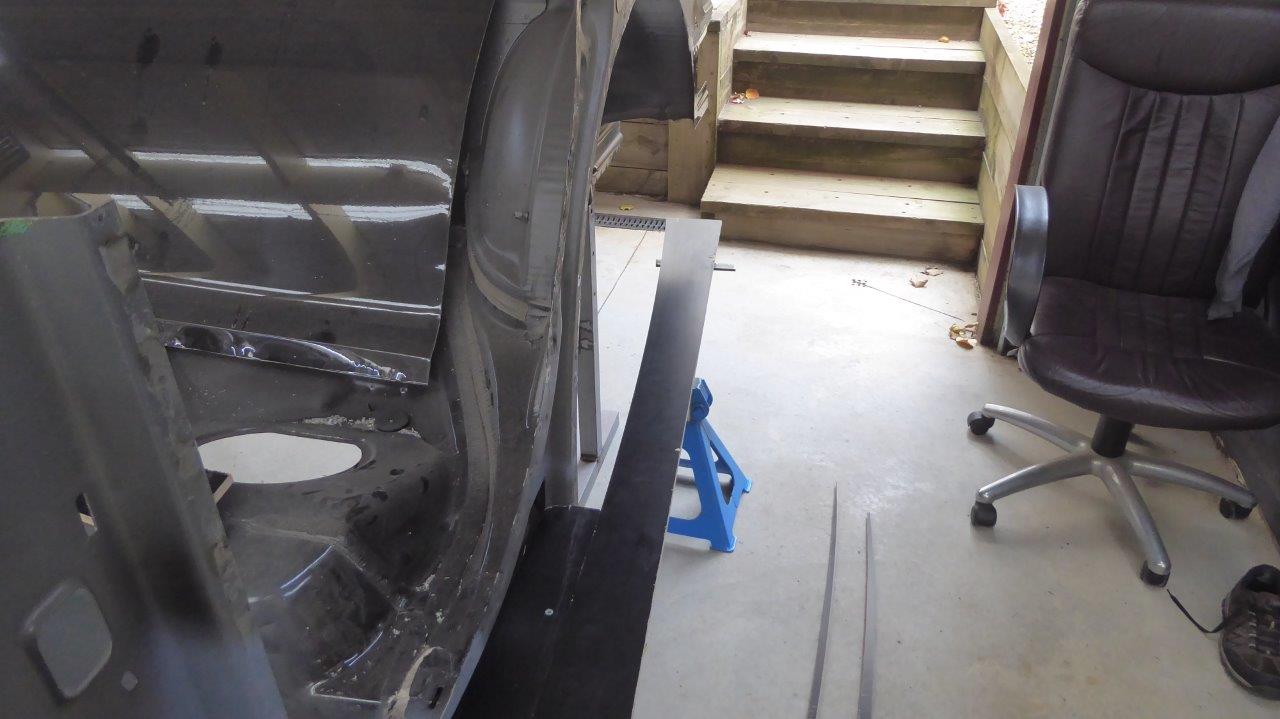
Next thing I wanted to check was the sweep, radius or curvature of the body horizontally. To know what I have stock, I raised the doors up in the middle until a metal ruler would lay of the two doors without a gap in the middle underneath it. This is to make sure I don't end up with a 'double hump' when looking down the side of the car. I lot of cars have this straight from the factory in the early days until maybe the 70's? Now I could place my large 1220mm-4' profile gauge on them and transfer it to some left over ply from the truck bed floor.
I made both a negative and positive sweep template, refining the curve using an adjustable body file set to the matching profile. I put the front of the template as close as I could to where the outside of the door profile will sit from the body. It looked like it has too much curvature for the extended body length I have now. Also the amount you see sticking out from the body shell is how much it will be covering the running board. I want more of the running board to show.
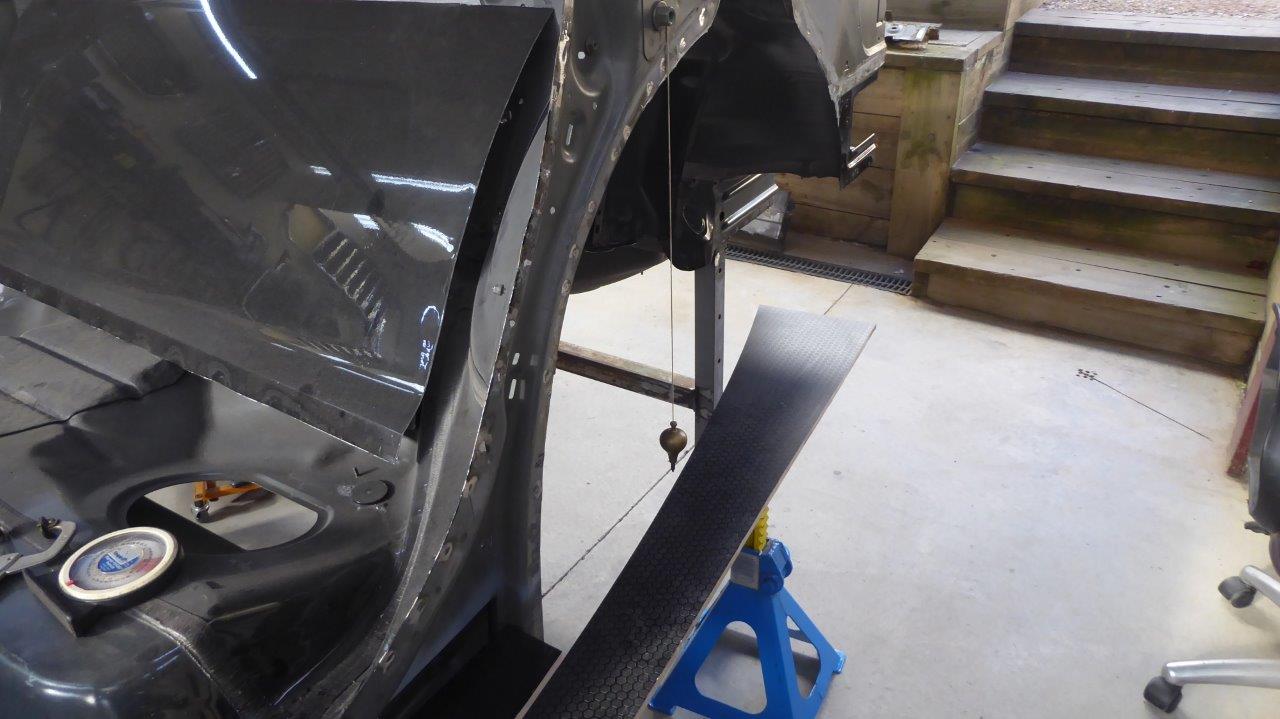
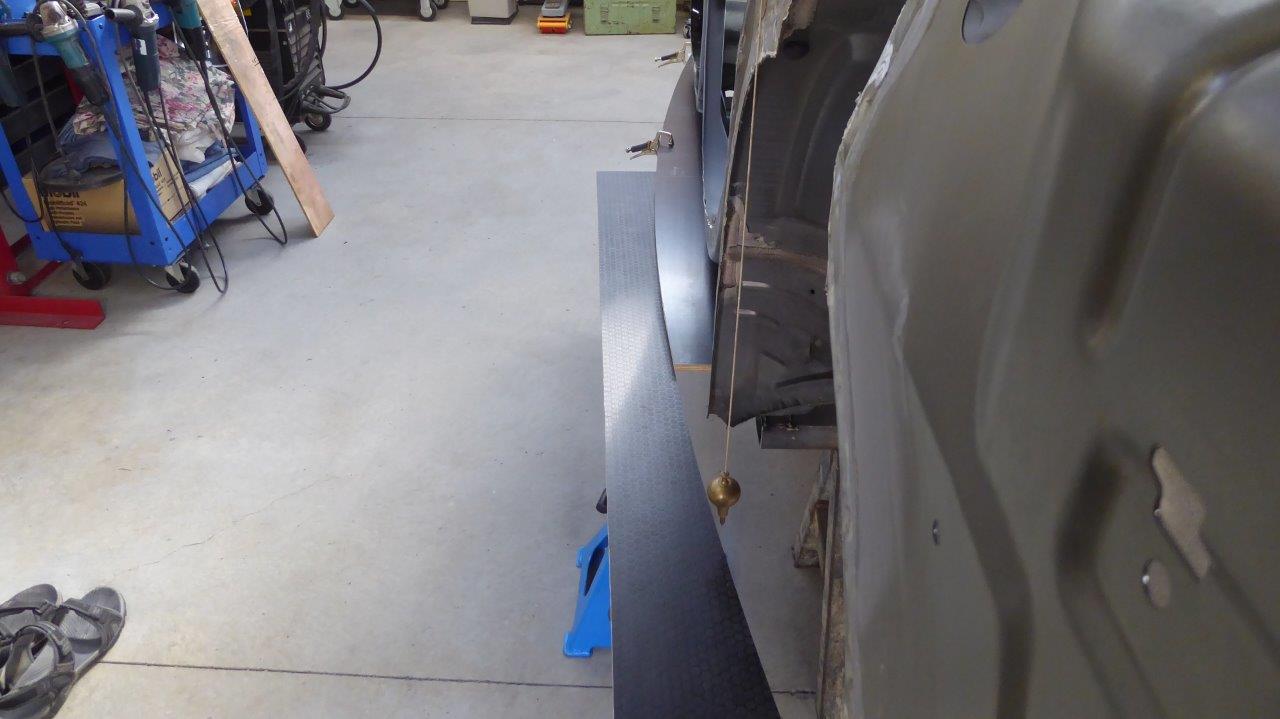
The plumb bob, beautiful old one brass from my late father, shows the minimum I must clear to leave enough structure around the seat belt reel mount. Really need even more than this as want to keep the rear parcel shelf structure intact too. The end of the template also shows that the body tucks in way too early, taking out most of the rear of wheel arch.
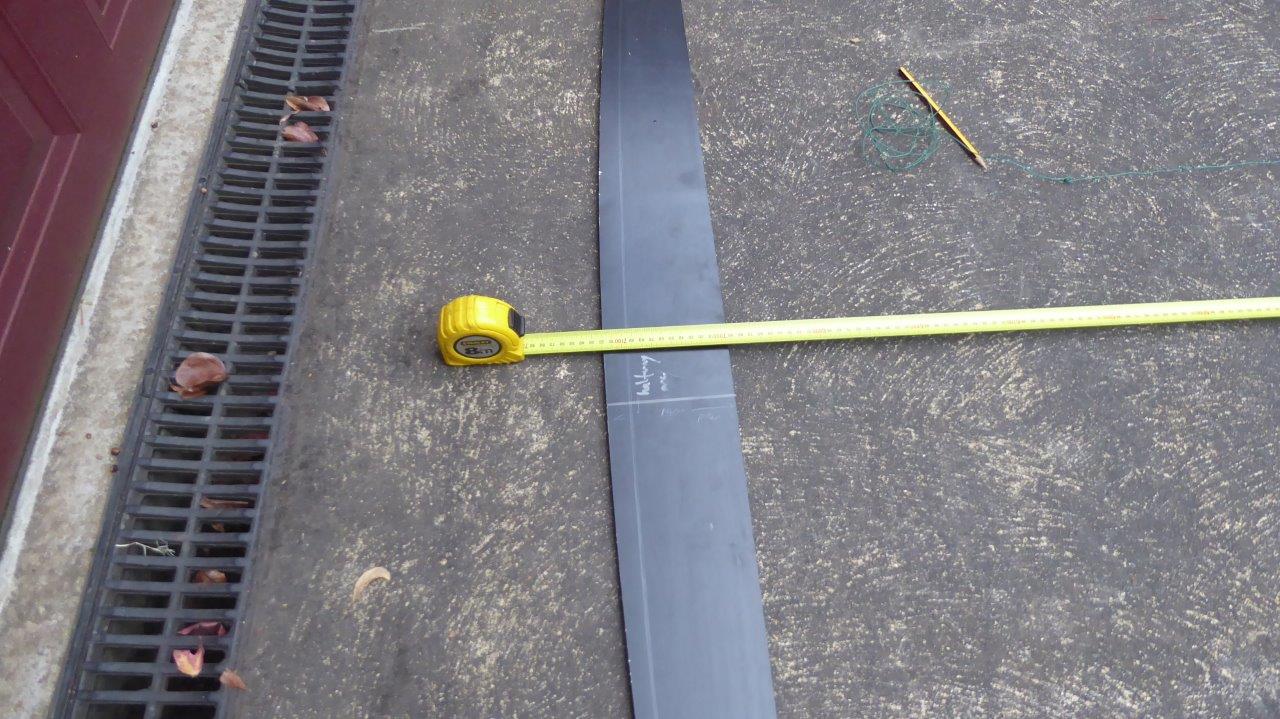
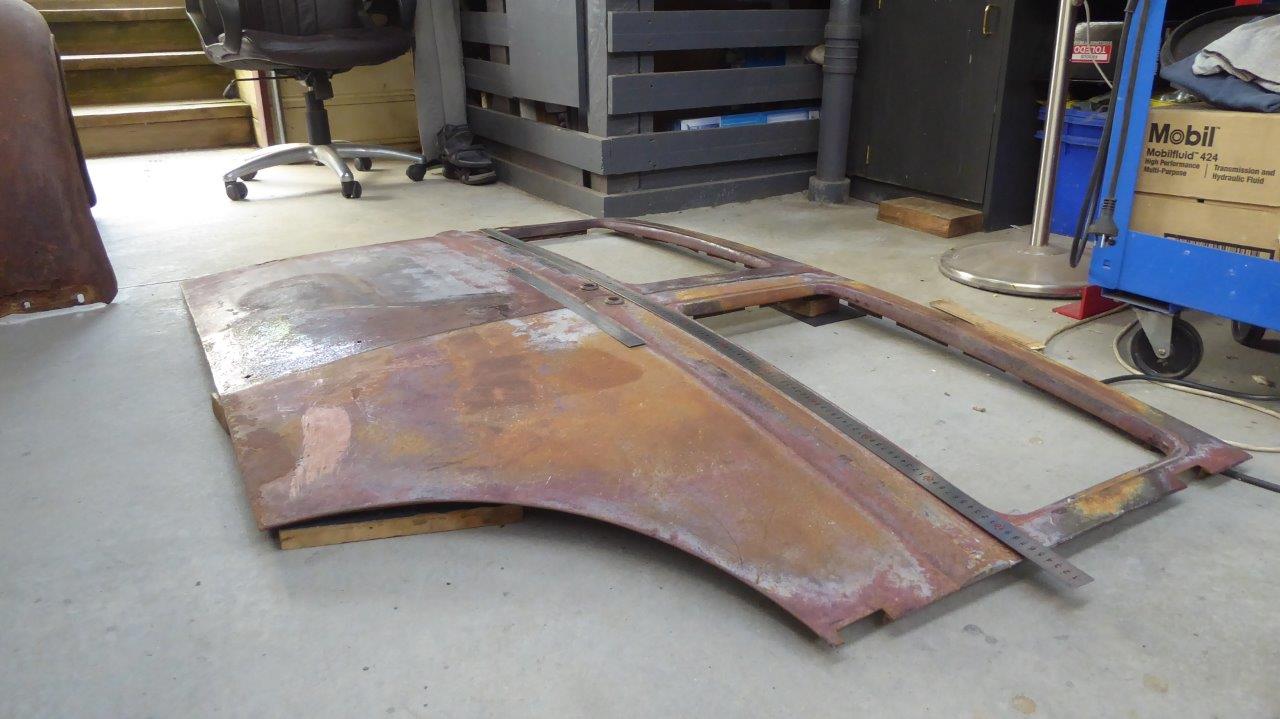
So the decision was made to re-profile the whole body to a shallower radius! Going to mean a lot of extra work, but I'd rather do that so I can give this re-imagined body a fighting chance to look half decent in the end. So I had to come up with a way to draw a new giant radius from scratch. The adjustable profile gauge is no good at doing this at all if there is nothing long enough, with a consistent radius, to lay it on. I tried different types of string pulling from a pivot point, but even nylon was too elastic over this distance to be accurate. I ended up using plastic coated wire tried around the bottom of the pencil. The pencil line shows the new radius compared to the stock one.
The radius matches the upper part of the door and thought that was a good starting point.
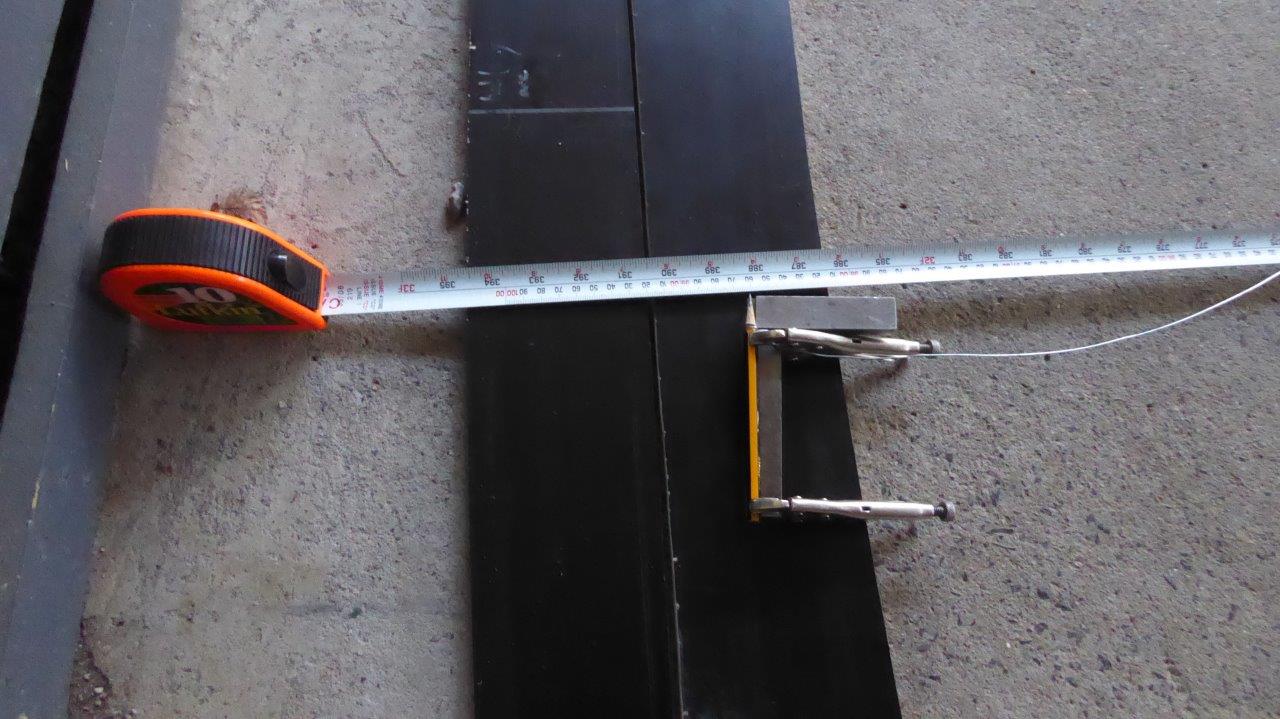
It took most of my garage driveway to get a pivot point far enough away to use. The end of the wire loops around the gate drop bolt and the pencil at the other end. The wire was kept taught while keeping the pencil as vertical as possible while drawing the line from one side of the template to the other. The new radius was 7100mm-23'4"

Was curious to see what the stock radius was to see how much it has changed. Was surprised to see it was only 5200mm-17'. So I had a big difference of 1900mm or 6'4".
The arc was looking a lot better now but wanted to see if I could improve on it even more, or would it be not enough curvature? Only one way to find out.
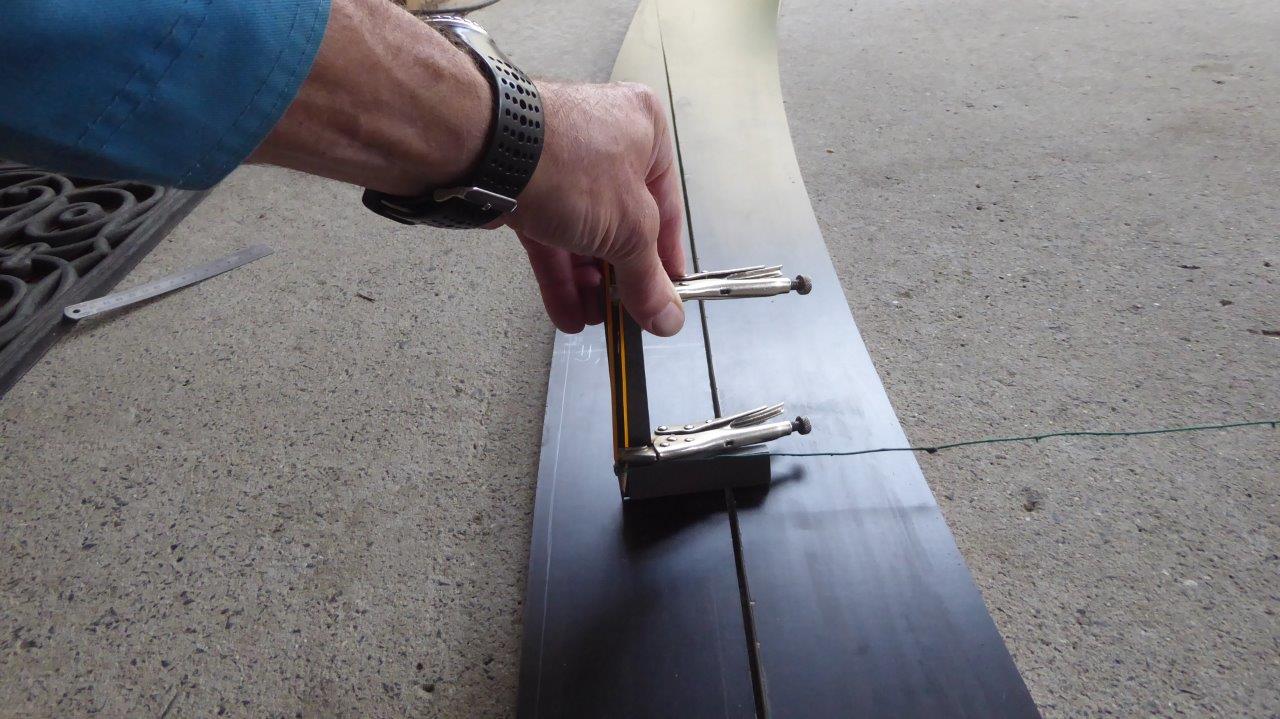
I still had some 'wobbles' in the line which took a long time to even out after cutting, so needed a way to reduce that. So I clamped the pencil to a square with the lead only slightly deeper. It didn't have to be square to the surface to be accurate, just a consistent angle while I pulled on the wire tightly.
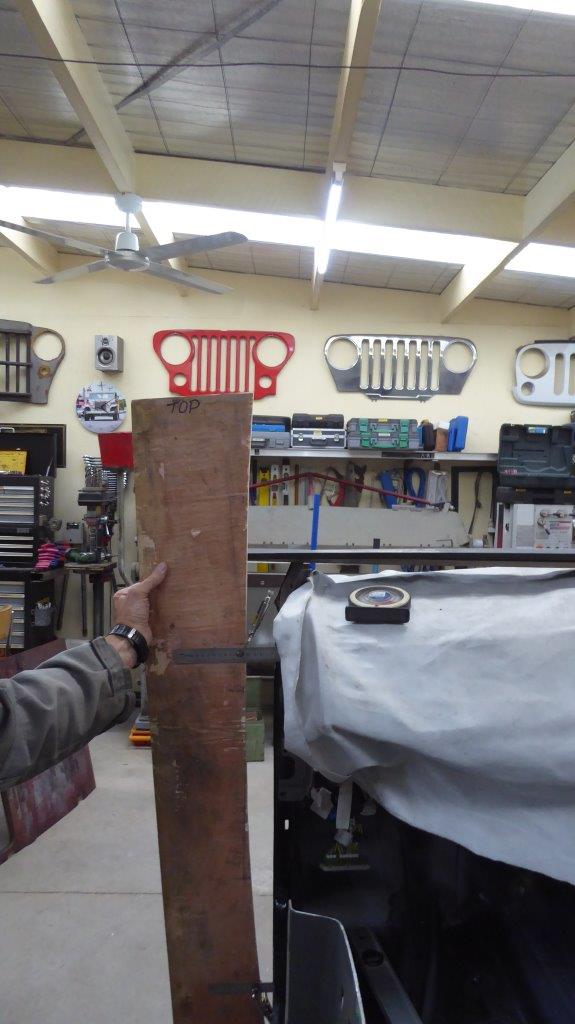
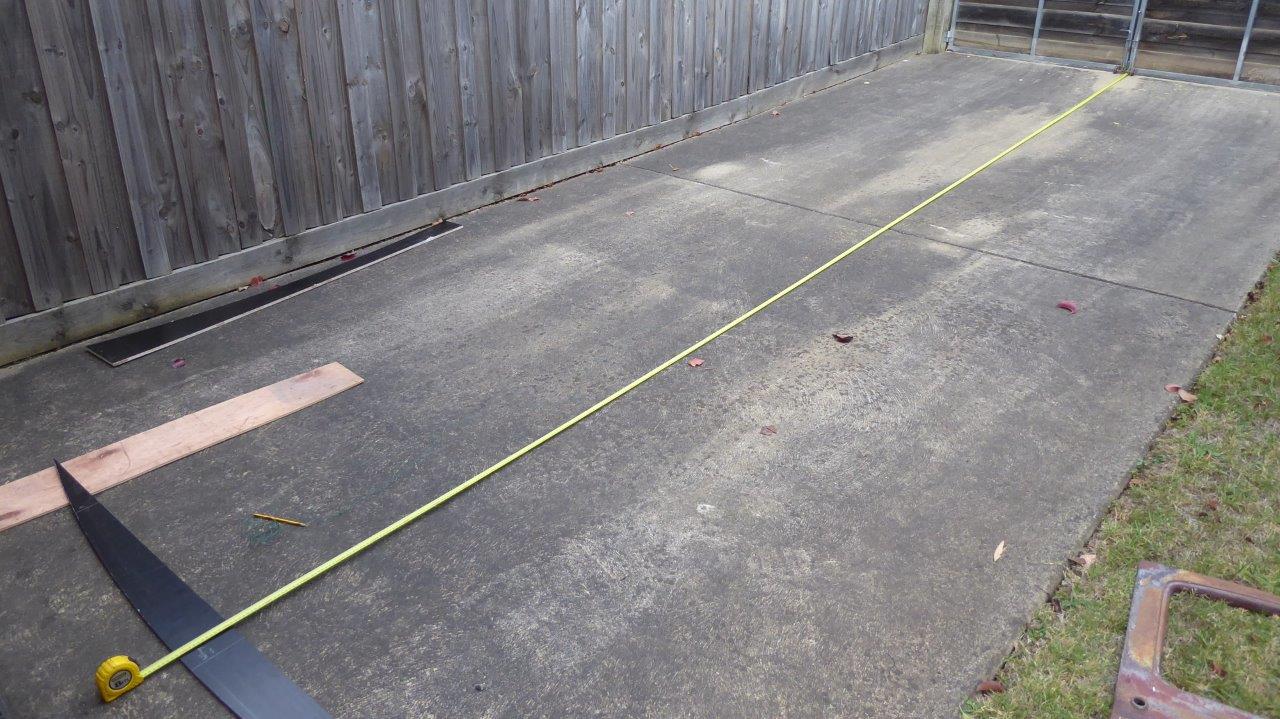
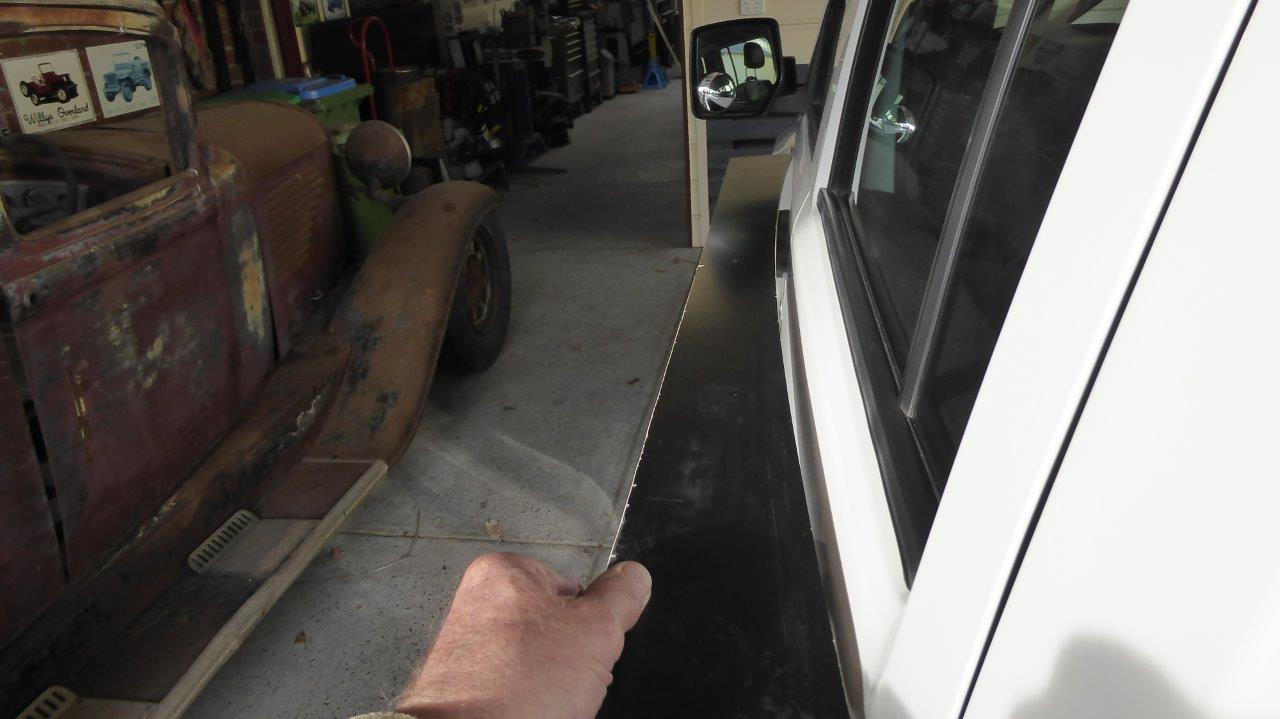
After a couple of new curves were drawn, cut out and tried, I ended up at 10 metres or 33 feet! I was up against the house on my carport driveway, as had run out of room on the other.
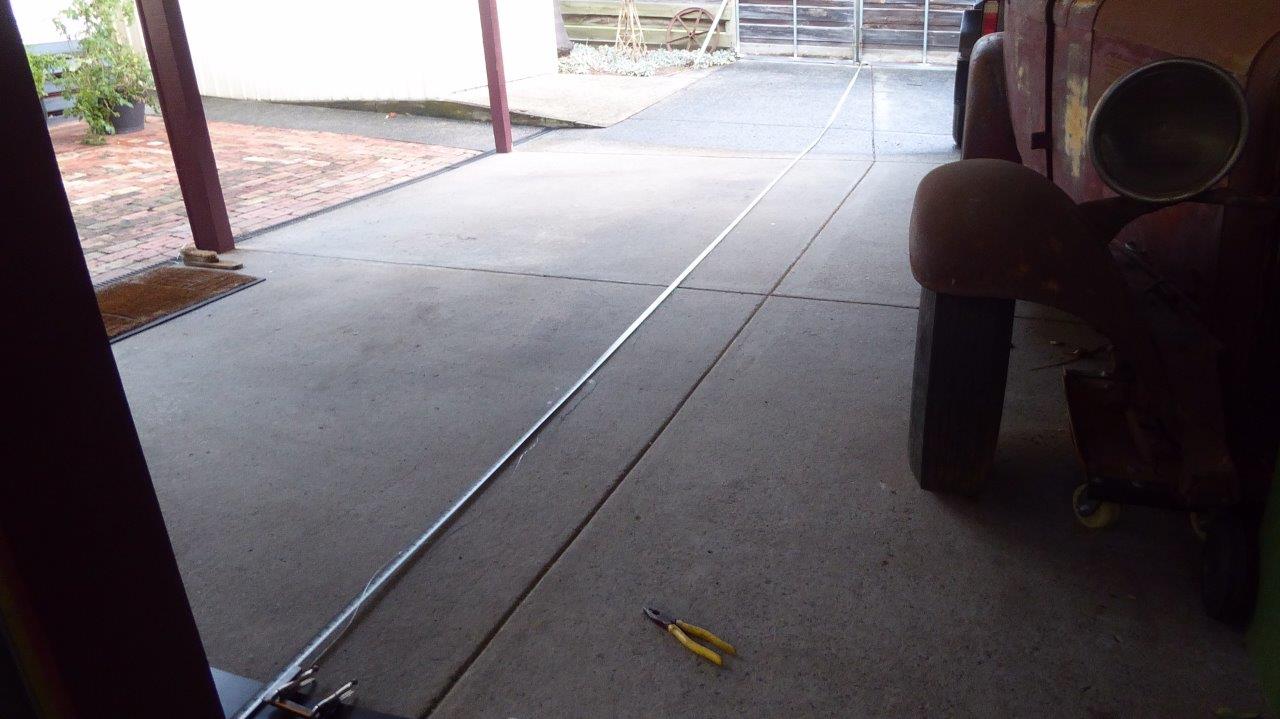
This give a good perspective of how long the new radius is. Coming up at nearly double that of the stock one.

I think this is the best radius as it doesn't cover as much of the running board and gets the stock wedge shape back again as it has moved the widest point of the body back towards where it is stock. This will make the transition to the grille better as well.
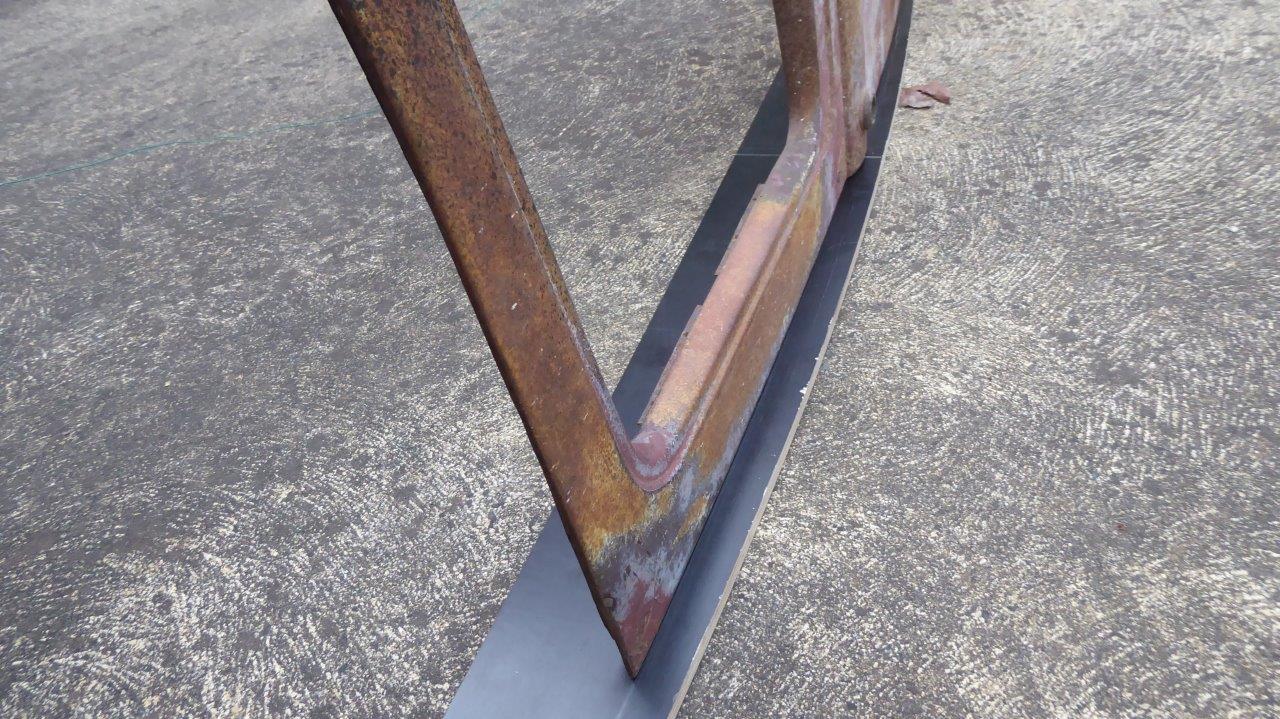
Next was to alter the negative template to match so I could see how the new arc continued into the rear of the wheel arch. It now leaves all the structure I was after, so pleased with the outcome.
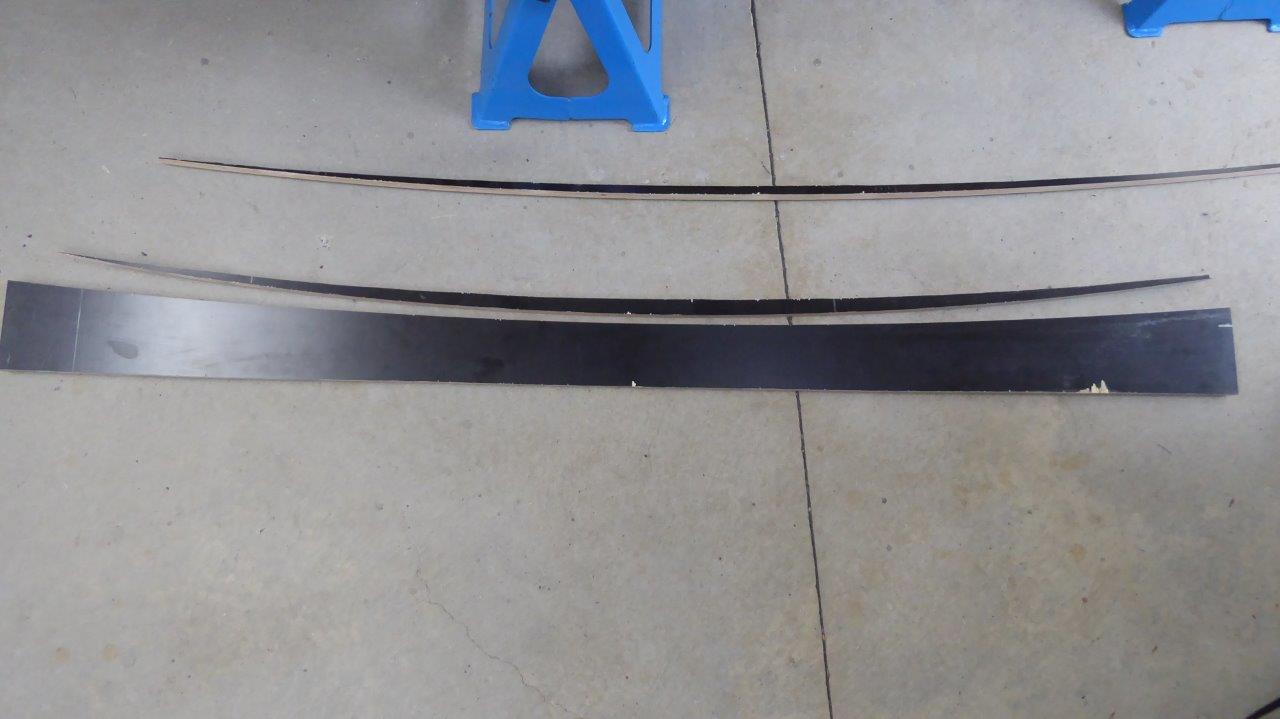
So the bottom sweep template is the new radius with the stock one directly above it. Also the other radius tried as I got to the end result. It took a lot of time and then also perfecting the sweep so it was consistent from one end to the other. Now I finally know what shape the body will be made both in the vertical profile and horizontally.
I was wondering how this new arc compares to my 2010 Jeep Cherokee, which the Willys body will end up close to in size once done. Turns out over the distance of the doors, it still has a 20mm-3/4" gap, showing how much more it still has than this. It would take around another 2000mm-6.5' of radius to get near as shallow to match it, so confident the profile wont look too modern.
Update video.